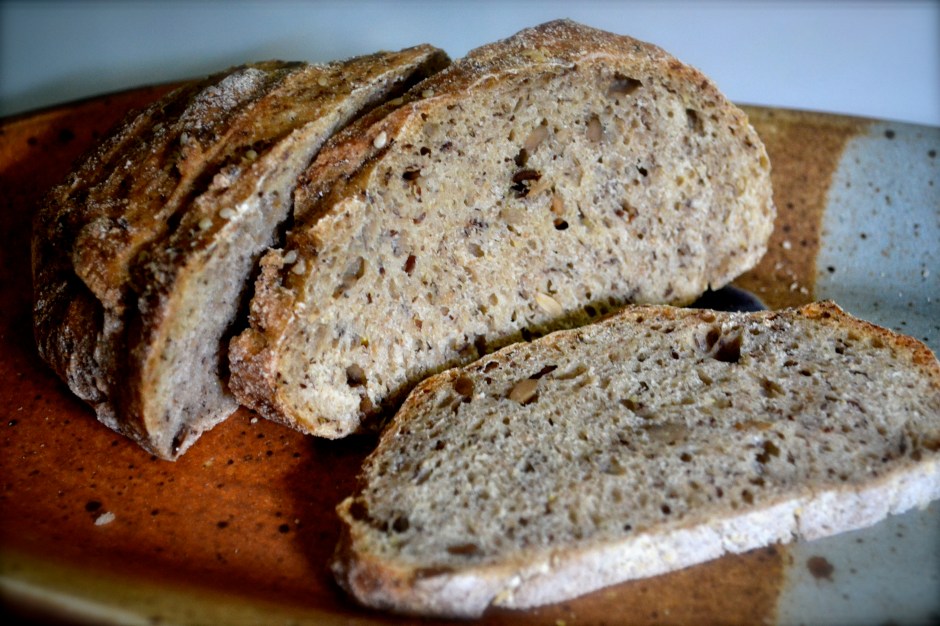
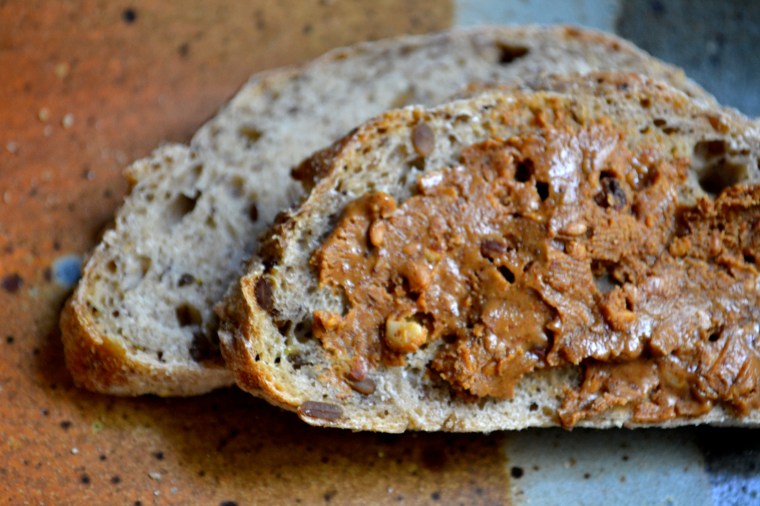
So, I have had quite a busy few weeks. I was supposed to have this bread ready to post yesterday for Food Matters Monday, but I failed and got behind. But I totally ate this bread for breakfast, lunch, dinner, and dessert for the last several days. So without much further ado……
I have always romanticized about owning a bakery….waking up early to bake fresh bread and pastries. Locals coming to get their fresh baked breads every morning…but then there is the problem with me not being a baker of breads. I had never quite gotten the knack until I learned the No-Knead meathod that Jim Lahey (of famed Sullivan Street Bakery) founded years ago. Since learning this method, I have never gone back. It’s genius. Throw all the flour, yeast, and salt in a bowl…add water…stir…let the shaggy mess rest for several hours (best if is allowed to rise for 12 to 24 hours)…then pull it out of the bowl, roughly shape into a ball or football, then bake. Bam. Delicous, house warming, belly craving bread. Slather butter on it or PB or eat it plain. Daaang.
No kneading and no waiting to see if your bread has risen and fallen then risen and fallen again…none of it….none. It’ll change your life (and your waistband if you bake too many loaves like me..hehe) and save you a poop ton of money. That’s right…a poop ton. Make your own bread and impress friends and family.
Or impress yourself, because really that is all that matters.
Mark Bittman has also used this no-knead method in his Food Matters Cookbook. His recipe, Real Whole Wheat Bread, was chosen this week for the Food Matters Project by Melissa of the Faux Martha. What is great about this recipe, is that there is so many variations…herbs, seeds, fruit…you name it…you can make it. So stop doubting yourself and make some BREAD. Nothing smells better than fresh baked bread. Mmmm…
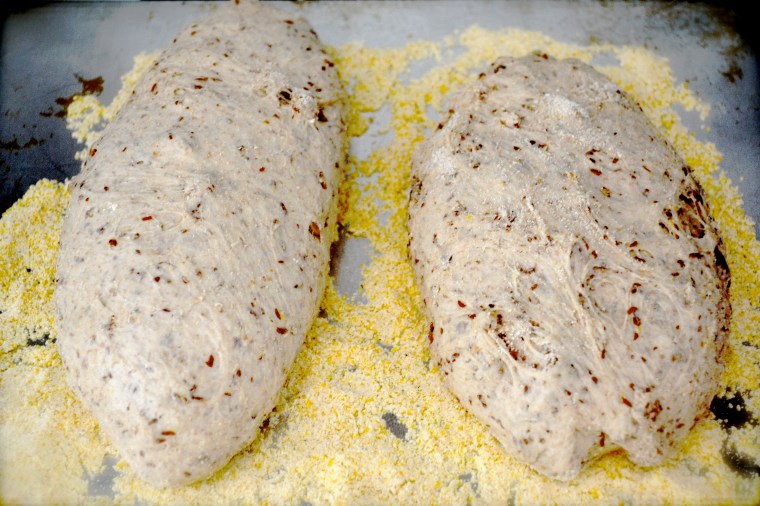
Now, although the primary recipe is Mark Bittman’s, my baking method is not technically Mark Bittman’s method. I prefer an artisinal appearance or free form with a crusty exterior. I also like smaller loaves, which is why I divided the recipe below into two beautiful football shaped loaves. You can definitely bake this in a loaf pan if you want. But a few years ago, I found a book at an estate sale called “Health Bread in Five Minutes a Day” by Jeff Hertzberg and Zoe Francois that takes the no-knead method to another level, cooking the bread on a baking stone in a super hot oven (450F) and trying to mimik hearth-style baking. You will get professional looking loaves every time and it is super easy.
Before you jump elbows first into bread baking, here are a few notes about bread and the primary ingredients….
1. Yeast hates hot water…it will kill those suckers. So use luke-warm water. This means that the water feels just a little warm to the touch (no hotter than 100 degrees F). Cold water from the tap will work also, but the initial rise time will take much longer. If your water at home has a funky flavor, I recommend buying distilled or filtered water, because your bread will then get the funk…and not a good funk. Otherwise, tap water will be fine.
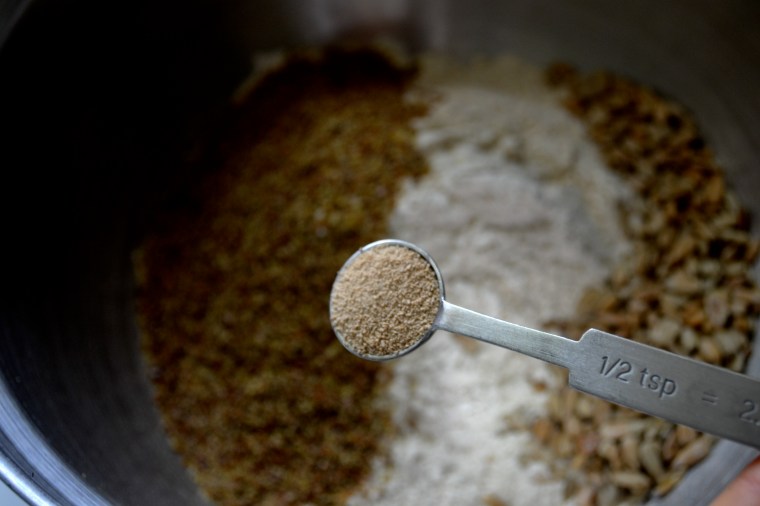
2. Make sure your yeast is fresh. Store in the fridge to make it last longer. Initial rise times are slower if you use less yeast (1/2 teaspoon versus 2 teaspoons). If you want to speed up the rise time, increase the quantity of yeast up to a 2 teaspoons (one full packet) for the below recipe. If you double the below recipe, use 1 1/2 tablespoons of yeast. If you plan on making a lot of bread, buying yeast in bulk (a jar instead of those pesky packets) will save you money.
3. Boost nutritional value in your breads by using 100% whole wheat and adding healthy seeds within or on top of the bread. Seeds can include sesame, flaxseed, caraway, pumpkin, sunflower, poppy, and anise. To top the bread, paint the surface of the loaf with water before sprinkling the seeds on the loaf.
4. Baking stone – A baking stone will give you the best results for a professional-looking free form loaf. The stone absorbs excess moisture from the wet dough, allowing the crust to become crisp. Mmmm. Also the weight of the stone helps with heat retention and provides even heating and heat transfer to the loaf.
Sorry for the excessively long post, but it is worth it! This is why I’m late in posting it. Also, don’t forget to see what the other FMP foodies did with this recipe at the Food Matters Project home page.
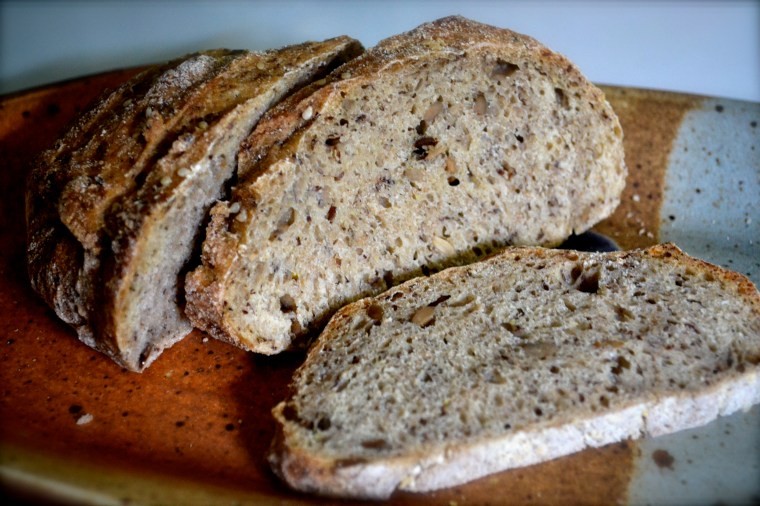
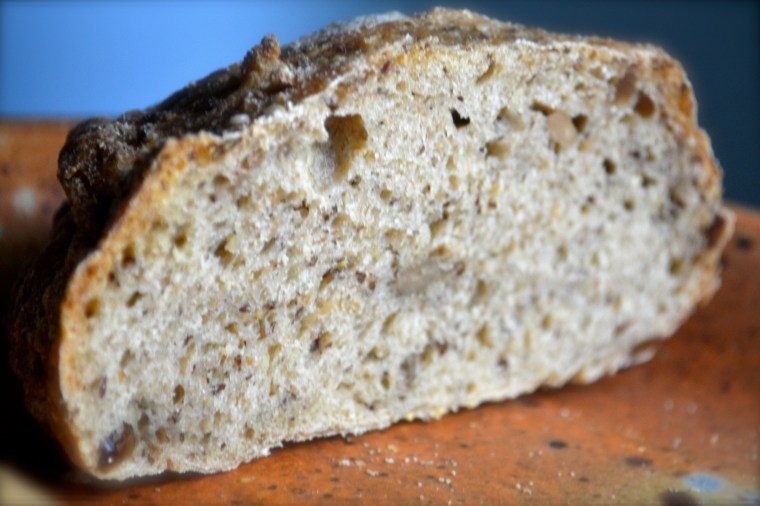
Easy 100% Whole Wheat Seed Bread
Yield: Two 1-lb loaves (or one big mama jamma loaf)
Ingredients (this recipe can easily be doubled to make 4 1-lb loaves in order to feed an army)
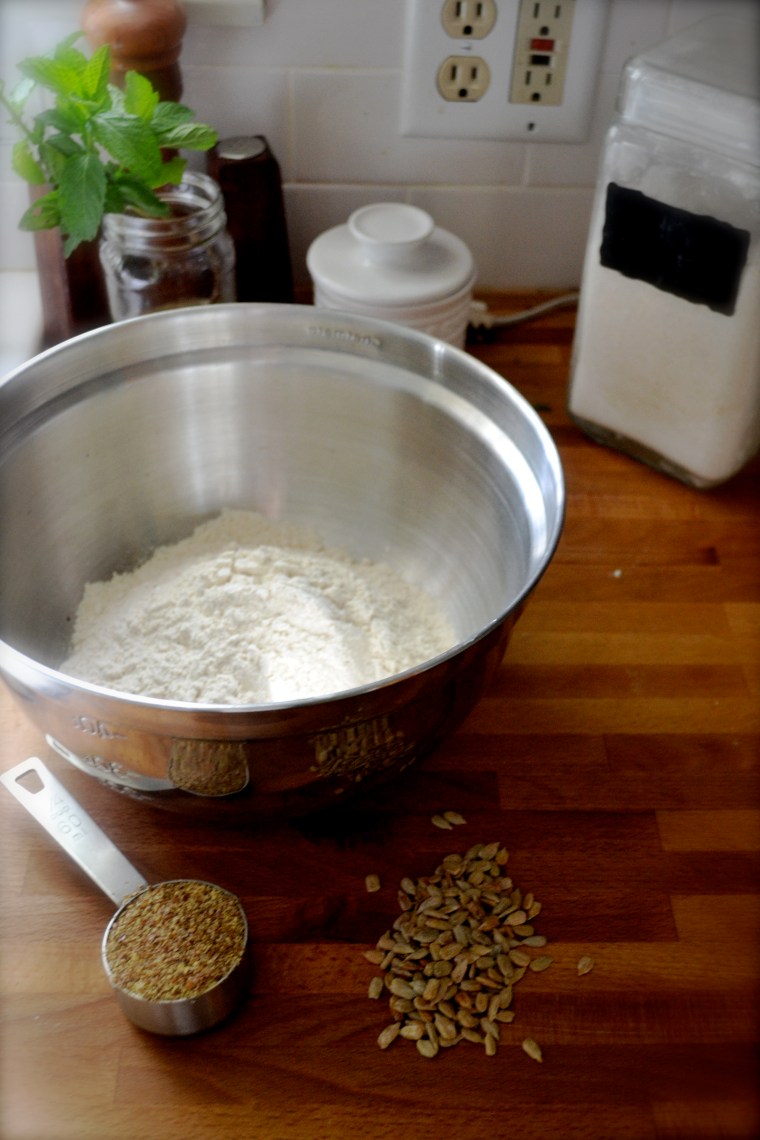
- 3 cups whole wheat flour
- 2 teaspoons of kosher salt
- 1/4 cup flaxseed meal
- 1/4 cup sunflower seeds (optional to add additional seeds such as pumpkin, poppy, sesame)
- 1/2 teaspoon active yeast
- 1 1/2 cups lukewarm water (must be less than 100 F)
- Topping: sesame seeds, poppy seeds, sunflower (or whatever you have on hand)
Instructions (seems like a lot of instructions but it is uber easy)
- Combine flour, salt, flaxseed, sunflower seeds, and yeast in a medium 5 qt bowl.
- Add water and stir with a wooden spoon till combined. The dough should be wet and shaggy and resemble biscuit dough or batter. Cover (not airtight) with plastic wrap or damp towel. Allow it to rest at room temperature until it rises and collapses (or flattens on top with bubbles) at least 2 hours, but it is best when left 12 to 24 hours. (If your house is cold, turn the oven on to 200 F then turn it off, placing the dough on the oven to rise).
- The dough can be used immediately after the initial rise, or it can be refrigerated in a lidded (not airtight) container and used over the next week. You can lop off smaller pieces and bake smaller portions, storing the rest in the fridge until you are ready for fresh baked bread.
- When you are ready to bake the bread, dust the surface of the refrigerated dough with flour and shape into a ball by stretching the surface of the dough around to the bottom on all four sides, rotating the ball a quater-turn as you go. At this point you can either place in a loaf pan or bake on a pizza peel for an artisinal loaf. For the artisinal loaf, place the loaf to rest on a greased cookie sheet (can also dust the cookie sheet with cornmeal). Loosely cover the dough with plastic wrap and allow to rest for 1 1/2 hours.
- At leasat 30 minutes before baking, preheat oven to 450 F with a baking stone placed on the middle rack of the oven. Place an empty metal broiler tray on the lowest rack, making sure that it won’t interfere with the rising bread.
- Just before baking, dust the top of the loaf with flour and then slash the loaf with a razor or serrated knife with 1/4-inch-deep parallel cuts.
- Slide the loaf directly onto the hot preheated pizza stone (or you can place the greased cookie sheet directly on the stone if you can’t slide the loaf off of it). Pour 1 cup of hot tap water into the preheated broiler tray and quickly close the oven door.
- Bake for 30 to 35 minutes, or until the loaf is browned and firm. Note: If you used a cookie sheet, remove the bread from the cookie sheet at 20 minutes and bake the rest of the way on the pizza stone.
- Remove from the oven and allow to cool on a wire rack before slicing and eating.




Great post! Great bread! Great tips! Inspiring!
LikeLike
This is the best post Alissa! You really broke it down and I feel like I just learned a lot of great info! I am trying it your way next time. Thanks 🙂
LikeLike
Thanks! I loved your croutons. Great save. I’ve had a lot of failed breads, but making sure the yeast is fresh and the water is not too hot will help.
LikeLike
The additional healthy seeds you put in your bread makes it look so pretty and I’m sure full of healthy goodness. Love it! Thanks for these tips, I like the baking stone one. We have a pizza stone but I never think to use it for baking bread. Will definitely give that a try!
LikeLike
Thanks. I think it makes a difference. I have also seen people use a dutch oven!
LikeLike
Those pictures turned out great. Wish I could eat it through my computer screen! Yum! Yes, I love that making bread is so much cheaper- I have to keep reminding myself every time I spend $3.99 at Whole Foods on a fresh baguette! 😉
LikeLike
So many great tips here, Alyssa! My baguettes fell flat but they still tasted good. I have tried the Healthy Bread in 5 Minutes method but your bread still looks better than my attempts. I’m going to try your way next time!
LikeLike
Alissa,
I’ve also fanticized about having a bakery, and I love, absolutley love making Jim Lehey’s no-knead bread. I do a 100% whole wheat variation that my husband is wild about. Iove what you’ve done by adding the seeds. Now I’ve got to do a variation of it!
LikeLike