One of my all time favorite salads that I make is my Spring Roll Salad with Thai Dressing. It is the perfect salad to make when herbs are springing forth from the ground in full force. It’s packed with fresh mint, fresh cilantro, and fresh basil. I jam all of those fresh beauties in the salad and top with carrots, cucumber, and spring onions and just POUR that beautiful thai dressing in my mouth..I mean, on the salad. But seriously, I could totally gorge myself on that stuff.
If you don’t have fresh herbs growing, you can totally grab some at the farmers market in large beautiful bunches. But I recommend growing some in pots. Super easy and incredibly rewarding to be able to use fresh herbs in a flash. They are easy to grow from seed or purchasing starters at your local gardening store.

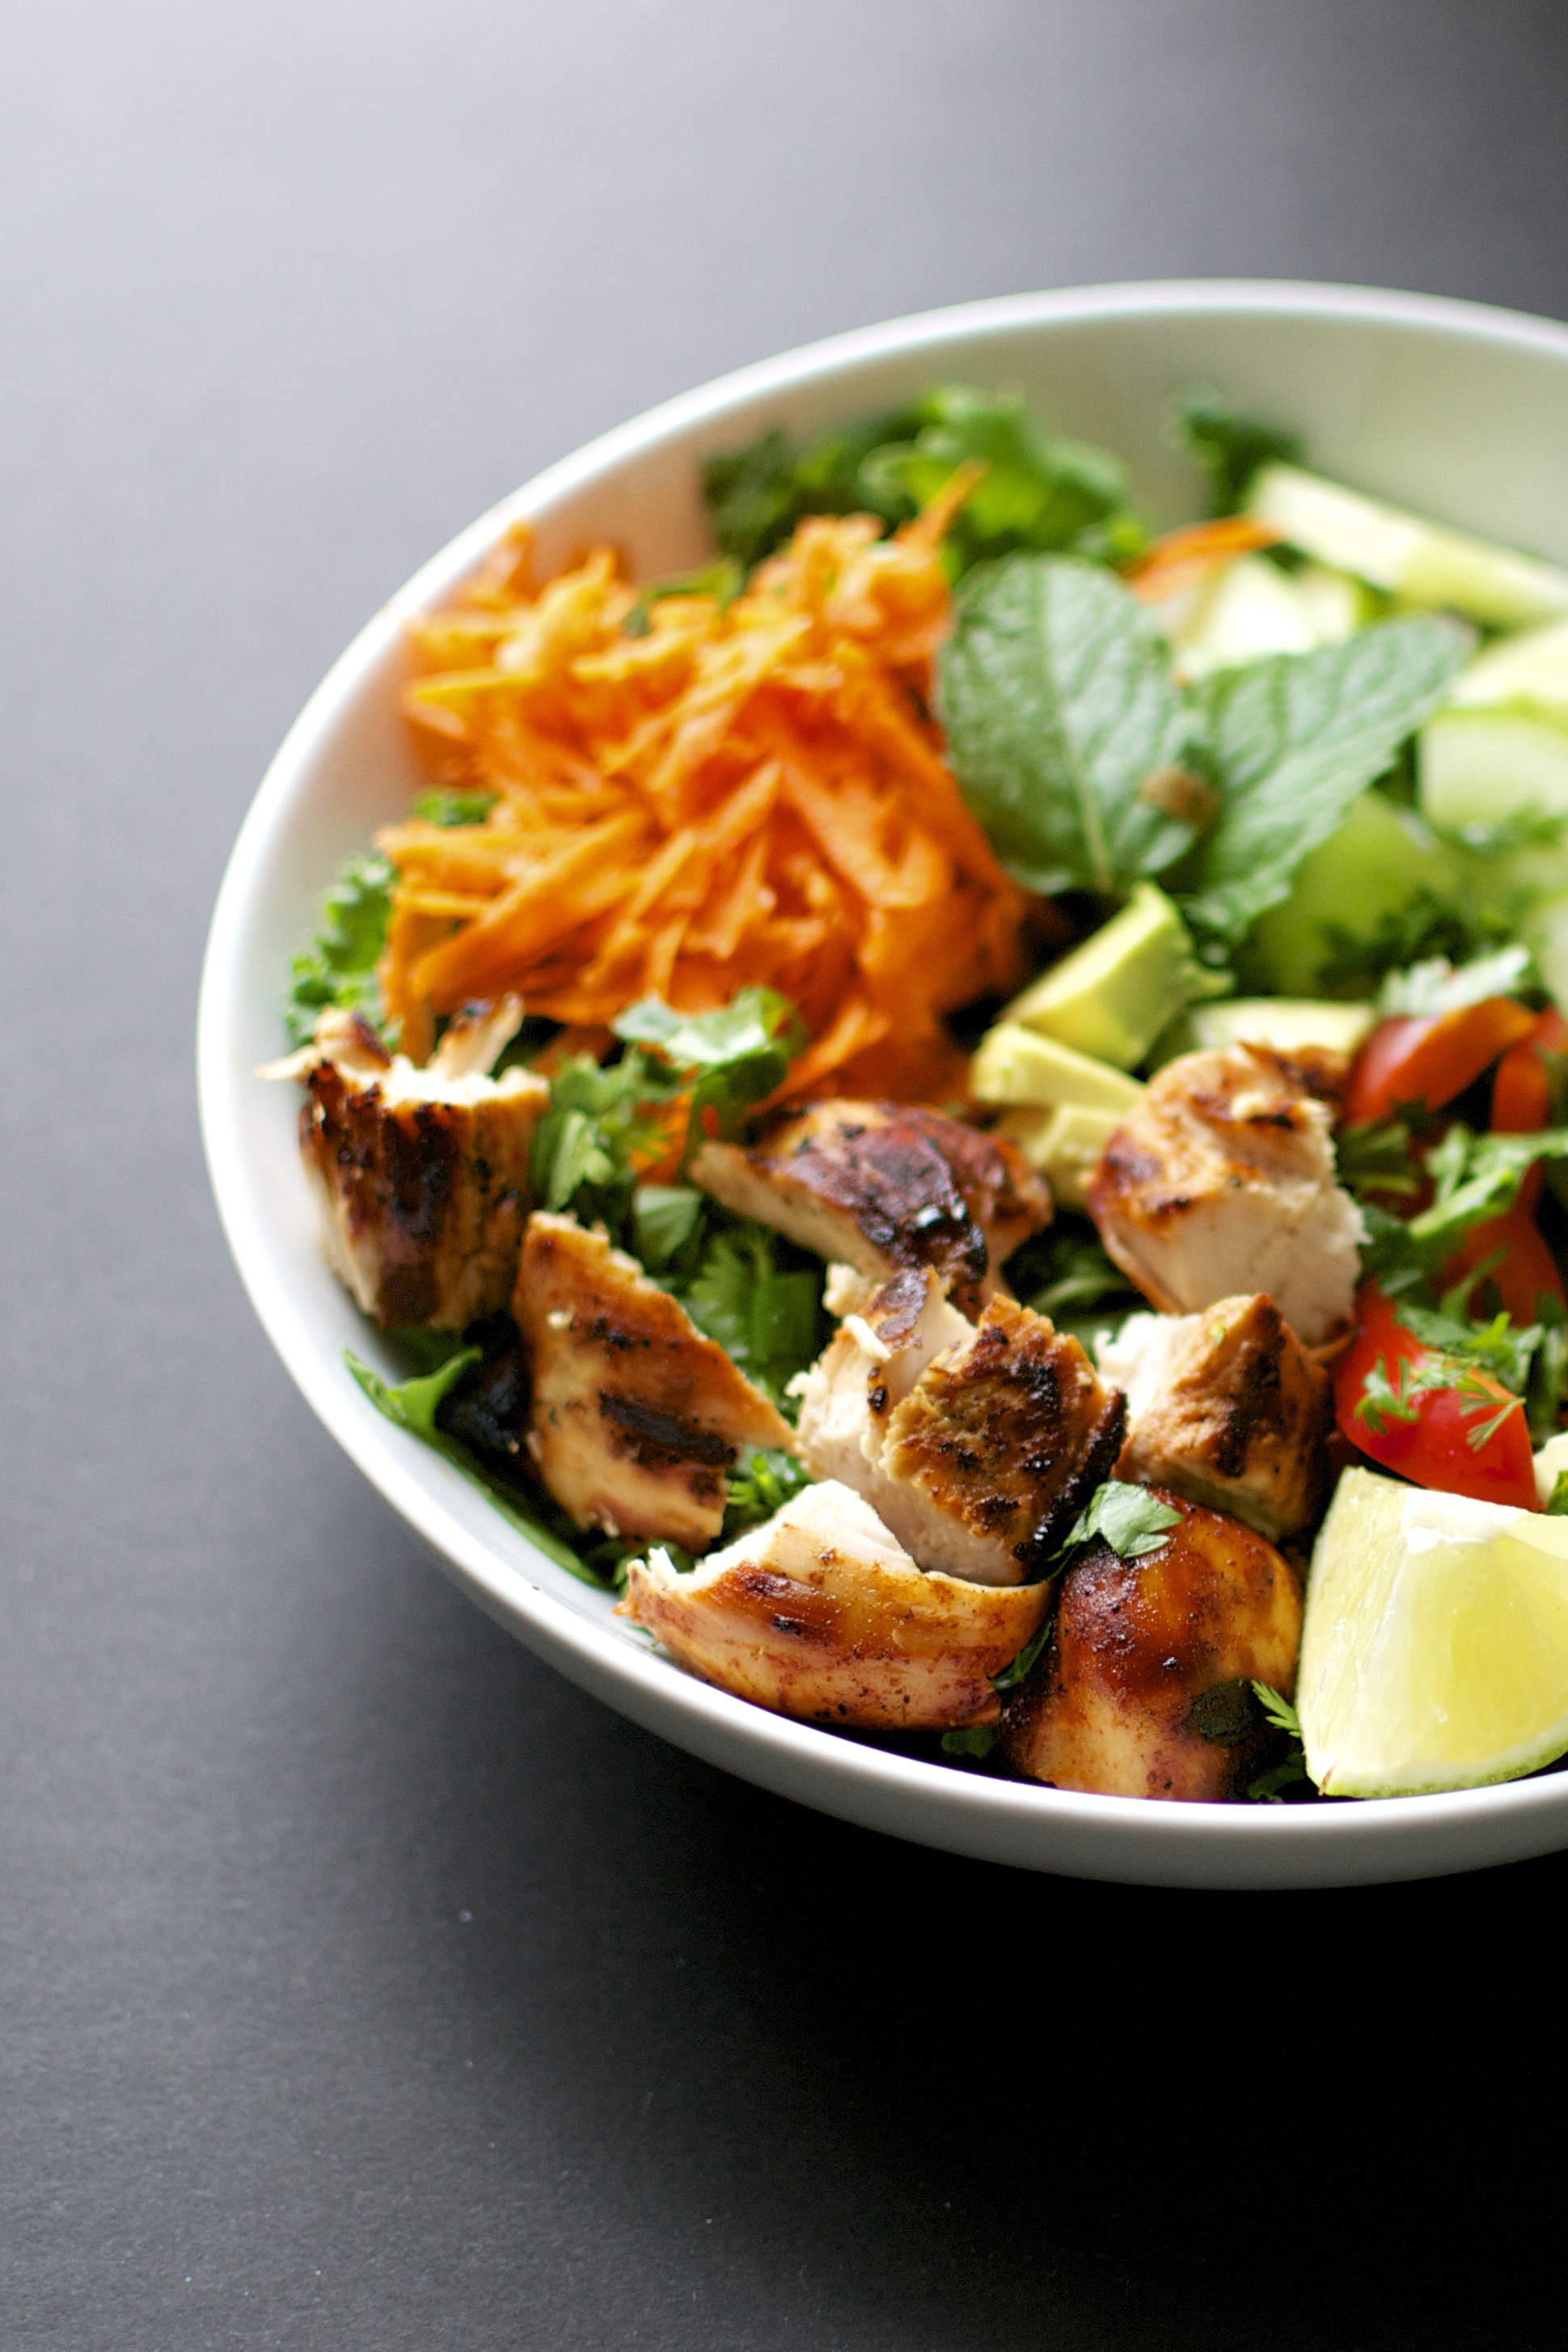
Anywho, I decided to take my amazing herbalicious spring roll salad to a new level. I topped it with grilled chicken that had been marinated in a thai flavored marinade for an hour. My husbands words after eating this salad were “This is the best salad I’ve ever eaten in my life.” Who can’t love a great juicy grilled chicken and amazing peanut sauce! Heaven.
So this is seriously an easy peasy dinner, folks. Maybe not as easy as scrambled eggs but soooo much more tasty. Marinate the chicken for at least an hour or as long as overnight. You can use bone in or boneless, heck you can even go with breasts, thighs, legs, wings…whatever you want. I want judge if you’re a thigh person over a boob person. It’s cool. We are being super easy over here. Note: if you choose bone in breasts or thighs, it will take longer to grill than boneless. But who cares…we are grilling. Grab a brew, throw your meat on the grill, cheers to summer. That stupid winter is over. And here comes that ungrateful sticky humidity. Get ready!

While the chicken is grilling, throw your greens, herbs, and veggies together in separate bowls or one massive bowl. Whip up the Spicy Peanut Dressing. Add water to the peanut dressing as needed to get it to the consistency that you want. Set it aside and let everyone pour the sauce at their leisure. You may want to make extra!
Pull the chicken off the grill, let sit for a few minutes, then cube it up. Add it to the salads.
Pour dressing. Pour some more. C’mon!
Done.
Eat.
Lick bowl.
Dream about peanut dressing until the time you get it. Or is that just me? Life sure is better with fresh herbs and peanut dressing!
Thai Chicken Salad with Spicy Peanut Sauce Dressing (Gluten Free, Dairy Free)
Chicken Marinade Ingredients
- 1.5 to 2 lbs chicken breasts or chicken thighs (I used 4 boneless skinless chicken breasts)
- 2 Tablespoons nam pla (thai fish sauce) (I use red boat…great write up on it here)
- 2 Tablespoons gluten-free tamari (or coconut aminos)
- 1 tablespoon rice wine vinegar
- juice from 1 lime
- 1 tablespoon fresh ginger
- 1 teaspoon coriander
- 1 tablespoon curry paste (red or green works)
Spring Salad Ingredients
(basically this Thai Spring Roll Salad of mine)
- Mixed greens (lettuce, baby kale, arugula, etc)
- shredded carrots
- cucumber
- green onions
- red bell pepper
- avocado
- fresh limes
- fresh mint, cilantro, and basil
- Thai Spicy Peanut Sauce Dressing (substitute peanut butter, almond butter, or sunflower seed butter in the dressing depending on your dietary needs)
Instructions
- Place chicken in a resealable plastic bag or shallow glass dish. Mix marinade ingredients in a small dish and pour over the chicken. Cover and allow to marinate in the refrigerator or an hour or overnight.
- Preheat the grill (or preheat oven to 425 F). Remove chicken from the marinade and allow excess marinade to drain. Place chicken on hot grill for 4 to 5 minutes per side, or until a thermometer reads 155 F within the thickest part of the chicken breast or thigh. If baking, place the chicken on a prepared baking sheet and bake for 25 to 30 minutes, until chicken is cooked through. Remove cooked chicken from grill or oven and allow to sit for 5 minutes. Cut into bite sized pieces.
- Mix ingredients for the spicy peanut dressing together in a small bowl or small food processor. You can use almond butter or sunflower seed butter in place of the peanut butter based on dietary needs. Add water as needed to obtain the consistency that you desire for dressing. Set aside.
- Assemble salad ingredients in separate bowls or in a single bowl. Top with cubed grilled chicken. I like mine with extra herbs, sliced avocado, and a big squeeze of lime too. Then pour the peanut dressing on top. I even go for an extra dash of siracha to boot. Mmmm. Enjoy!