Fresh and Easy Salsa

Fresh and Easy Salsa / Big Eats Tiny Kitchen

Put me in front of a bowl of chips and salsa, and it would take the strength of ten mules on steroids to pull me away. I’m serious. Chips and salsa are my go to snack…

Not saying it’s a good thing. Just sayin that your hand maaaaaay get gnawed on if you go for a chip or scoop of salsa while I’m diving in. Seriously. I can’t stop this dipping train!

And now that tomatoes are so prevalent in my garden, it’s time to get this crazy SALSA train started!!!

Fresh and Easy Salsa / Big Eats Tiny Kitchen

Fresh and Easy Salsa / Big Eats Tiny Kitchen

I used fresh roma tomatoes, but other varieties are juuuust fine. Plus, I’ll tell you a secret. This recipe can even be made in the winter with (gasp) canned tomatoes.  I have used some that I canned from my garden, but if you only have store-bought, go for the good kind! Muir Glen is my fave. The secret to this salsa is definitely good tomatoes AND lime juice.

I whip up my salsa using a food processor but if you love to chop chop chop, then feel free to dice away. I like to reserve my energy for diving head first into the salsa bowl. If you do end up chopping up the ingredients, your salsa will just be more chunky….which is what I’m going to be if I don’t get my face out of this bowl of chips and salsa soon!

Give me more!

Fresh and Easy Salsa / Big Eats Tiny Kitchen

Fresh and Easy Salsa

  • Servings: 4 Cups
  • Difficulty: Easy
  • Print

Ingredients

  • 4 cups diced fresh tomatoes (about 15 roma tomatoes)
  • 1 small onion, chopped
  • 3 cloves of garlic
  • 2 jalapeños (chopped and seeds removed if you want mild salsa)
  • 1/4 bunch of cilantro
  • juice of 2 limes
  • 2 teaspoons salt (or to taste)

Instructions

  1. Place tomatoes in bowl of food processor and pulse a few times until tomatoes are fine diced. Transfer tomatoes to a medium-sized bowl.
  2. Place chopped onion, garlic, jalapeños, cilantro, and lime juice to bowl of food processor. Pulse for 15 seconds or until everything is chopped fine. Transfer contents to the medium bowl with the tomatoes. Stir well and add salt to taste. Cover and refrigerate until ready to serve. Can be made ahead of time.

Advertisement

Thai Chicken Salad with Spicy Peanut Sauce Dressing

Thai Chicken Salad / Big Eats Tiny Kitchen

One of my all time favorite salads that I make is my Spring Roll Salad with Thai Dressing. It is the perfect salad to make when herbs are springing forth from the ground in full force. It’s packed with fresh mint, fresh cilantro, and fresh basil.  I jam all of those fresh beauties in the salad and top with carrots, cucumber, and spring onions and just POUR that beautiful thai dressing in my mouth..I mean, on the salad. But seriously, I could totally gorge myself on that stuff.

If you don’t have fresh herbs growing, you can totally grab some at the farmers market in large beautiful bunches. But I recommend growing some in pots. Super easy and incredibly rewarding to be able to use fresh herbs in a flash. They are easy to grow from seed or purchasing starters at your local gardening store.

Thai Chicken Salad / Big Eats Tiny Kitchen

Thai Chicken Salad / Big Eats Tiny Kitchen

Anywho, I decided to take my amazing herbalicious spring roll salad to a new level. I topped it with grilled chicken that had been marinated in a thai flavored marinade for an hour. My husbands words after eating this salad were “This is the best salad I’ve ever eaten in my life.”  Who can’t love a great juicy grilled chicken and amazing peanut sauce! Heaven.

So this is seriously an easy peasy dinner, folks. Maybe not as easy as scrambled eggs but soooo much more tasty. Marinate the chicken for at least an hour or as long as overnight. You can use bone in or boneless, heck you can even go with breasts, thighs, legs, wings…whatever you want. I want judge if you’re a thigh person over a boob person. It’s cool. We are being super easy over here. Note: if you choose bone in breasts or thighs, it will take longer to grill than boneless. But who cares…we are grilling. Grab a brew, throw your meat on the grill, cheers to summer. That stupid winter is over. And here comes that ungrateful sticky humidity. Get ready!

Thai Chicken Salad / Big Eats Tiny Kitchen

While the chicken is grilling, throw your greens, herbs, and veggies together in separate bowls or one massive bowl. Whip up the Spicy Peanut Dressing. Add water to the peanut dressing as needed to get it to the consistency that you want. Set it aside and let everyone pour the sauce at their leisure. You may want to make extra!

Pull the chicken off the grill, let sit for a few minutes, then cube it up. Add it to the salads.

Pour dressing. Pour some more. C’mon!

Done.

Eat.

Lick bowl.

Dream about peanut dressing until the time you get it. Or is that just me? Life sure is better with fresh herbs and peanut dressing!

Thai Chicken Salad with Spicy Peanut Sauce Dressing (Gluten Free, Dairy Free)

  • Servings: 2-4
  • Difficulty: Easy
  • Print

Chicken Marinade Ingredients

  • 1.5 to 2 lbs chicken breasts or chicken thighs (I used 4 boneless skinless chicken breasts)
  • 2 Tablespoons nam pla (thai fish sauce) (I use red boat…great write up on it here)
  • 2 Tablespoons gluten-free tamari (or coconut aminos)
  • 1 tablespoon rice wine vinegar
  • juice from 1 lime
  • 1 tablespoon fresh ginger
  • 1 teaspoon coriander
  • 1 tablespoon curry paste (red or green works)

Spring Salad Ingredients

(basically this Thai Spring Roll Salad of mine)

  • Mixed greens (lettuce, baby kale, arugula, etc)
  • shredded carrots
  • cucumber
  • green onions
  • red bell pepper
  • avocado
  • fresh limes
  • fresh mint, cilantro, and basil
  • Thai Spicy Peanut Sauce Dressing (substitute peanut butter, almond butter, or sunflower seed butter in the dressing depending on your dietary needs)

Instructions

  1. Place chicken in a resealable plastic bag or shallow glass dish. Mix marinade ingredients in a small dish and pour over the chicken. Cover and allow to marinate in the refrigerator or an hour or overnight.
  2. Preheat the grill (or preheat oven to 425 F). Remove chicken from the marinade and allow excess marinade to drain. Place chicken on hot grill for 4 to 5 minutes per side, or until a thermometer reads 155 F within the thickest part of the chicken breast or thigh. If baking, place the chicken on a prepared baking sheet and bake for 25 to 30 minutes, until chicken is cooked through. Remove cooked chicken from grill or oven and allow to sit for 5 minutes. Cut into bite sized pieces.
  3. Mix ingredients for the spicy peanut dressing together in a small bowl or small food processor. You can use almond butter or sunflower seed butter in place of the peanut butter based on dietary needs. Add water as needed to obtain the consistency that you desire for dressing. Set aside.
  4. Assemble salad ingredients in separate bowls or in a single bowl. Top with cubed grilled chicken. I like mine with extra herbs, sliced avocado, and a big squeeze of lime too. Then pour the peanut dressing on top. I even go for an extra dash of siracha to boot. Mmmm. Enjoy!


Tilapia Fish Tacos

Tilapia Fish Tacos  / Big Eats Tiny Kitchen
Tilapia Fish Tacos / Big Eats Tiny Kitchen

I still remember the first time I heard someone mention fish tacos. It was nearly 15 years ago. My face contorted and I wanted to vom in my mouth. Tasty, huh.  They didn’t sound appetizing…at…all. I imagined tacos that were a combo of Long John Silvers and Taco Bell…bleeeeeeh. But I went for it and took the fish taco challenge.

Thank goodness that was not what they turned out to be. They were fresh. They were NOT breaded. They were spicy with a fresh vinegary slaw on top. And did I mention the cilantro? and lime juice? And grilled corn tortillas? Ya, there was no turning back. I was a fish taco convert. I wanted to tell everyone about the magic of wrapping a blackened tilapia filet into a corn tortilla with cilantro and lime juice. I was ready to shove them in any doubters face.

Tilapia Fish Tacos (Gluten Free)

But now it is hard to go to a restaurant and NOT find fish tacos on their menu. I don’t have to convince anyone that they aren’t a greasy batch of deep fried fish wrapped in a gordita. Not a taco!

I make fish tacos all the time for solo dinners and for guests, blowing their minds and introducing them to the great fish taco movement. I make them similar to the first ones that I had in California so many years ago. Bursts of freshness are with every bite. Definitely don’t skimp on the lime or the cilantro! Top them with a great fresh vinegary slaw, such as this brussels sprout slaw or this cabbage slaw. I also love whipping up a mango salsa to accompany them.  Mmmmm. So what are you waiting for? Go start converting people to the fish taco revolution!

Tilapia Fish Tacos (Gluten Free)

Tilapia Fish Tacos

Serves 4

Ingredients

  • 1 tablespoons smoked paprika
  • 1 teaspoon garlic powder
  • 2 teaspoons ground thyme
  • 2 teaspoons ground oregano
  • 1 Tablespoon chile powder
  • 1 Tablespoon ground cumin
  • 1/2 teaspoon salt
  • 12 oz tilapia filets
  • 1/2 cup chopped fresh cilantro
  • 3 limes
  • crumbled feta
  • Slaw – such as Brussels sprout and cabbage slaw
  • 8 corn tortillas

Instructions

  1. Preheat oven to 350F.
  2. Combine seasonings in a small bowl (paprika through salt).
  3. Pat the tilapia dry and then sprinkle seasoning on top and bottom of filets. Place tilapia filets on a parchment paper lined baking sheet. Bake for 10 to 15 minutes, or until fish begins to flake apart with a fork.
  4. Remove the fish from the oven. Flake into large chunks.
  5. To prepare the tortillas, either place them in a single layer in the oven for just 1 to 2 minutes or place over an open gas flame to grill them slightly on the edges. I don’t like to microwave my tortillas because they turn out rubbery.
  6. Now it’s time to MAKE YOUR TACOS! Place fish into tortilla and top with slaw, fresh cilantro, and a generous fresh squeeze of lime juice.

Lime Cilantro Brussels Sprout Slaw

Lime Cilantro Brussels Sprout Slaw / Big Eats Tiny Kitchen

We are all getting antsy around here. Am I right? I hate getting taunted with a few days of warm weather, then blasted with too many days of cold. It’s a terrible tease. Tulips are peaking out of the ground. Trees are beginning to bud. Patio weather one day and then fire-place/wool socks/snuggy weather the next. Ugh.

Does anyone else feel a little bipolar weather insanity coming on?  My body and cravings are in a constant state of flux… Sun!!!!! Give me fresh veggies! Give me fresh fruit! More spring greens!!!!

OOOOoooooh wait…clouds? Snow? Blaaaah. Carb me up it’s cold! Where’s the chili? Where’s the chowder? Salad, really???? Why is it not covered in cheese? Helloooo! I like my cupcake handles, thank you very much! Gotta keep some padding on this bod against the polar vortex!

Wait. But NO! Let’s think positive. Let’s all send out SPRING THOUGHTS. (Don’t roll your eyes! I’m trying to quit being so crabby….I said trying, people).

Lime Cilantro Brussels Sprout Slaw / Big Eats Tiny Kitchen

Lime Cilantro Brussels Sprout Slaw / Big Eats Tiny Kitchen

Wish for camping. Wish for tulips. Wish for gardening. Wish for the smell of grills. Wish for the sound of neighbors chatting with each other. Wish that your lawn will mow itself (get a goat). Wish that those cupcake handles will magically disappear once bathing suite season rears its ugly head (or maybe swimming t-shirts will come back in style).

Lime Cilantro Brussels Sprout Slaw / Big Eats Tiny Kitchen

As you send out your good vibes into the world, here is my positive food vibe. I used one of my fave winter veggies, brussels sprouts, to make a springy slaw! Lime and cilantro pump this puppy up another notch. Red cabbage makes this a total beauty to serve.  Oh ya, give me a badge! Healthy and Hawt!

Personally, I love this slaw on my fish tacos. Mmmmmm….recipe to come later. So put down the carbs and chili for just a few minutes and try to get a positive spring mind.

Maybe if we all think positive, spring will finally move in for good. But summer will stay asleep for a loooong time.

Lime Cilantro Brussels Sprout Slaw / Big Eats Tiny Kitchen

Lime Cilantro Brussels Sprout Slaw

Serves 4

Ingredients

  • 1/2 lb medium-sized brussels sprouts, ends trimmed
  • 1/2 head small red cabbage
  • 1/4 cup cilantro, chopped
  • 2 green onion, white and green parts sliced
  • juice of 1 large lime (about 2 to 3 tablespoons)
  • 1 to 2 tablespoons olive oil
  • 1/4 teaspoon salt

Instructions

  1. Remove any brown or spotted out leaves of the sprouts. The sprouts can be shredded several different methods: shredded in a food processor (using the slicing blade), sliced as thin as possible using a good knife, or using a mandolin slicer. Place in a large bowl.
  2. Shred half of a head of small red cabbage or slice as thin as possible. Add the shredded cabbage, cilantro, and green onions to the large bowl.
  3. In a small bowl, whisk lime juice, salt, and olive oil together. Pour dressing over shredded veggies. Toss and allow to sit at room temperature for at least 30 minutes, stirring occasionally to distribute the dressing. Eat up!

A Tale of Two Salsas: Basic Salsa and Rhubarb Salsa

Oh salsa…so quick. So easy. It makes the best of times. (too cliche?)

With just a few ingredients, you can make dip-heaven. Salsa can take any dish up a notch or three.  Tomatoes are just a starting point for basic salsa. Later in this post, I’ll let you in on some secrets on how to use seasonal produce to make different types of salsa.  Basically, I’m going to change your life.

Yes, it is true.  I love to dip things. I often choose a meal based on its “dipability”.  Don’t judge! It’s one of my oddities….Ok many oddities, but people…it’s a party at every meal!!! And having a great basic salsa recipe is key for anyone to have tucked up their sleeve to pull out for impromptu events.

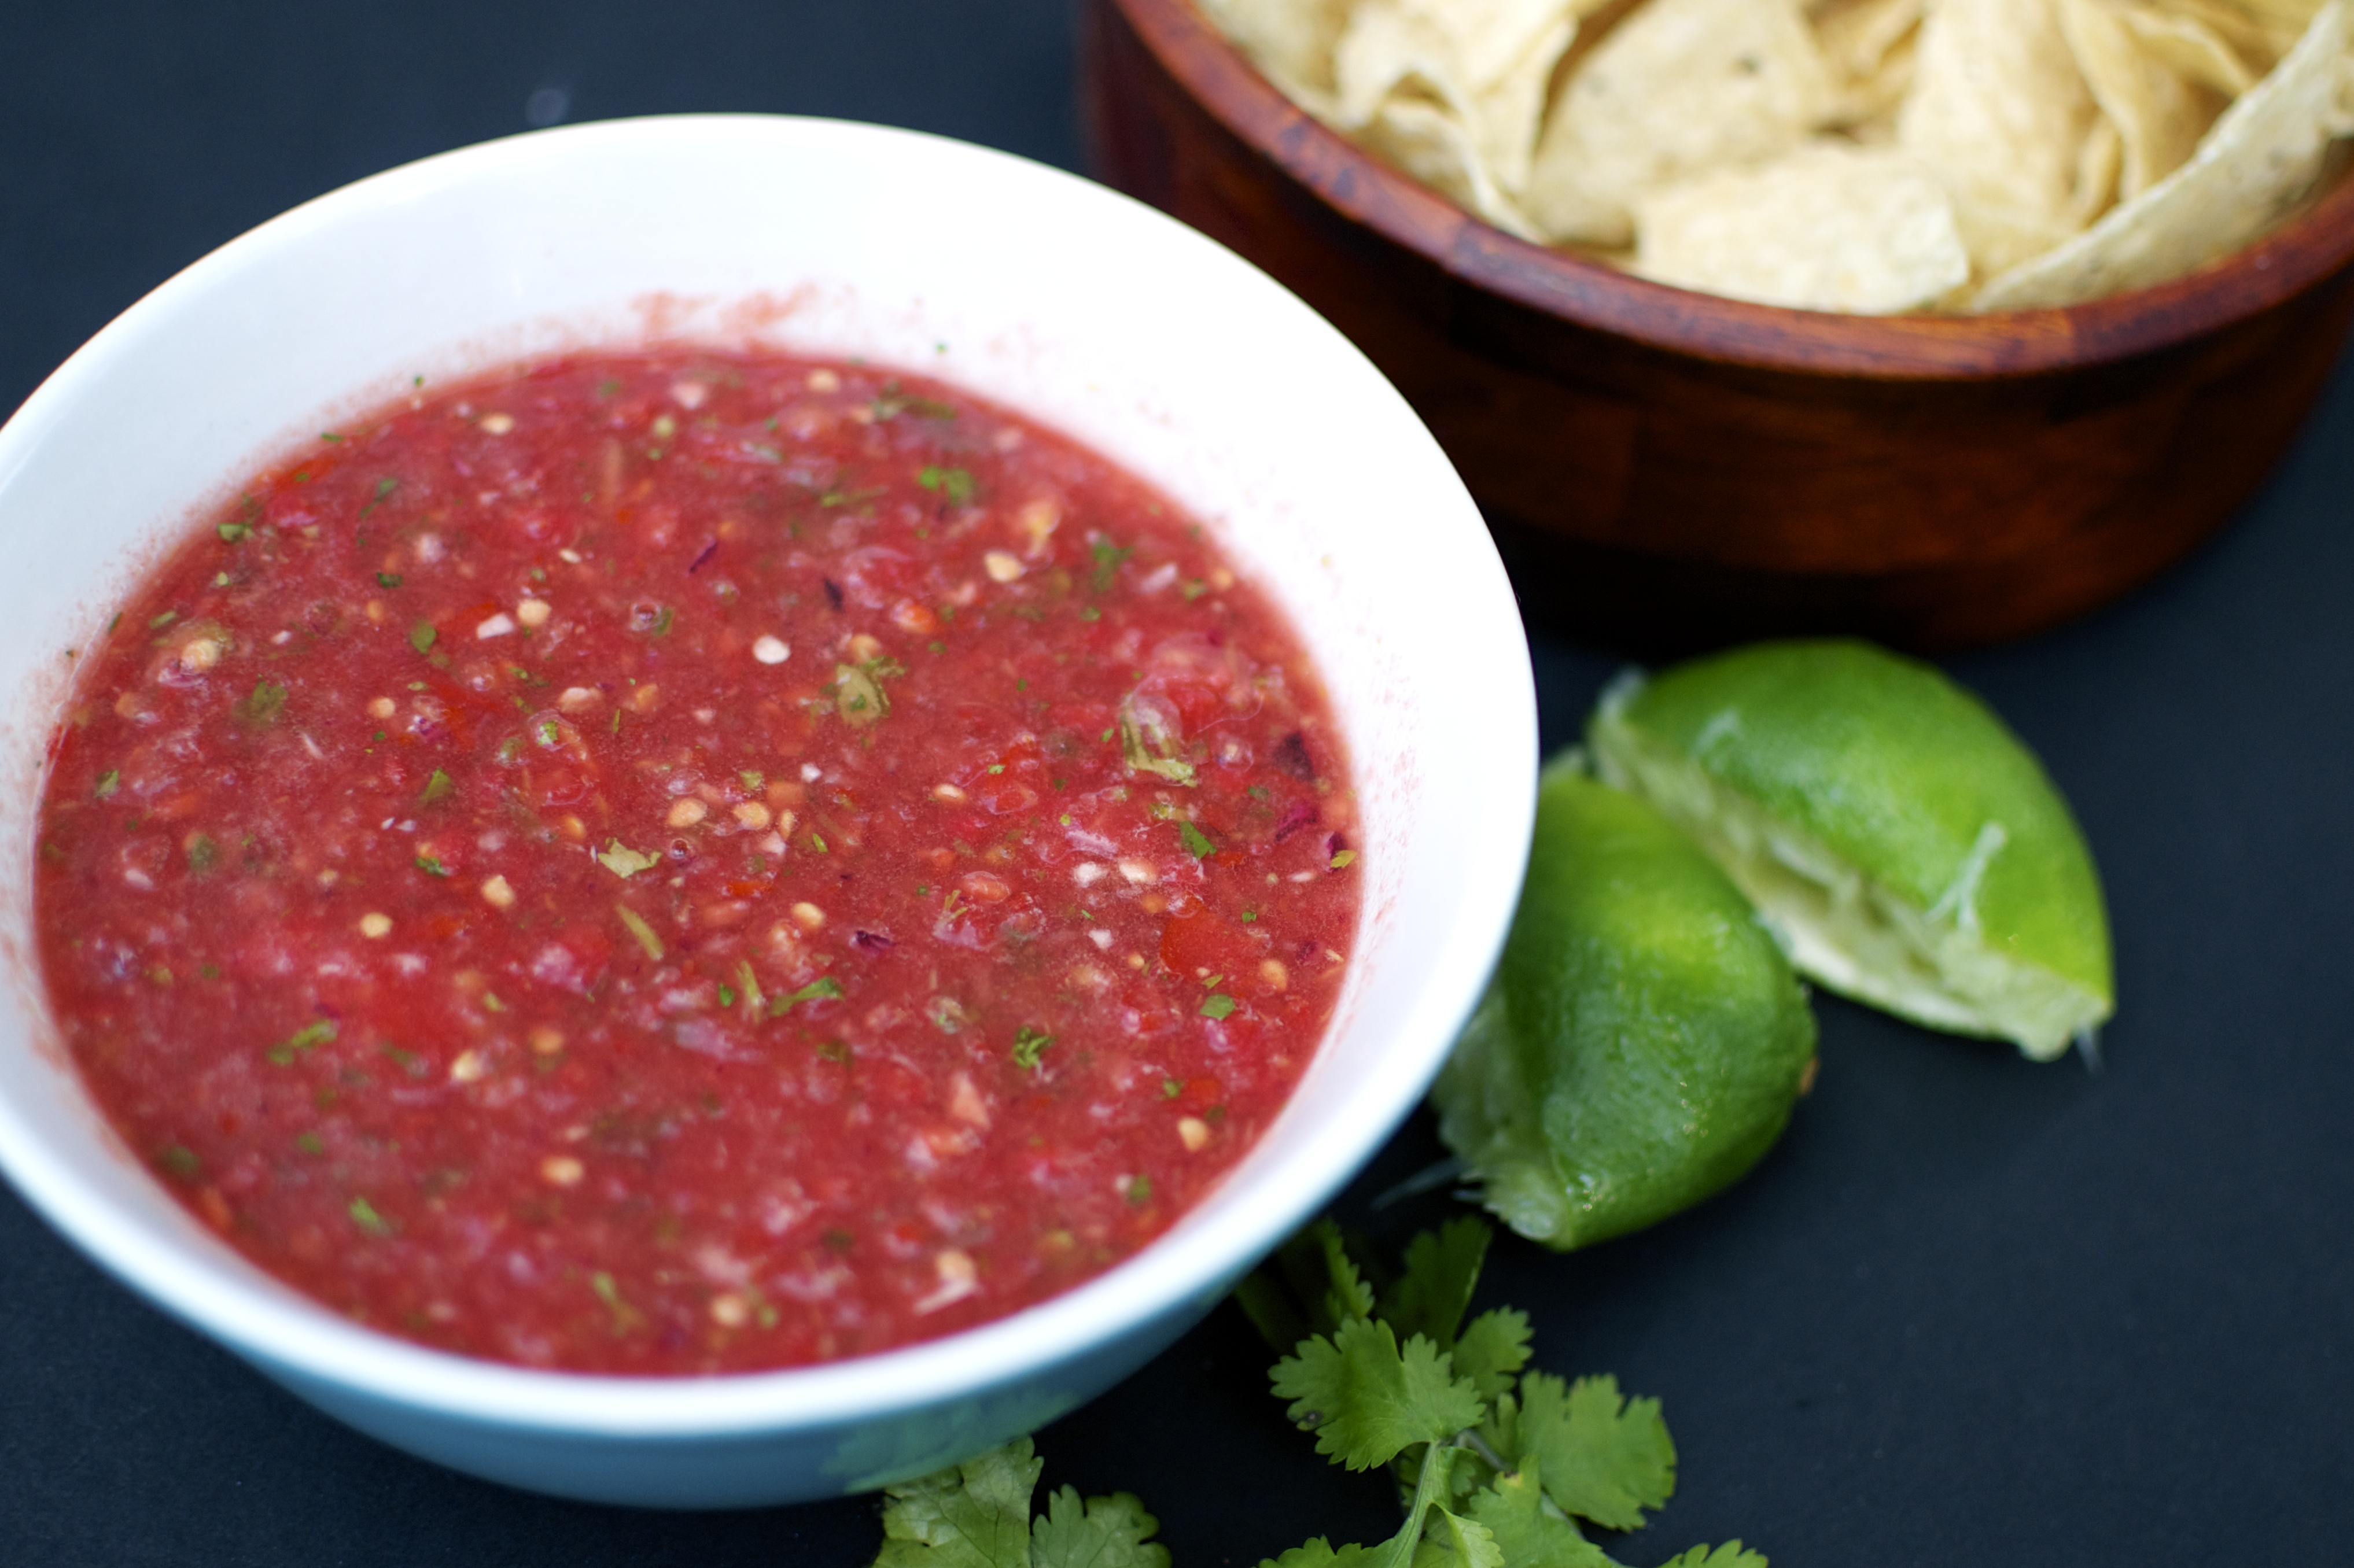
Because this was my week to host for the Food Matters Project and because of my love for all things dip-able, I chose the easy fresh salsa recipe from Mark Bittman’s the Food Matters Cookbook.  Paaaahrtay!  If you have never made fresh salsa, you are doing it today (or as soon as you can). Ya, I know you may have other crap planned, but guess what….salsa calls….”make me”.  And it’s easy. Dip it or throw it on tacos, or a salad, or on a spoon. Fresh salsa is perfect party food (for my solo party) or perfect to bring along for such occasions as Cinco de Mayo or you can bring it to my house for me to dip!

Garden tomatoes make the best salsa. But even when tomatoes are out of season, you can use canned tomatoes, which is what I did. Mark Bittman’s basic salsa is technically pico de gallo.  I chose to puree the salsa since I used canned tomatoes and because I like the smooth consistency. However, you can leave it chunky, if you prefer.

So let’s break it down. Really there are a few base ingredients that go into making salsa.

Onions + jalapeño + cilantro + lime juice (or any acidic juice really…vinegar works well too).

From this basic formula, you can add several ingredients to make fresh salsa.  Tomatoes are the basic salsa, of course. It will keep for up to a week in the fridge. But I doubt it will even linger that long. I used this salsa on top of eggs, on top of a spinach mushroom quesadilla (so dippable), and with homemade tortilla chips.

But, if you are feeling adventurous, there are other ingredients that you can add to salsa besides tomatoes….. such as seasonal fruit, black beans, or corn.

With spring in full force, RHUBARB has finally flooded the farmers market!!!!  To take full advantage of rhubarb at its peak, I decided to also try to make a rhubarb salsa.  I know, I know, I know…what about rhubarb pie, rhubarb tart?  Just trust me and branch out from the sweet desserts. Rhubarb salsa beckons you. I was so impressed with the outcome. Using the basic salsa recipe as a starting point, I replaced the tomatoes with rhubarb and sweet bell pepper, and then added a tad bit of honey mixed with apple cider vinegar and lime juice. The tartness in the rhubarb salsa is balanced by the sweet honey and complimented by the spicy kick from the jalapeño.

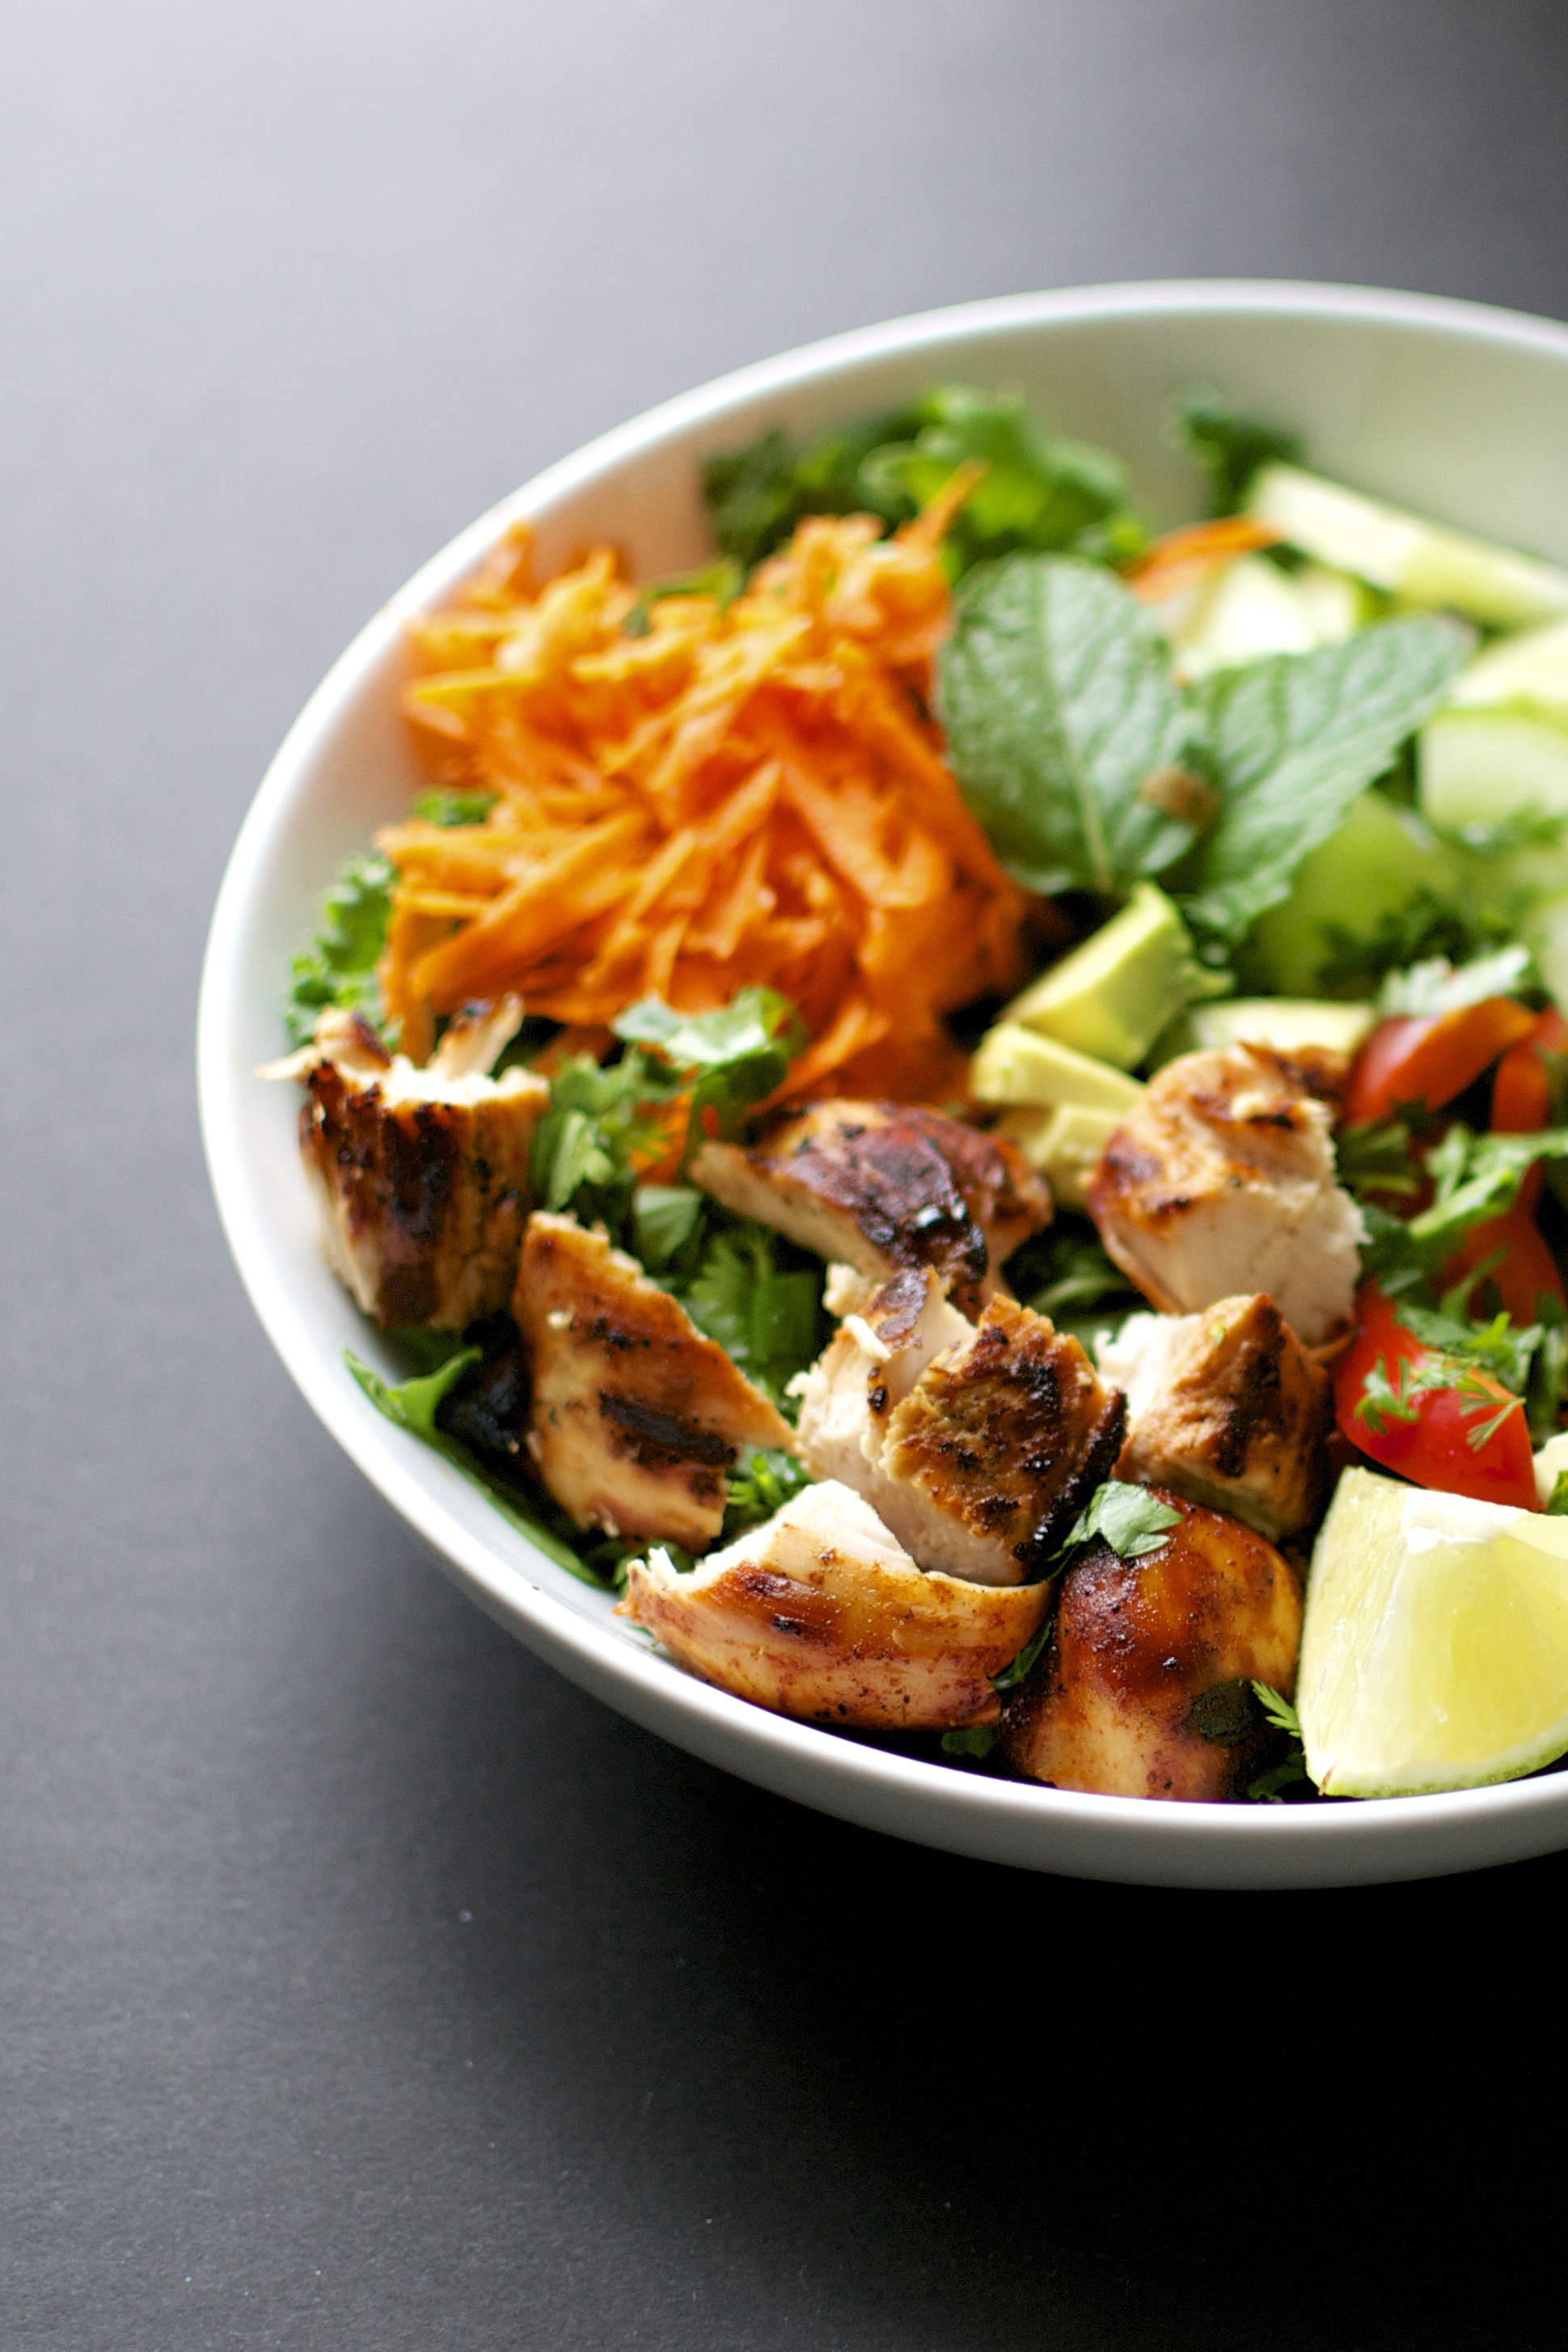
I ate this on fish tacos (so devine and sorry no pictures….they disappeared in my mouth). I also topped my fresh spring salad with it. Heavenly.

In summer, swap out tomatoes for peaches or mangos. In the fall, use granny smith or any other tart variety of apples. You can also swap orange or lemon juice for the lime juice.  Seriously, the options are endless when making salsa. After you make these salsa recipes, you are going to be in deep smit with them. You are welcome.

Don’t forget to check out the other FMP bloggers creations!

Basic Salsa (from the Food Matters Cookbook by Mark Bittman)

  • 1 1/2 cups of tomatoes (or 1 15 oz canned tomatoes, undrained)
  • 1/2 white or red onion
  • 1 jalapeño, seeds removed and diced
  • 1/4 cup to 1/2 cup of cilantro, diced
  • 2 tablespoons of lime juice
  • 1 garlic clove, minced
  • salt and pepper to taste
Instructions for Basic Salsa
  1. Combine all ingredients in a food processor. Puree until well combined.
  2. Taste and add salt/pepper. Chill covered for at least 30 minutes.
Rhubarb Salsa 
  • 1 stalk of rhubarb (1 to 1 1/2 cups), diced
  • 1/4 cup of sweet bell pepper, diced
  • 2 tablespoons of diced white or red onion
  • 2 tablespoons of diced scallions
  • 1 jalapeño, seeds removed and diced
  • 1 to 2 tablespoons of cilantro, diced
  • 1 tablespoon of lime juice
  • 1 tablespoon of apple cider vinegar
  • 2 teaspoons of honey
  • 1/4 teaspoon kosher salt
  • pepper to taste
Instructions for Rhubarb Salsa
  1. Heat 2 cups of water in a saucepan to boiling. Blanch rhubarb by placing in the boiling water for 10 to 20 seconds. Quickly remove the rhubarb and place in a colander. Run cold water over the rhubarb to stop the cooking process. Blot the rhubarb with a paper towel to dry.
  2. In a separate bowl, combine the bell pepper, onion, scallions, jalapeño, and cilantro. Add rhubarb and mix ingredients.
  3. In a small separate bowl, dissolve the honey in the lime juice and apple cider vinegar. Drizzle this dressing over the rhubarb salsa and stir. Add the salt and pepper. Mix well.
  4. Chill for at least 30 minutes.