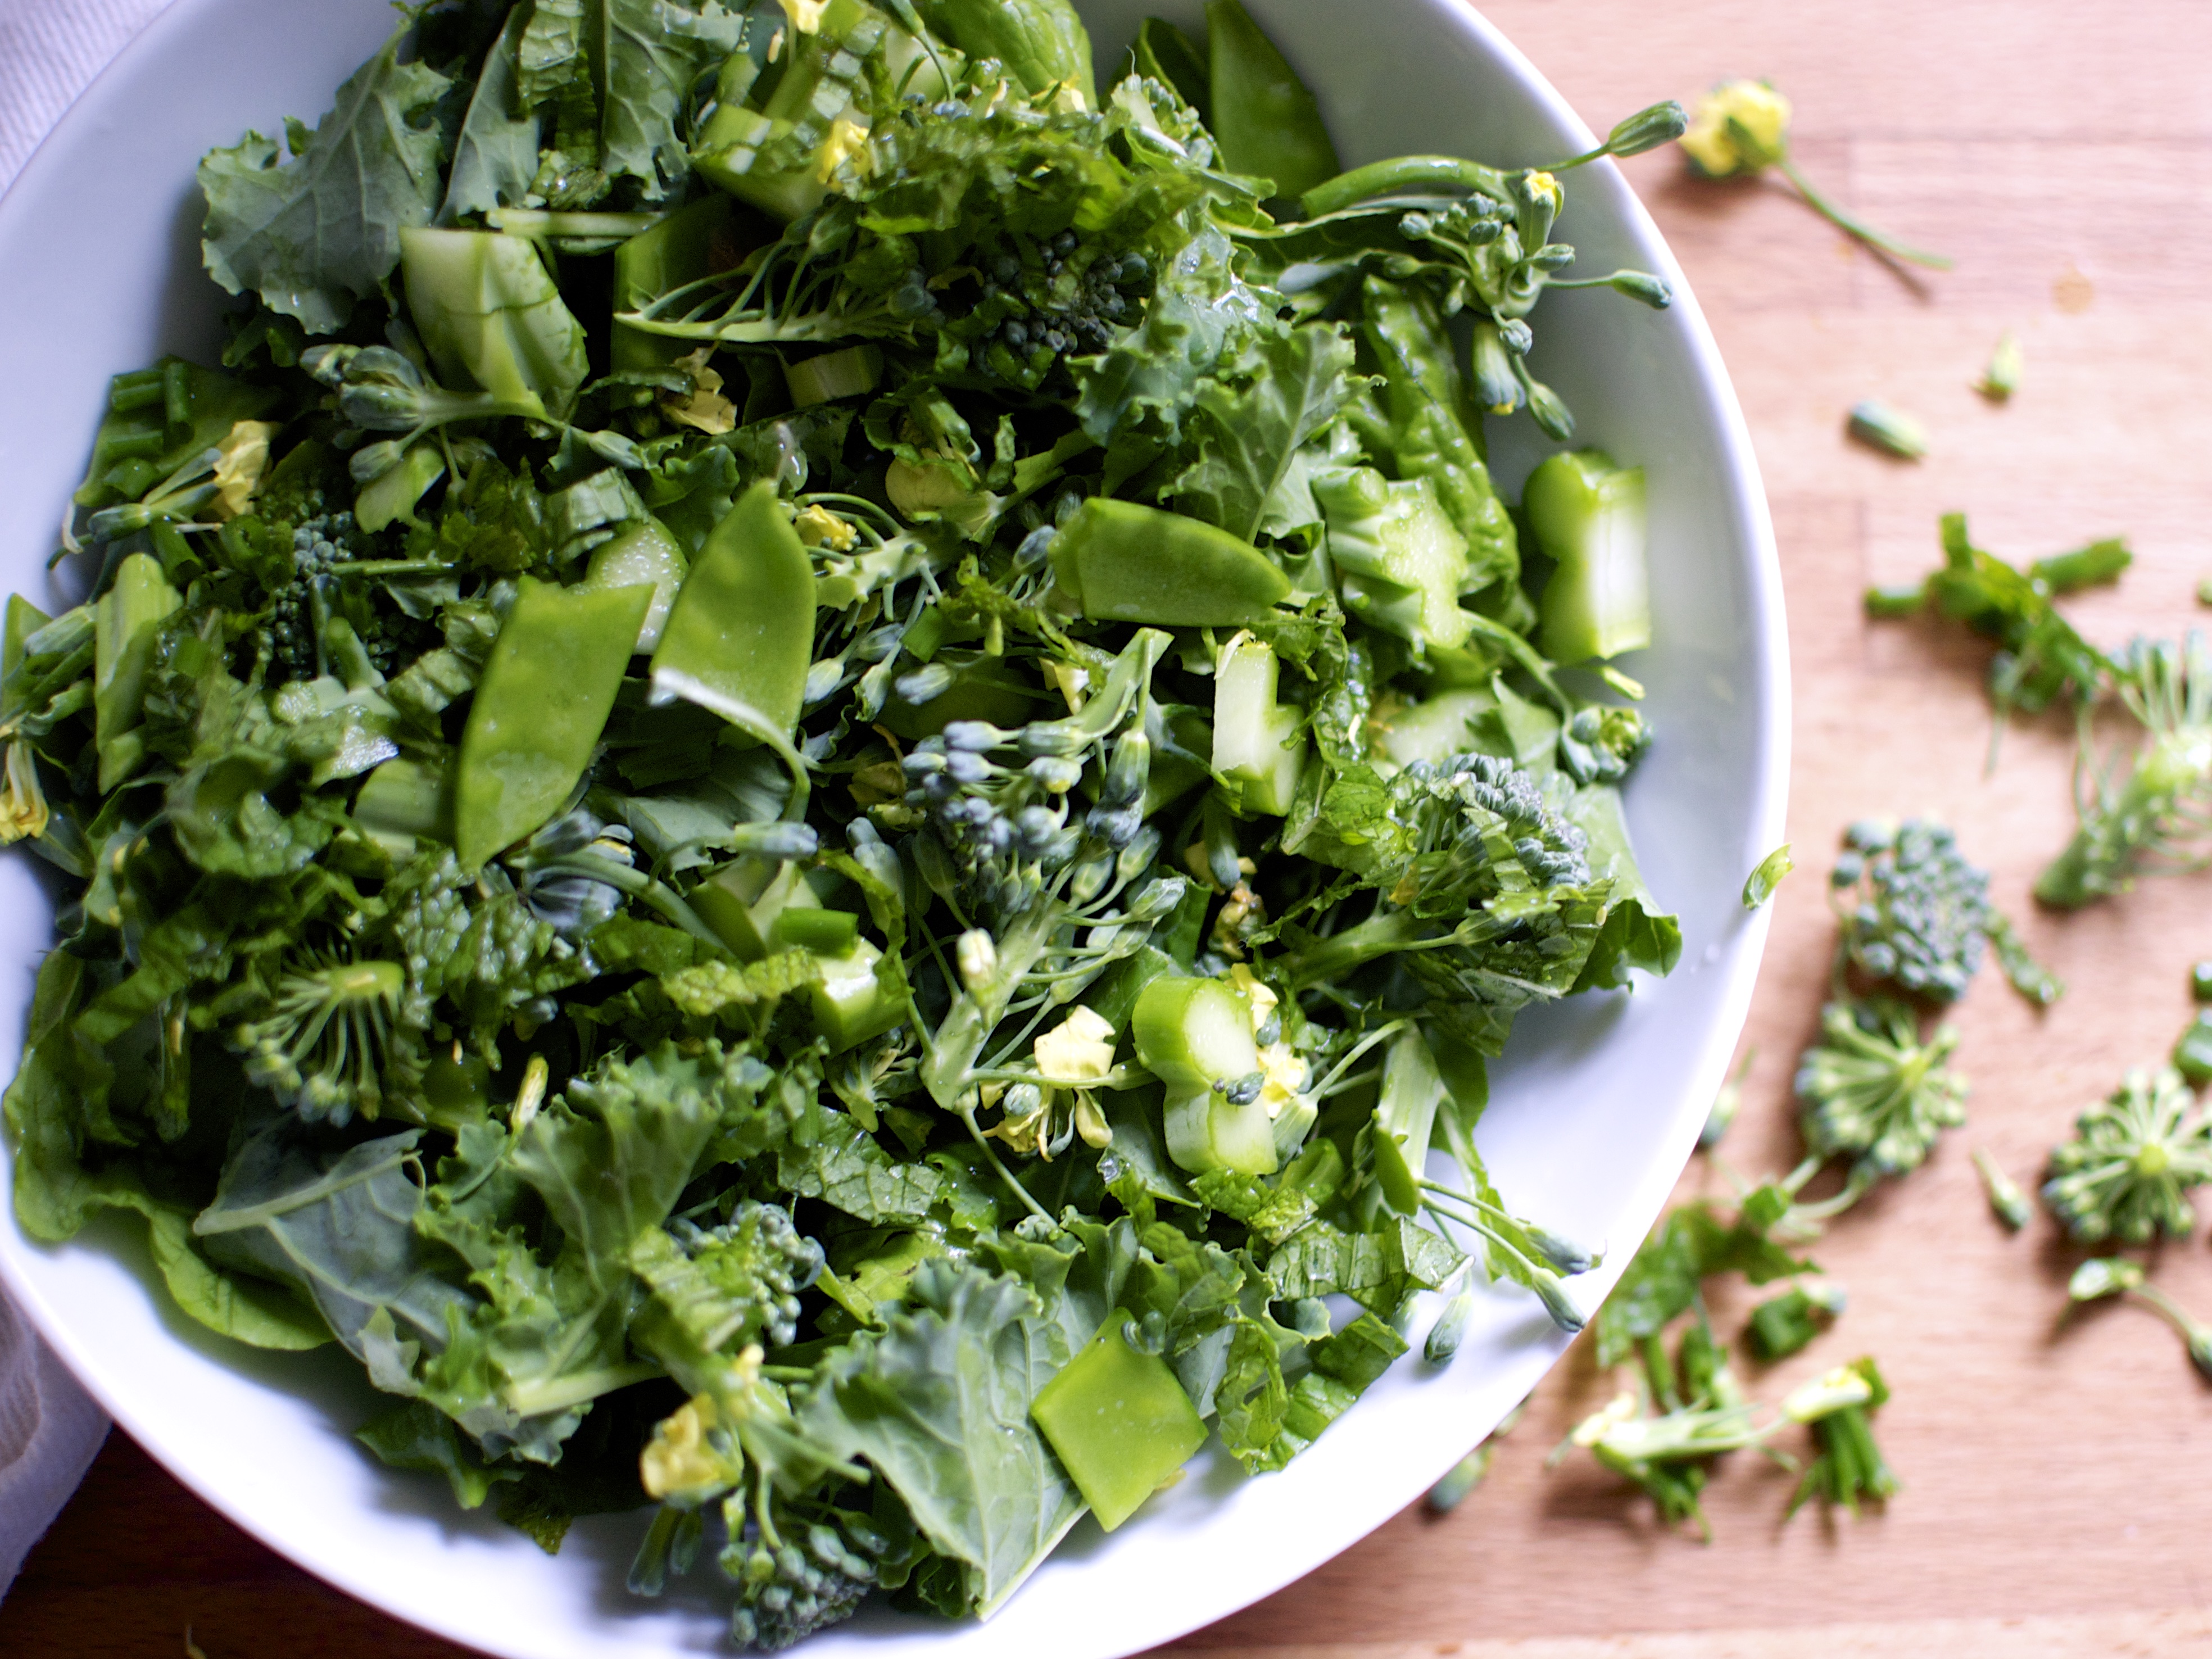
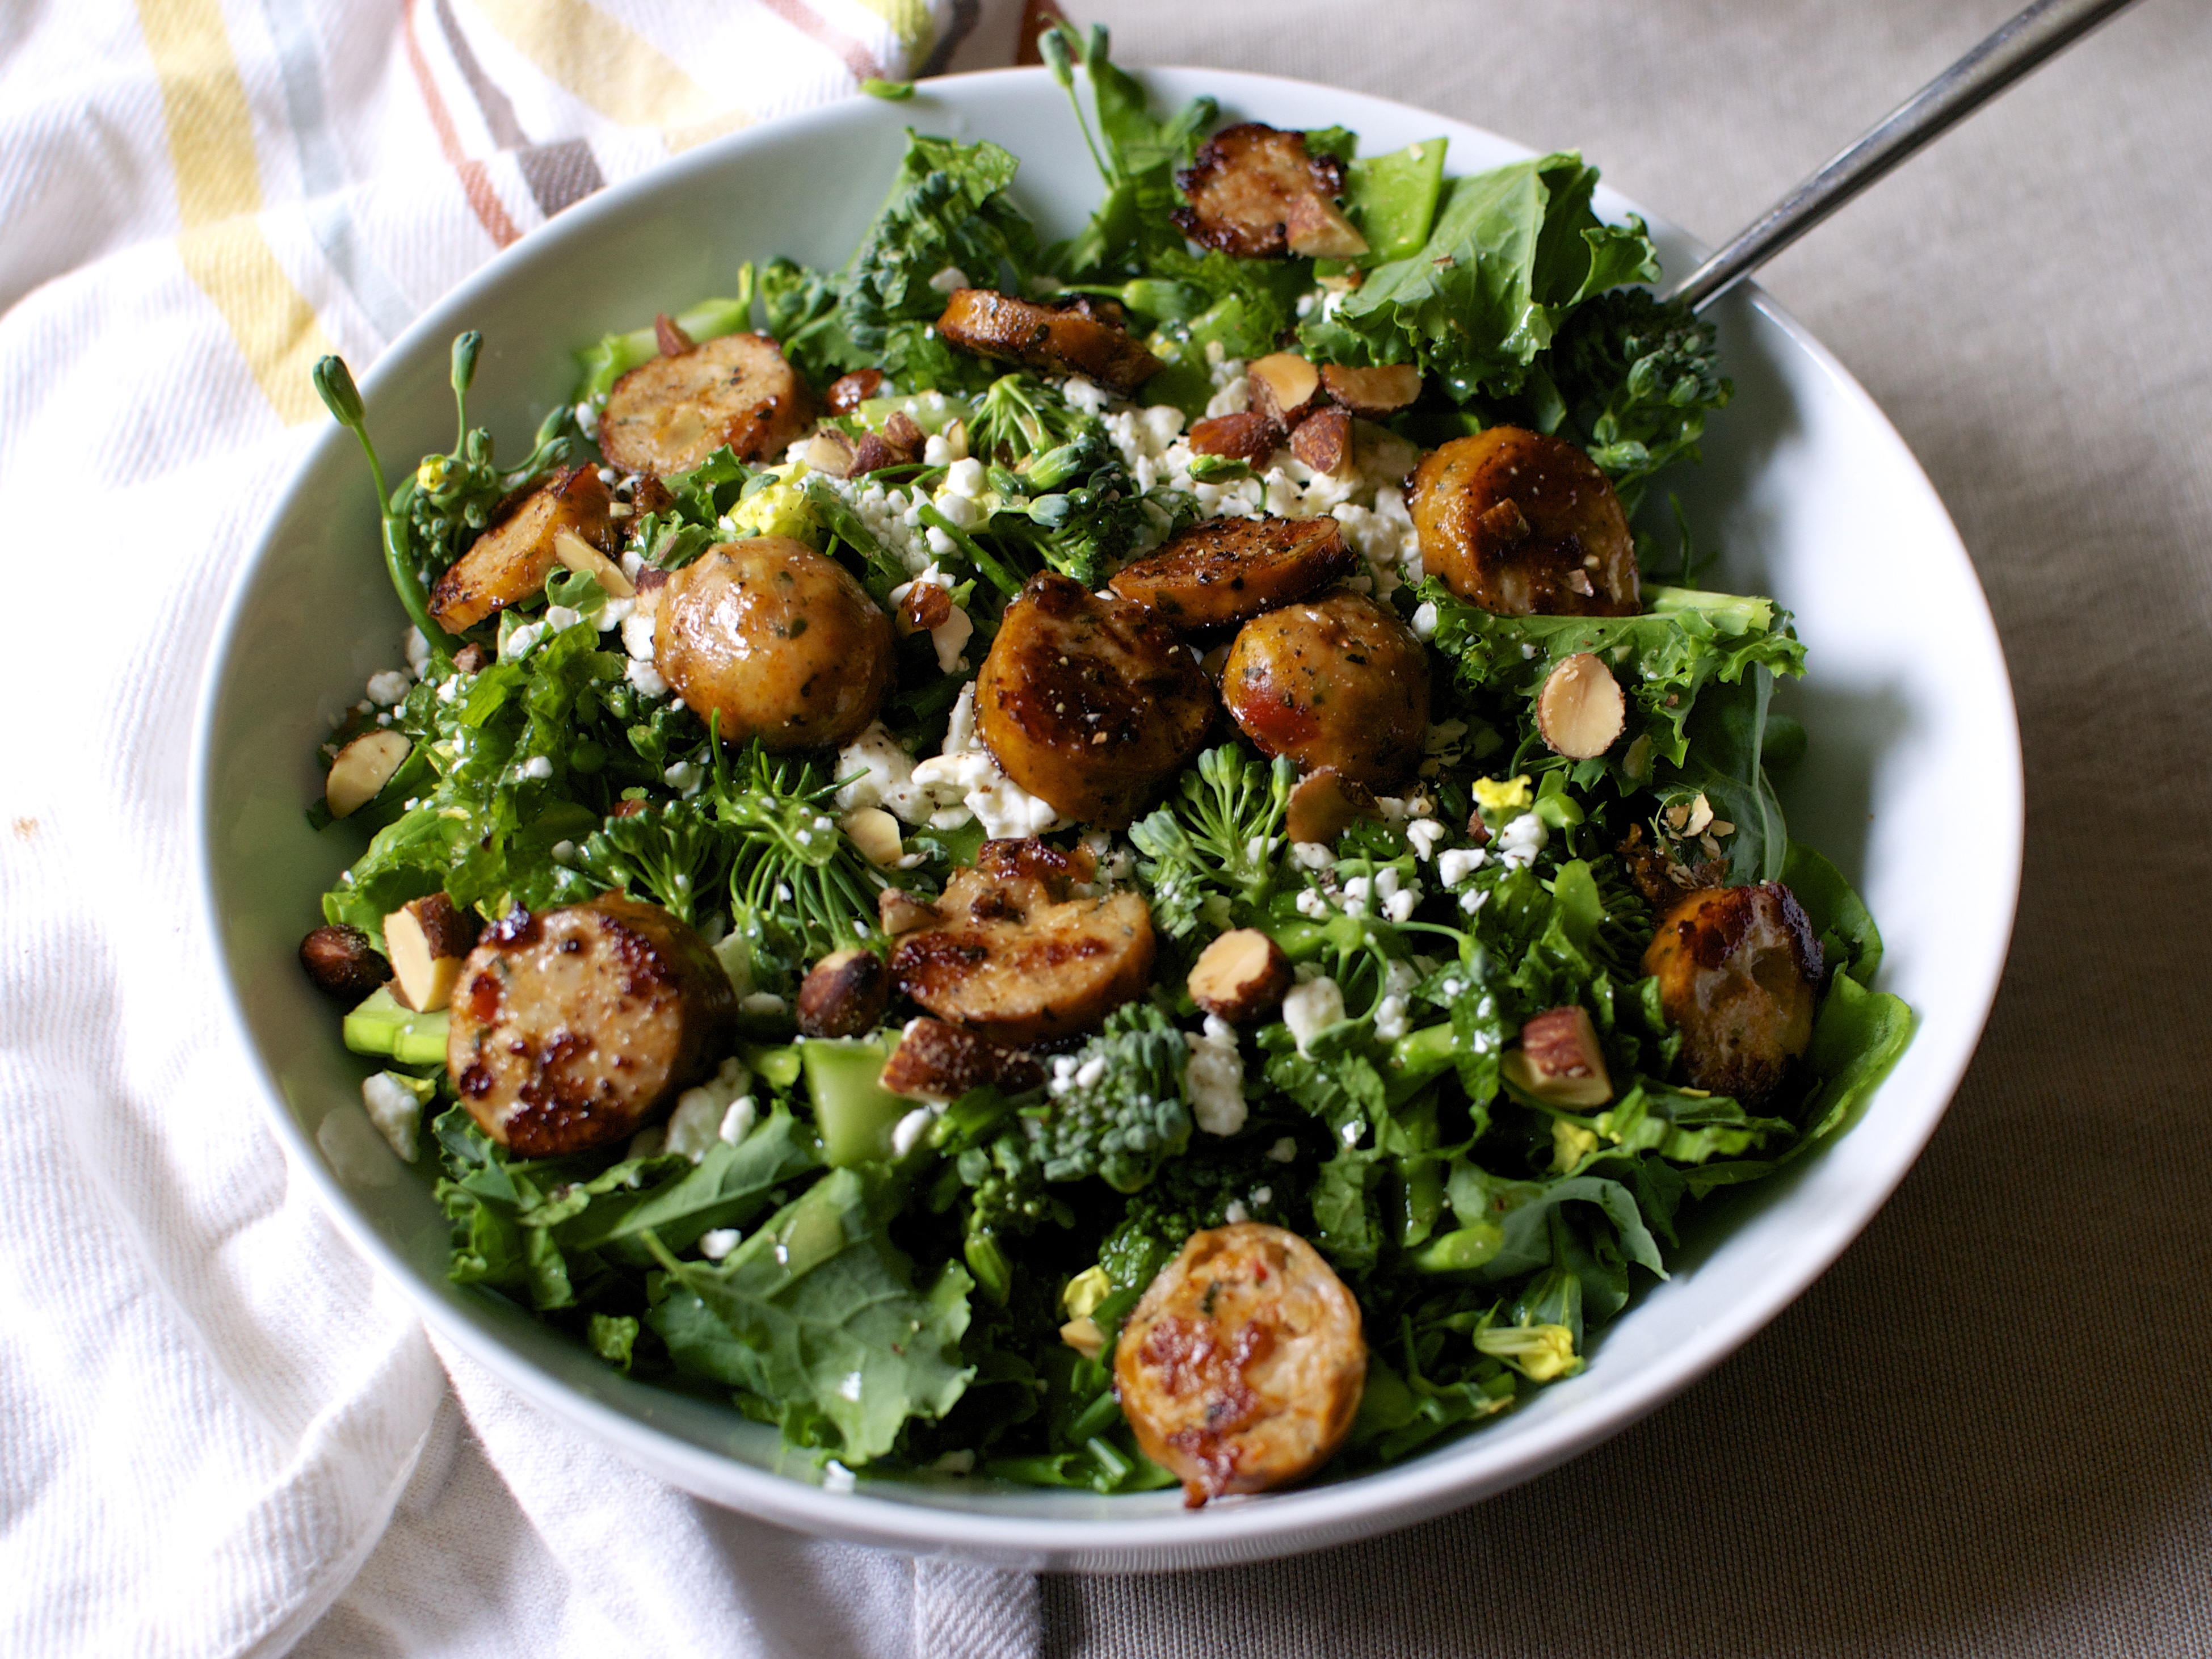
It’s spring! And my garden is blooming and booming. I’ve been eating this Super Green Spring Salad every chance I get since all of the ingredients are directly from my garden… delicate lettuce, baby kale, bright broccoli with pretty tiny yellow flowers, crisp sugar peas, mint, chives. This salad is less of a recipe, and more of a throw-together spring green treat!


But, I should pause and preface this delicious garden post with the fact that I am not a good gardener. Seriously. I’m bad. Plants shrivel at my touch. They tell their other plant friends to run and hide when I decide to buy them. Any success I have at gardening is not my doing. Plants thrive in my garden in spite of me. I just wish I was a good gardener like my grandmother was. She could make anything grow and she could make you think that you could do it too. *sigh*
The first year we moved to Kansas City, I decided that I wanted to BE A GARDENER! (p.s. I said this with both hands on my hips and in a booming voice). This is a laughable statement because at the time I killed anything in a pot in my house and at one point was scared to even get a pet because I couldn’t even keep a plant alive!
But, dangit, I was going to finally try to grow a garden and feed myself and eat healthy and get dirt in my fingers and sweat and love it and bring bushels of food in at the end of the day and sigh and say “way to go me!”. So I bought three tomato plants and marched into the backyard of our new rent house with a shovel and a prideful grin on my face. Like a blind settler deciding on their perfect plot of land, I just shoved my shovel into the hard clay ground next to the fence and dug three holes. That’s it. I just stuck the tomato plants in the ground as if I were planting flowers. But, despite my ineptitude and lack of reading up on “how to grow tomatoes“, I ended up with some darn good tomatoes that year. Those plants grew over 8 feet tall! I even canned tomato sauce! Yeah. All that from just digging three holes…..and praying like hell and battling thieving squirrels!

Basically, I kill any plant that is not in the ground. If it is up to me, all plants would die. However, after I put the plant in the ground, I cross my fingers that mother nature will take over and that she’ll be the true gardener. I depend on her to water my garden too. I’m not saying that’s the right thing to do…it’s just what I do…as a bad gardener!
Also, as a bad gardener, I don’t weed. I should…but I don’t. I feel like everything should be given a fighting chance. My husband goes out to my garden and tries to weed things and I freak out. FREAK out. I’m scared that he’s going to pull a baby beet or a baby kale or maybe just a baby, hell I don’t know. “NOOOOO! That’s a blah blah blah and I wanted it there…. yeah. I WANTED that weed.”
Sorry, I’m super protective of my garden… even if it’s a weed box. Back off!
As a bad gardener, I plant things too close together. My husband always tries to correct my eagerness to cram as much as possible into our tiny raised beds. But I tend to say, “Space shmace. If you want to survive, you gotta try harder Mr tomato!!!!”. This doesn’t always work out….buuuut, I won’t admit that to him.
But this year, six years into BEING A GARDENER, my garden is growing like a REAL garden! Thank you again, mother nature. I have one of the biggest lettuce crops (which love these cool temps and tons of rain that KC has gotten this spring). I also have gorgeous broccoli heads! Oh and peas! I have snow peas climbing a trellis (actually it’s a defunct hand rain I pulled off my outdoor stairs) and tiny pea pods dangling everywhere! Kale is coming up like a champ! Baby beets are gearing up and their greens are getting taller. I’m even growing brussels sprouts and cauliflower for the first time. Way to go me! I hope my grandma would be proud. I think she’d also really love this Super Green Spring Salad that I’ve been making from all of my garden goodies!

I mention my lack of gardening skills in order to encourage anyone that loves fresh produce but may be scared to begin their own garden because, like me, they are terrible with plants. But don’t be scared. Just go do it! What do you have to lose? A few bucks on a pack of seeds? You’ll fail, but you will also succeed and learn from those mistakes. Man, I sure sound like an after school special, don’t I? Anyways, I love seeing what new things I can grow. Nothing is better to me than walking outside my door to my own farmer’s market!
On this Memorial Day weekend, I encourage you to branch out, dig a whole, plant something. Plant something in honor of the one’s that you have loved and in their memory. And then every time you go out to tend to it and get dirt on your fingers and sweat on your brow and harvest your fresh amazing produce, you can remember them and realize that their memory lives on. But also, don’t forget to give yourself a high-five from them and say “way to go!” (but say it with both hands on your hips and in a booming voice).
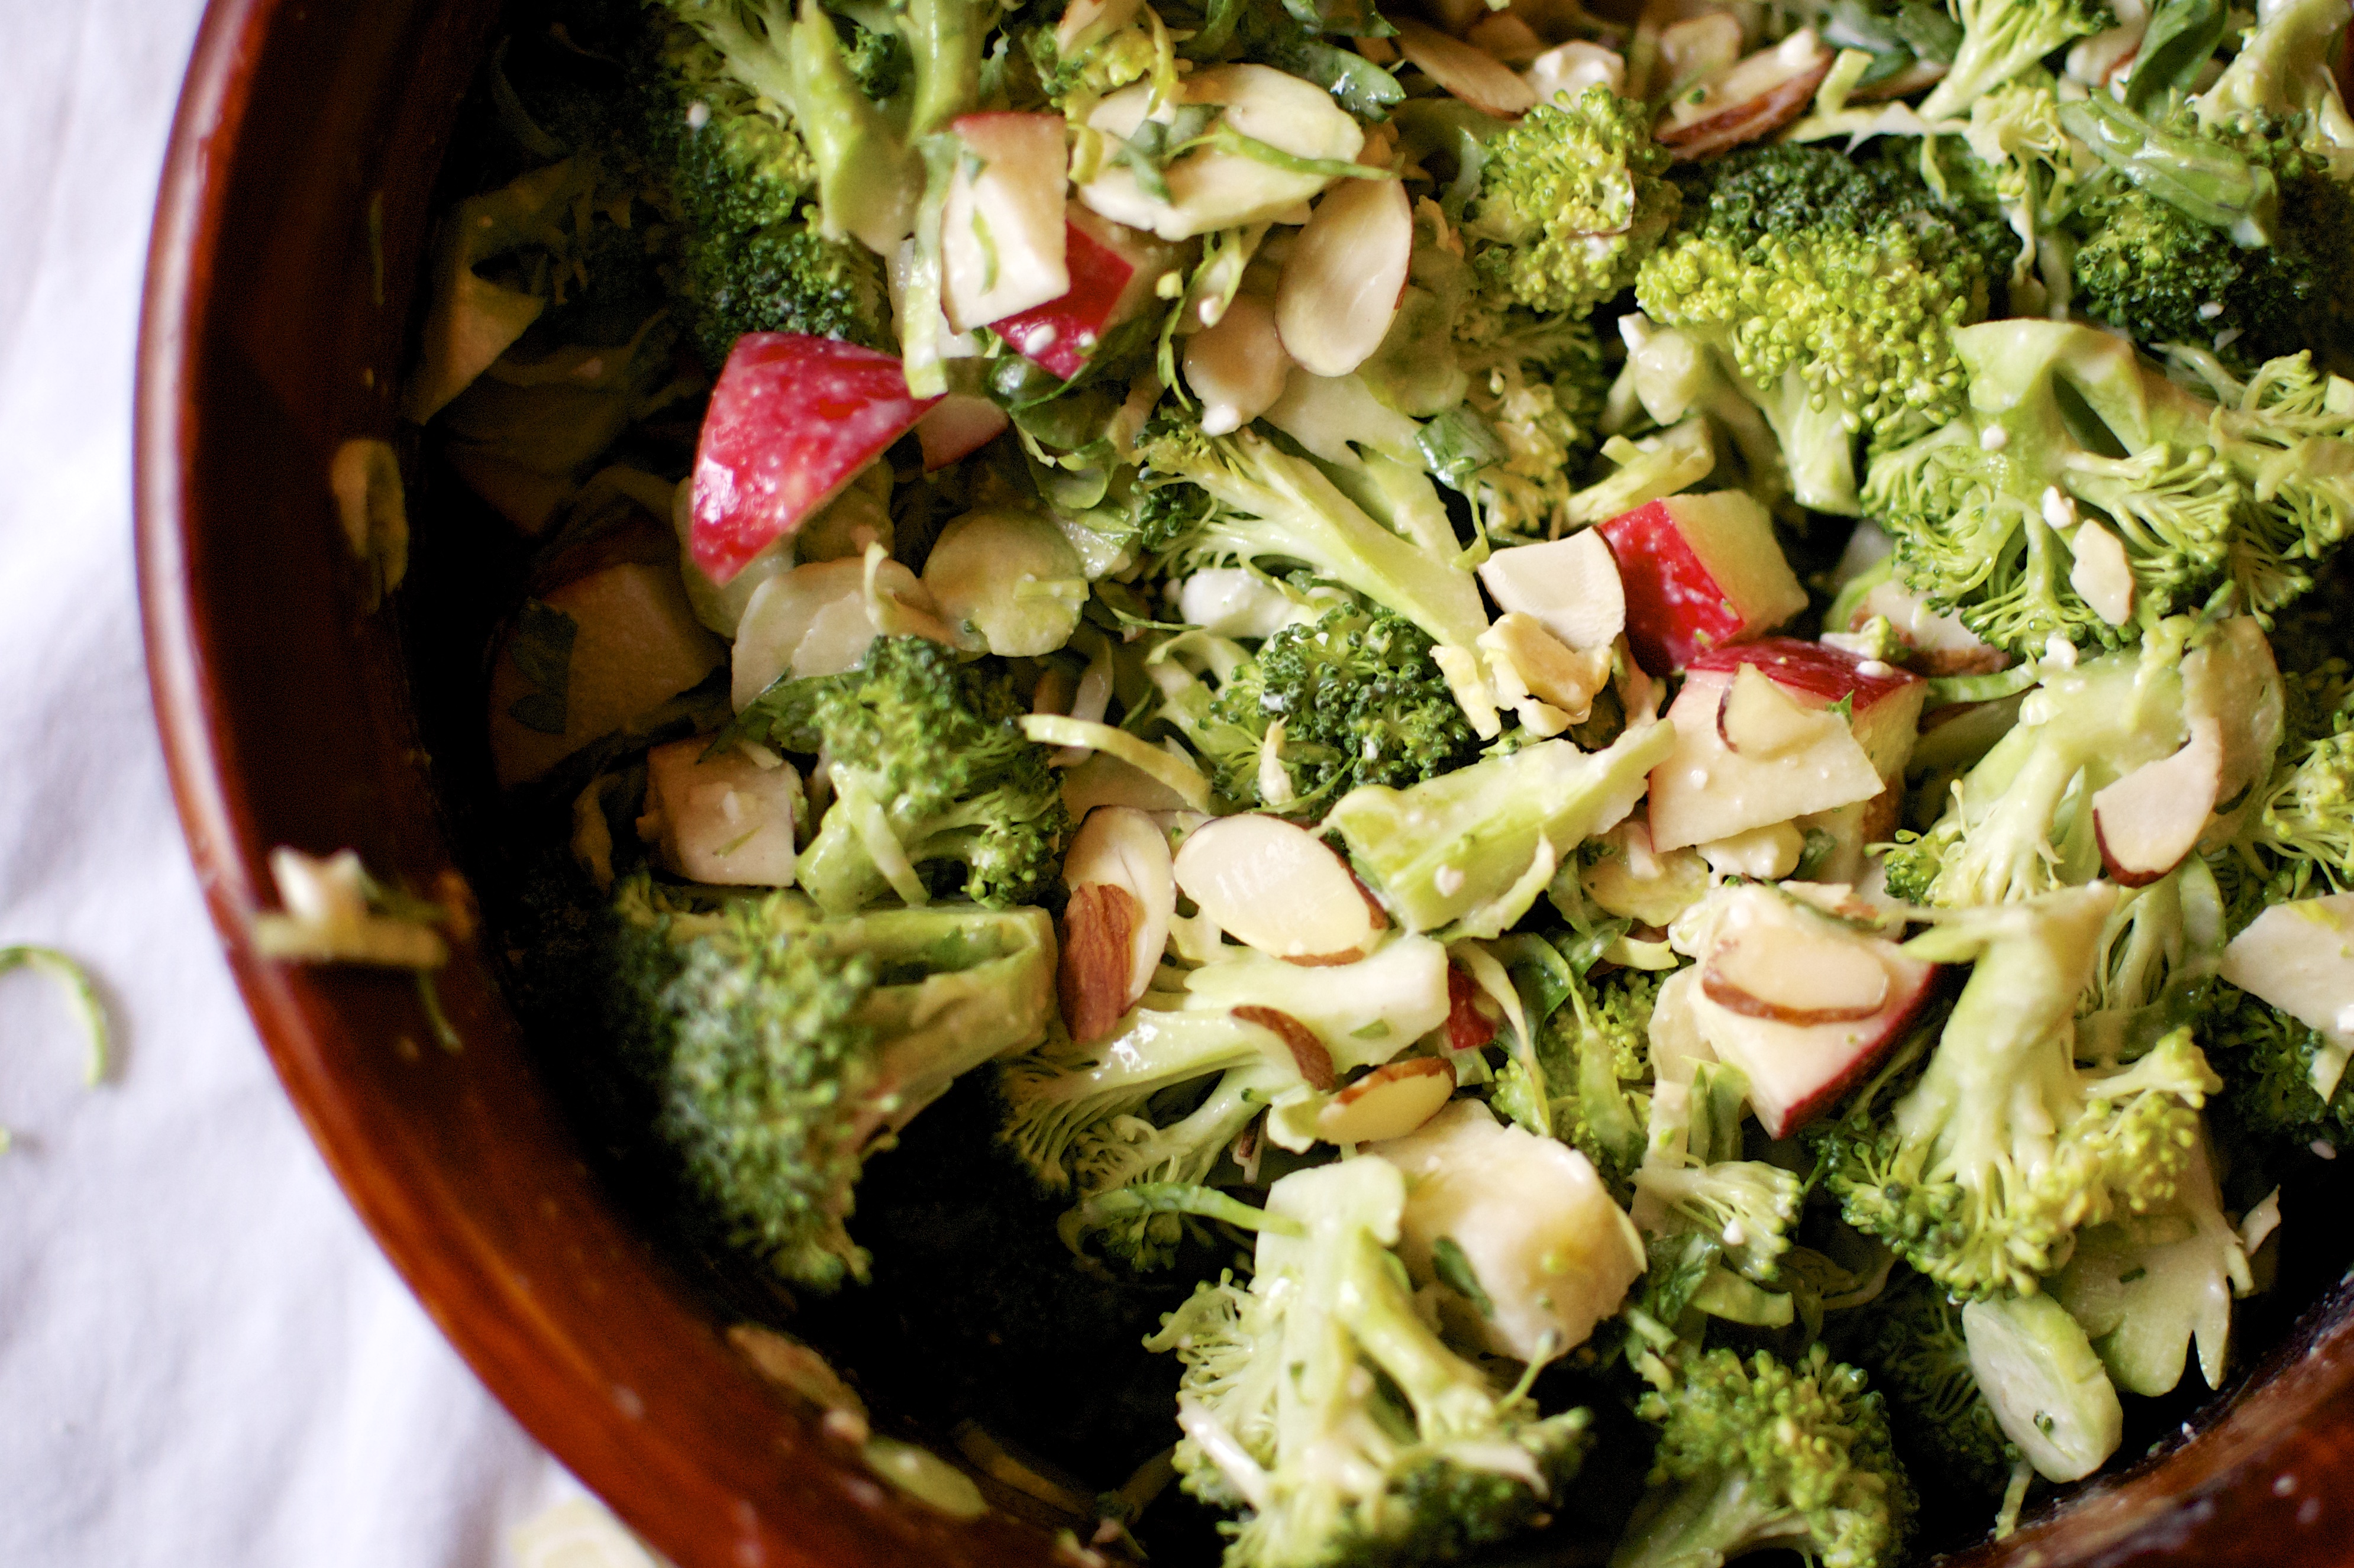
Super Green Spring Salad
Note – This salad does not really have a set list of ingredients and can morph into whatever you have on hand. I have provided a gentle guide for what I like to use, but feel free to mix and match with whatever greens you have on hand or can spot at your local farmer’s market.
Ingredients for the Salad
- Four generous handfuls of spring greens mix (such as, leaf lettuce, baby kale, arugula, beet greens, etc.), gently rinse and dry
- Handful of fresh sugar snap peas or snow peas
- Two small heads of broccoli
- Handful of fresh herbs (such as mint, dill, chives, cilantro)
Ingredients for the Lemon Vinaigrette
- Juice of 1 large lemon (about 1/4 cup)
- 1 teaspoon of finely grated lemon zest
- 1/3 cup olive oil
- 1 teaspoon Dijon mustard
- 1/4 teaspoon of kosher salt
- 1/8 teaspoon ground black pepper
Instructions
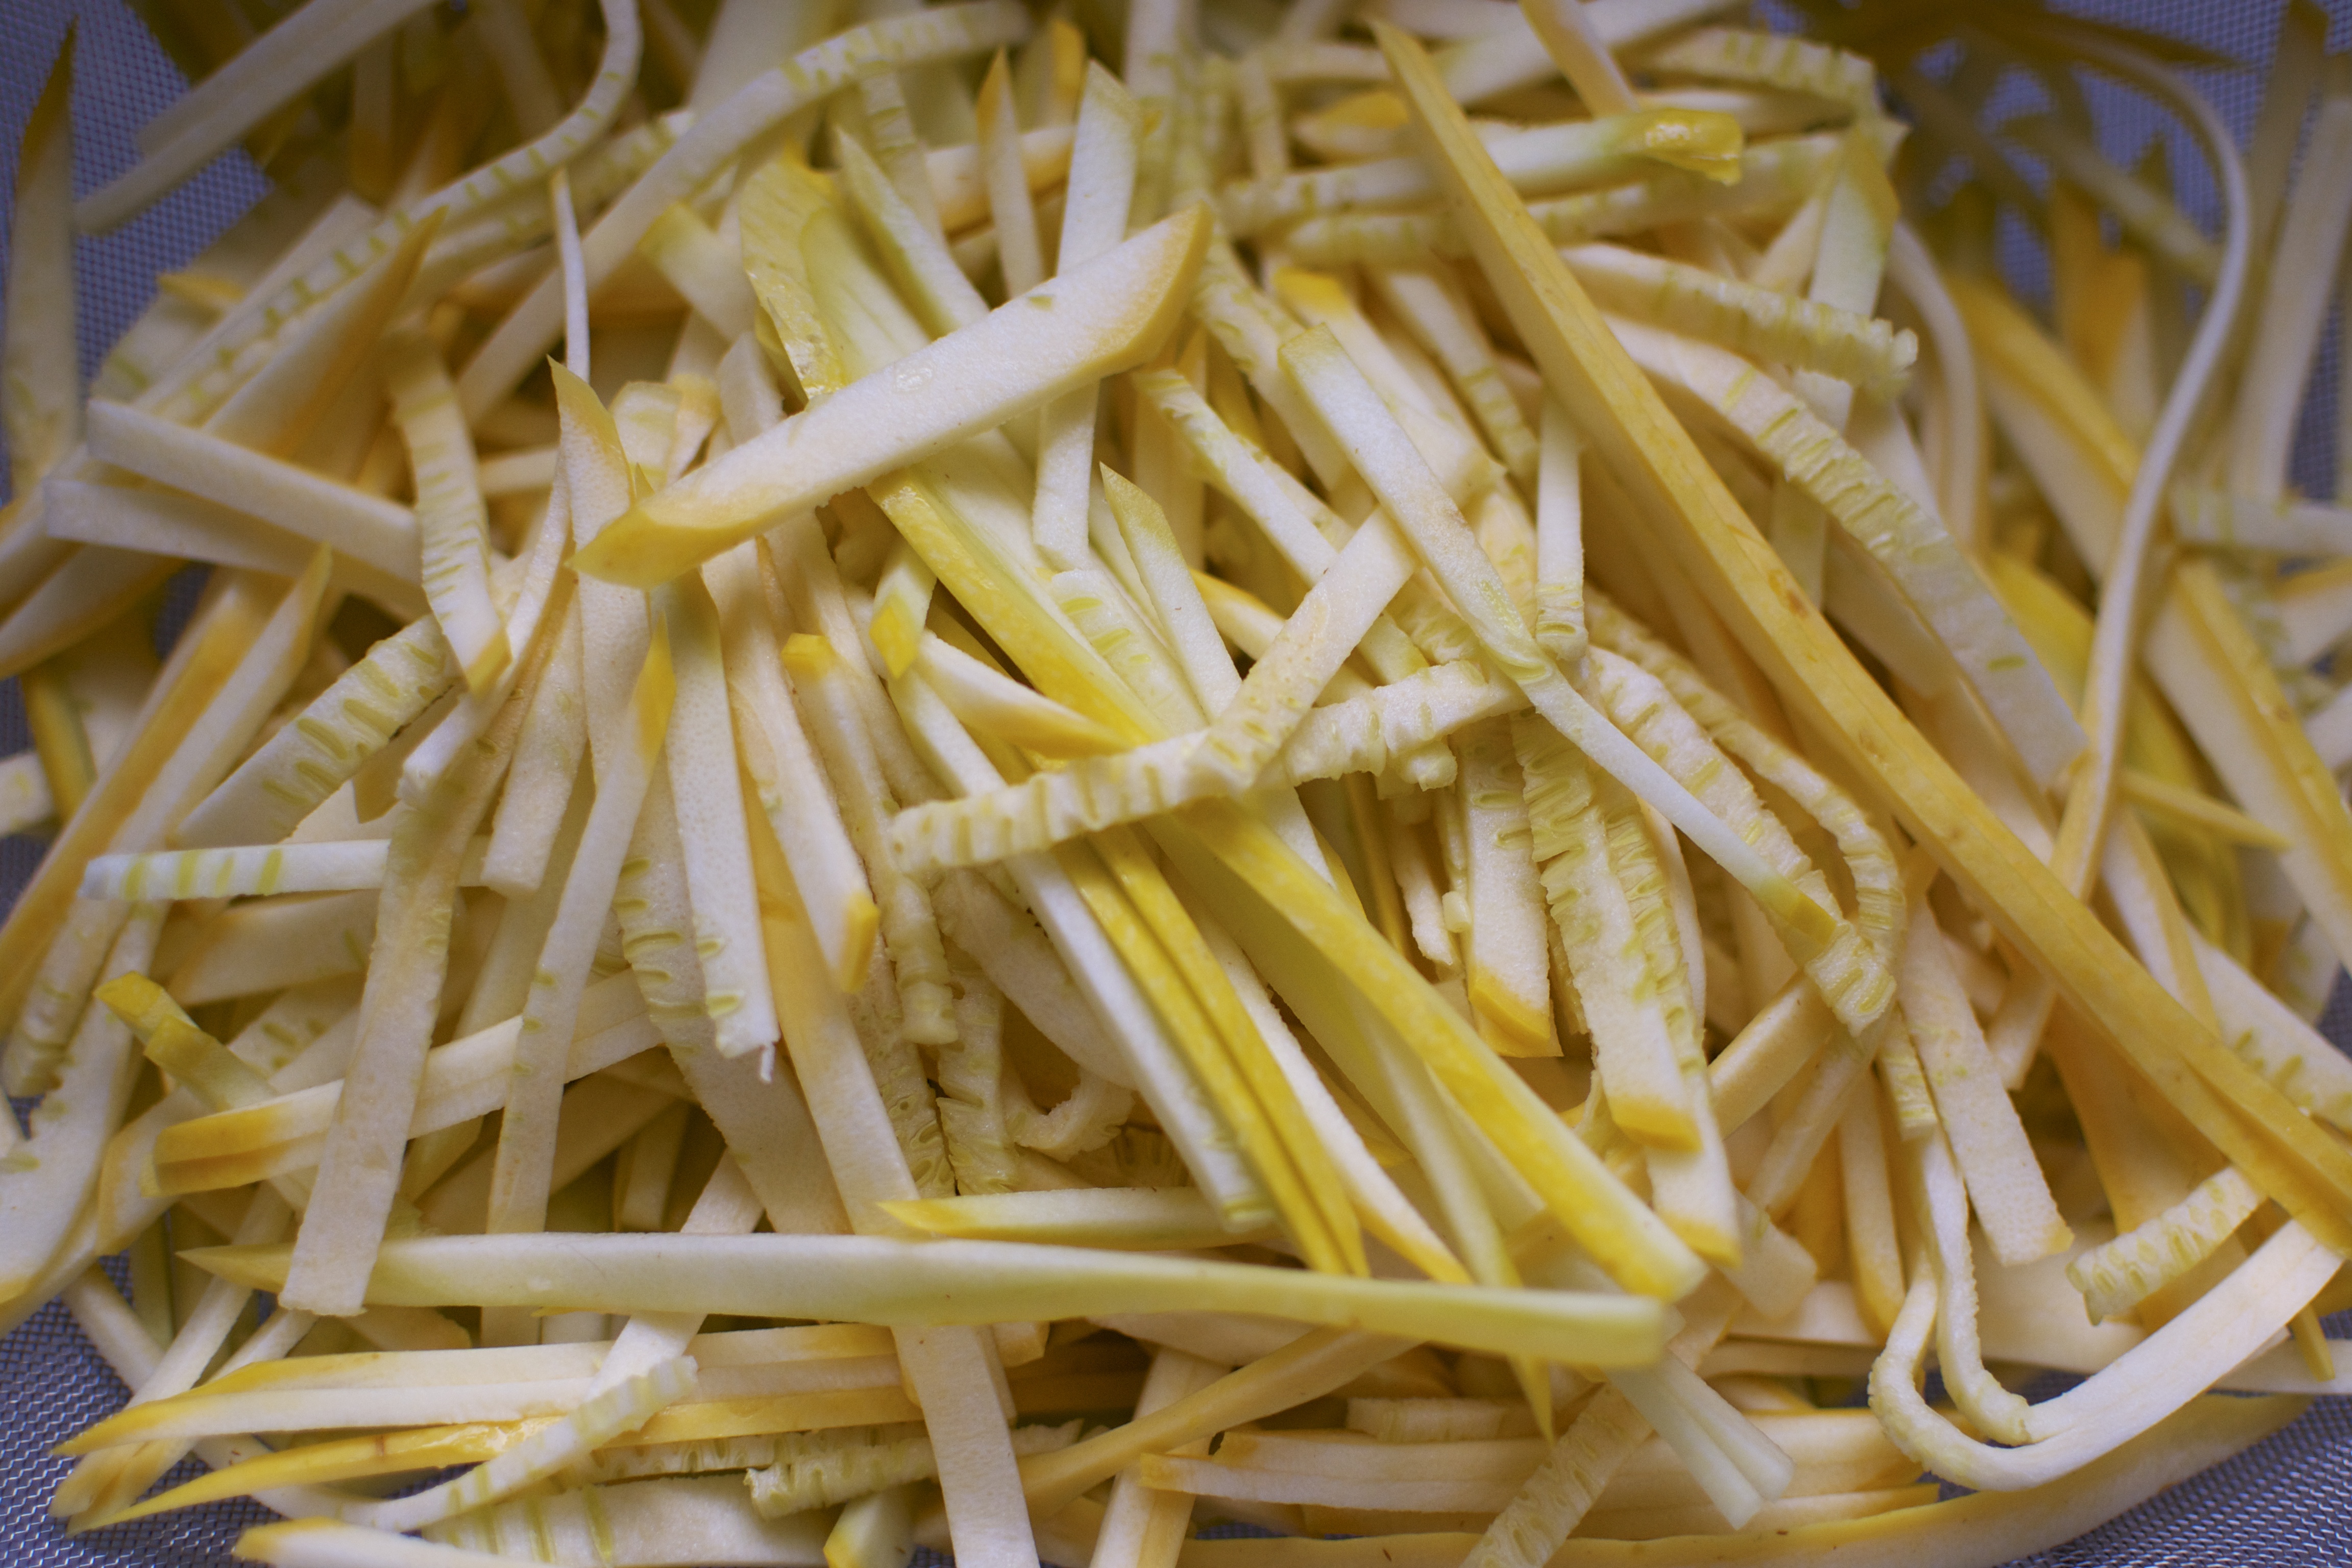
- Slice the snow peas or sugar peas in half or into bite-size pieces if they are large. If they are small, you can keep them whole. Whatever you choose.
- Chop the broccoli florets from the stalk. Chop the florets into small portions. Cut off the bottom fibrous portion of the stalk and chop the tender portion into 1/4-inch bite-size pieces.
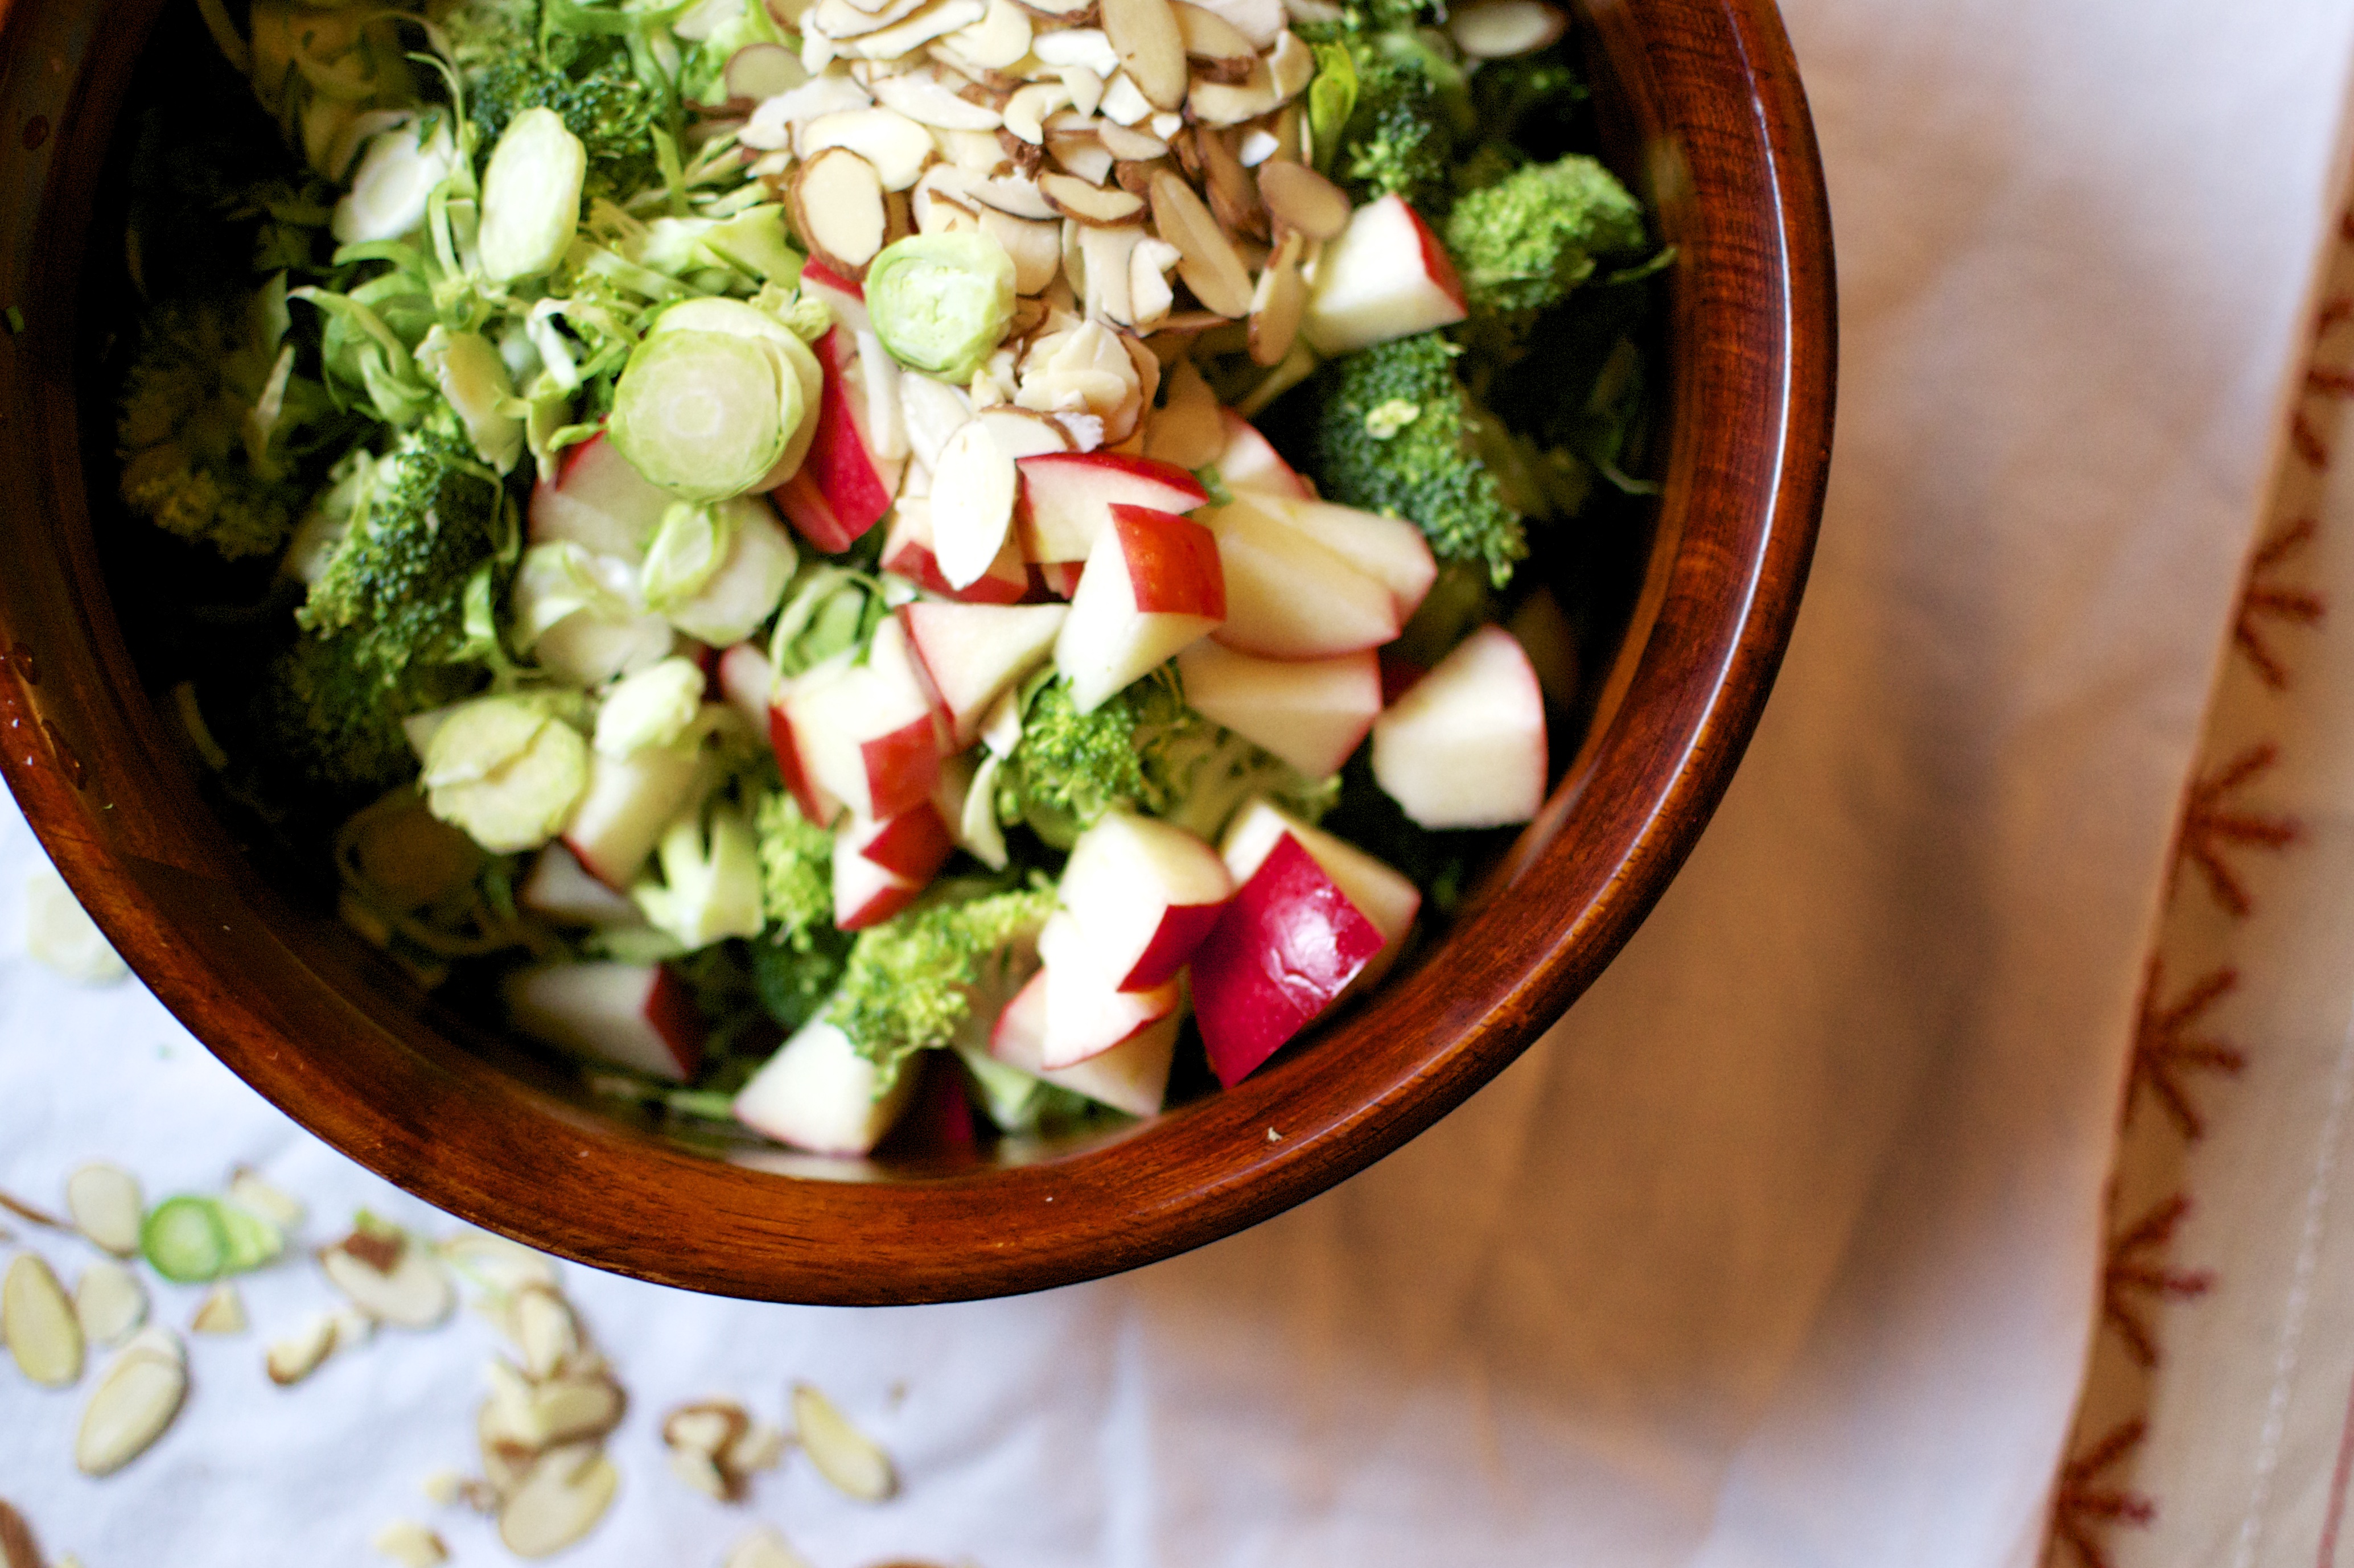
- Place the lettuce, peas, broccoli, and herbs into a large bowl.
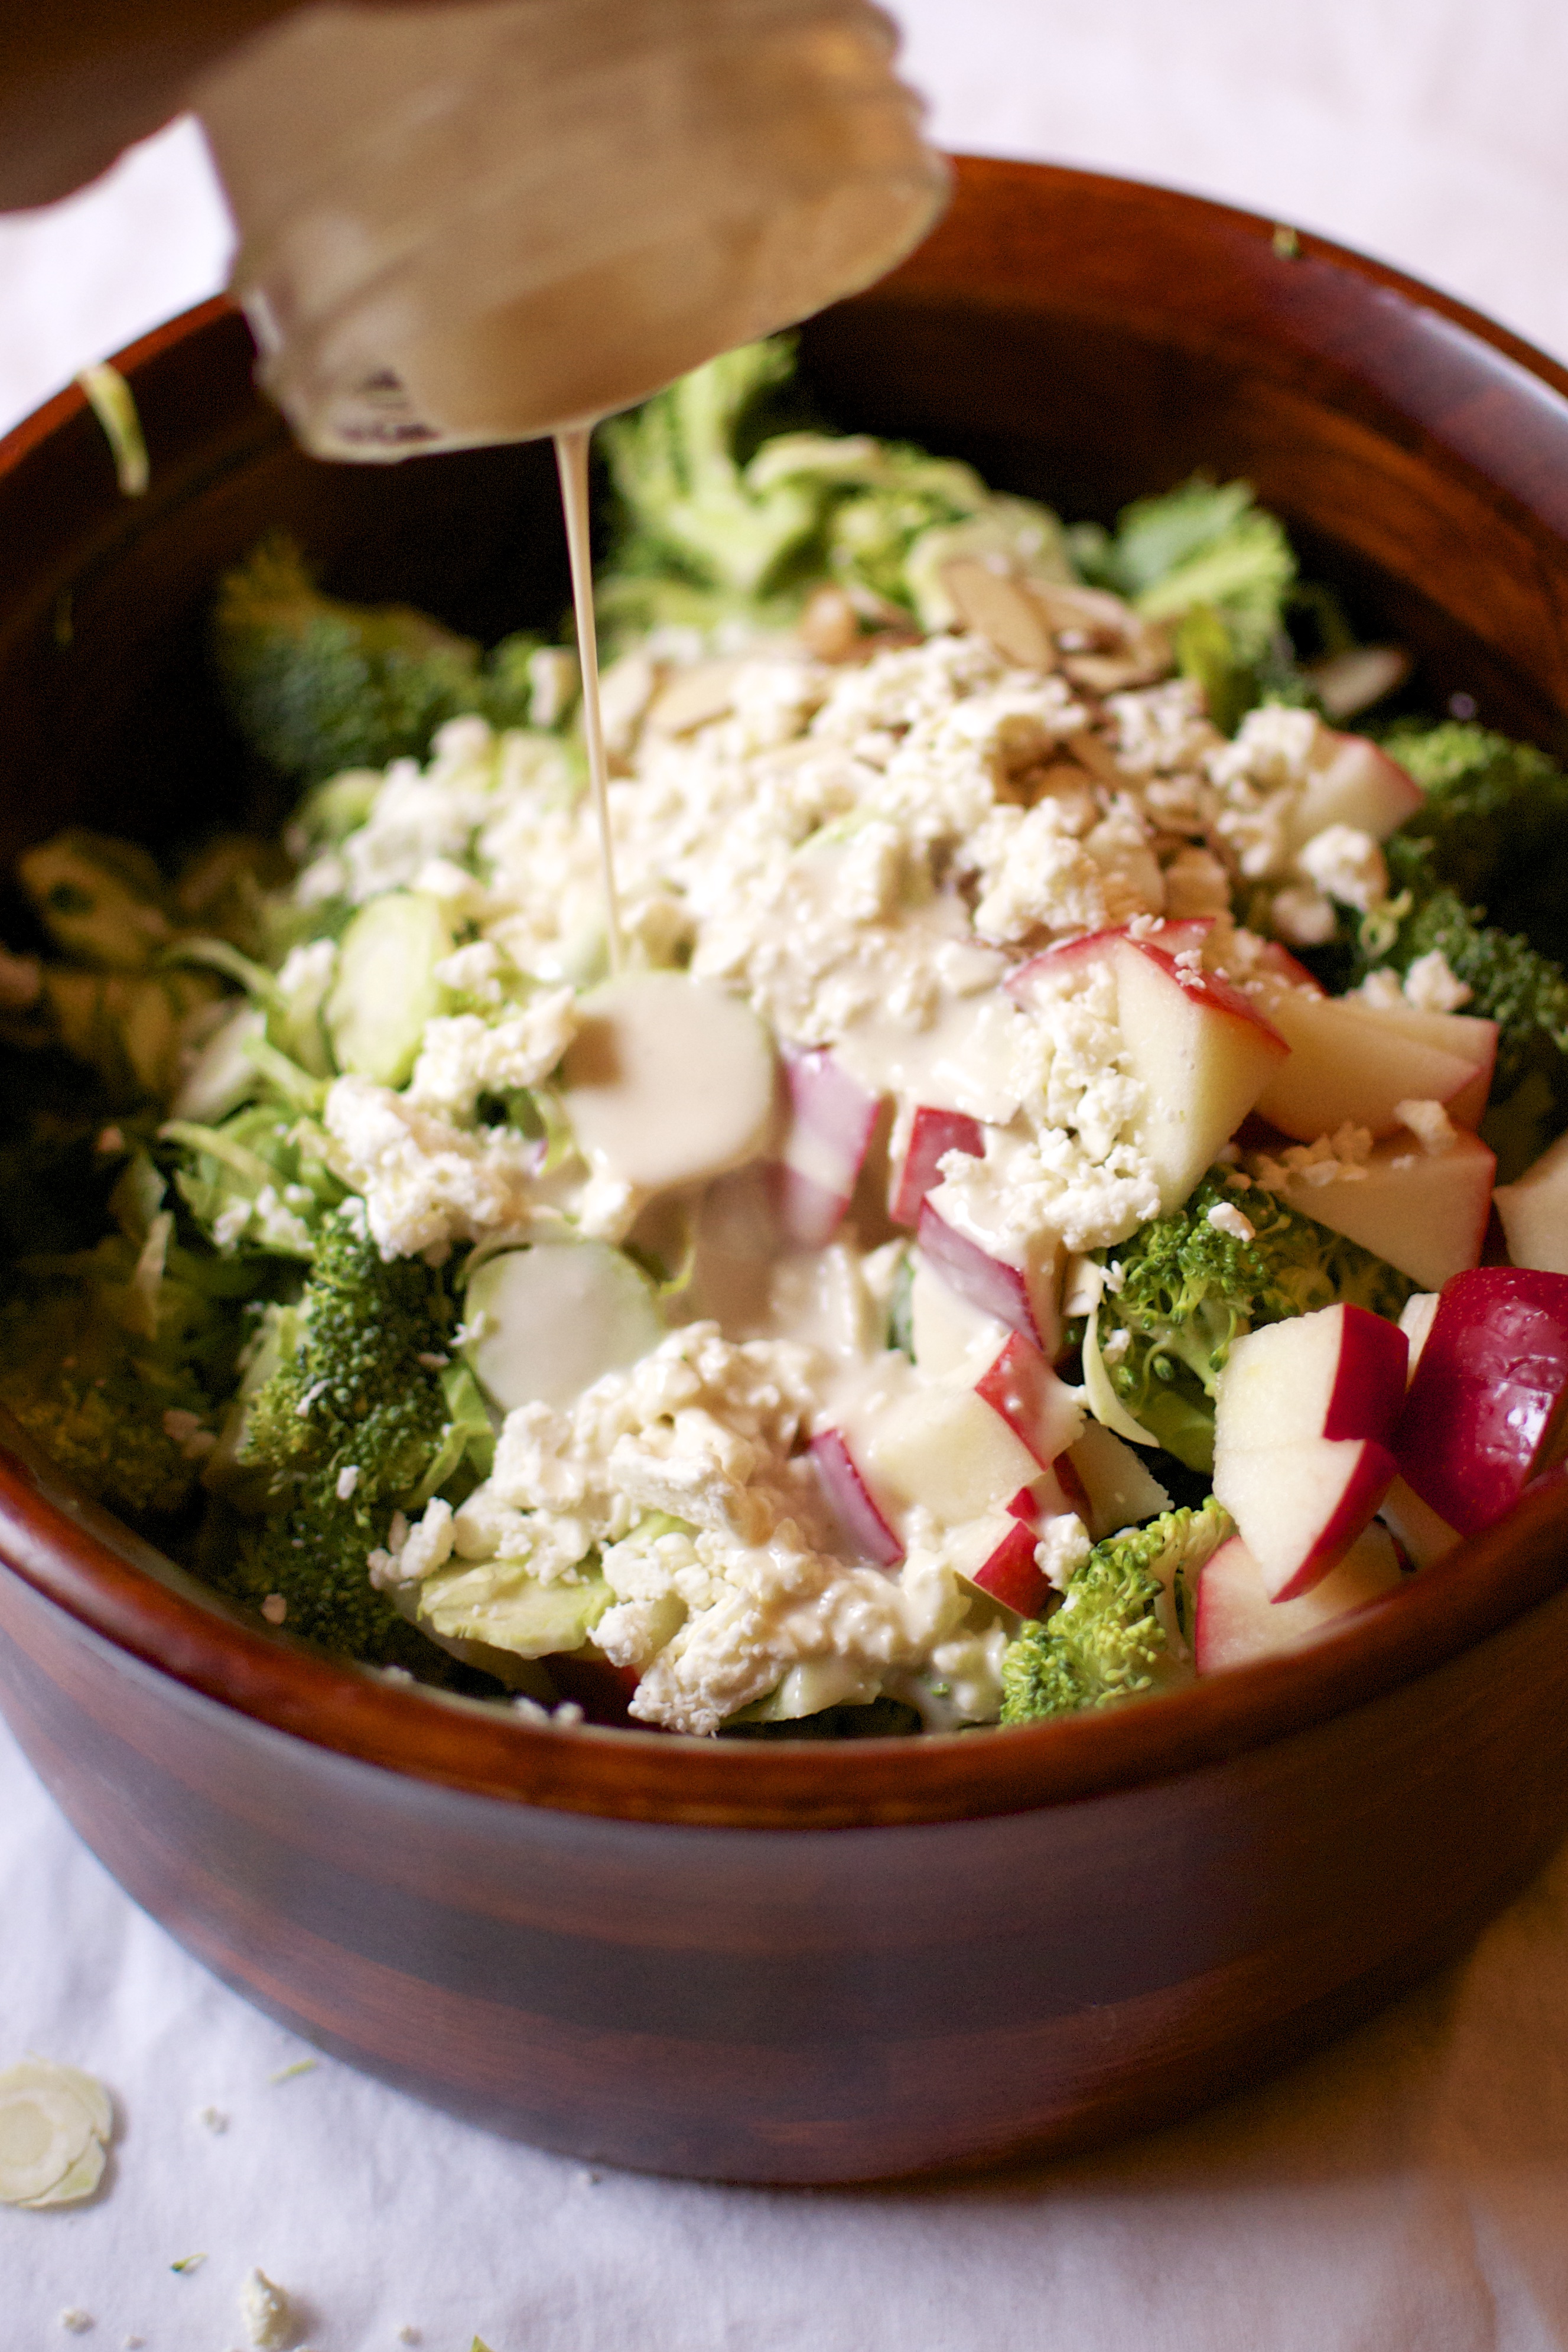
- Place all vinaigrette ingredients into a lidded jar. Shake vigorously until well mixed. Just before serving, drizzle about 1/3 cup of the dressing over the salad and toss gently. Place leftover dressing in the fridge or add more if needed.
Suggested toppings:
- Optional Protein Toppings: chicken, quinoa, boiled egg, chicken sausage, fish
- Optional Misc Toppings: sunflower seeds, roasted nuts, crumbled feta, shaved parmesan, goat cheese