Rhubarb Strawberry Curd

Rhubarb Strawberry Curd // Big Eats Tiny Kitchen

DSC_0307

I still remember the first time that I tried rhubarb.  It was probably 10 years ago. I had wanted to try it, but just hadn’t had the chance (I guess) living in suburbia Oklahoma and just didn’t have the inclination to go hunt for it.

But one summer night, I was out working a 12 hour shift doing field work for my Master’s degree and my husband was babysitting my littlest sister who was only 6 at the time. Since they are both the adventurous type, and neither of them really knew how to cook…. they decided to make me a rhubarb cobbler as a surprise treat for when I got home.

I was so surprised when I walked in the door and smelled that amazing smell. It was seriously the best cobbler I had ever eaten. (Maybe it was because I had just worked 12 long hours in the hot summer sun.) But it really was the perfect blend of tartness and sweetness. Just like my husband and my sister Olivia. Sweet and tart! 🙂  They began my obsession with this fabulous spring plant…ooooh rhubarb!

Rhubarb Strawberry Curd // Big Eats Tiny Kitchen

Rhubarb Strawberry Curd // Big Eats Tiny Kitchen

Since that first magical cobbler that they made for me ten years ago, I have had quite a love affair with rhubarb. Rhubarb is a perennial that will come back year after year when planted in a good location. My rhubarb plant always lets me know when spring is near, because it begins to sprout its long stalks and leaves when temps rise above 40 F.

Rhubarb can be used in so many recipes: tarts, cobblers, pies, salsa, sauces, and this amazing curd! Yeaaaaaaaaah. Curd doesn’t have to be reserved for citrus! This Rhubarb Strawberry Curd is hands down my favorite. I decided to add some frozen strawberries that I had in order to boost the pink color of the curd.  Feel free to adjust the ratio of rhubarb to strawberries to suit your own tastes.

Rhubarb Strawberry Curd // Big Eats Tiny Kitchen

This Rhubarb Strawberry Curd can easily be used to fill a pie or tart crust for an easy dessert. The extra egg whites can be whipped up as a meringue for the top too! I went the easy route this time and I mixed mine in greek yogurt for a delicious breakfast and midday snack! Either way, I know that this will be a favorite for all you rhubarb lovers!

Rhubarb Strawberry Curd // Big Eats Tiny Kitchen

Rhubarb Strawberry Curd

  • Servings: 2 cups
  • Difficulty: Easy/Moderate
  • Print

Ingredients

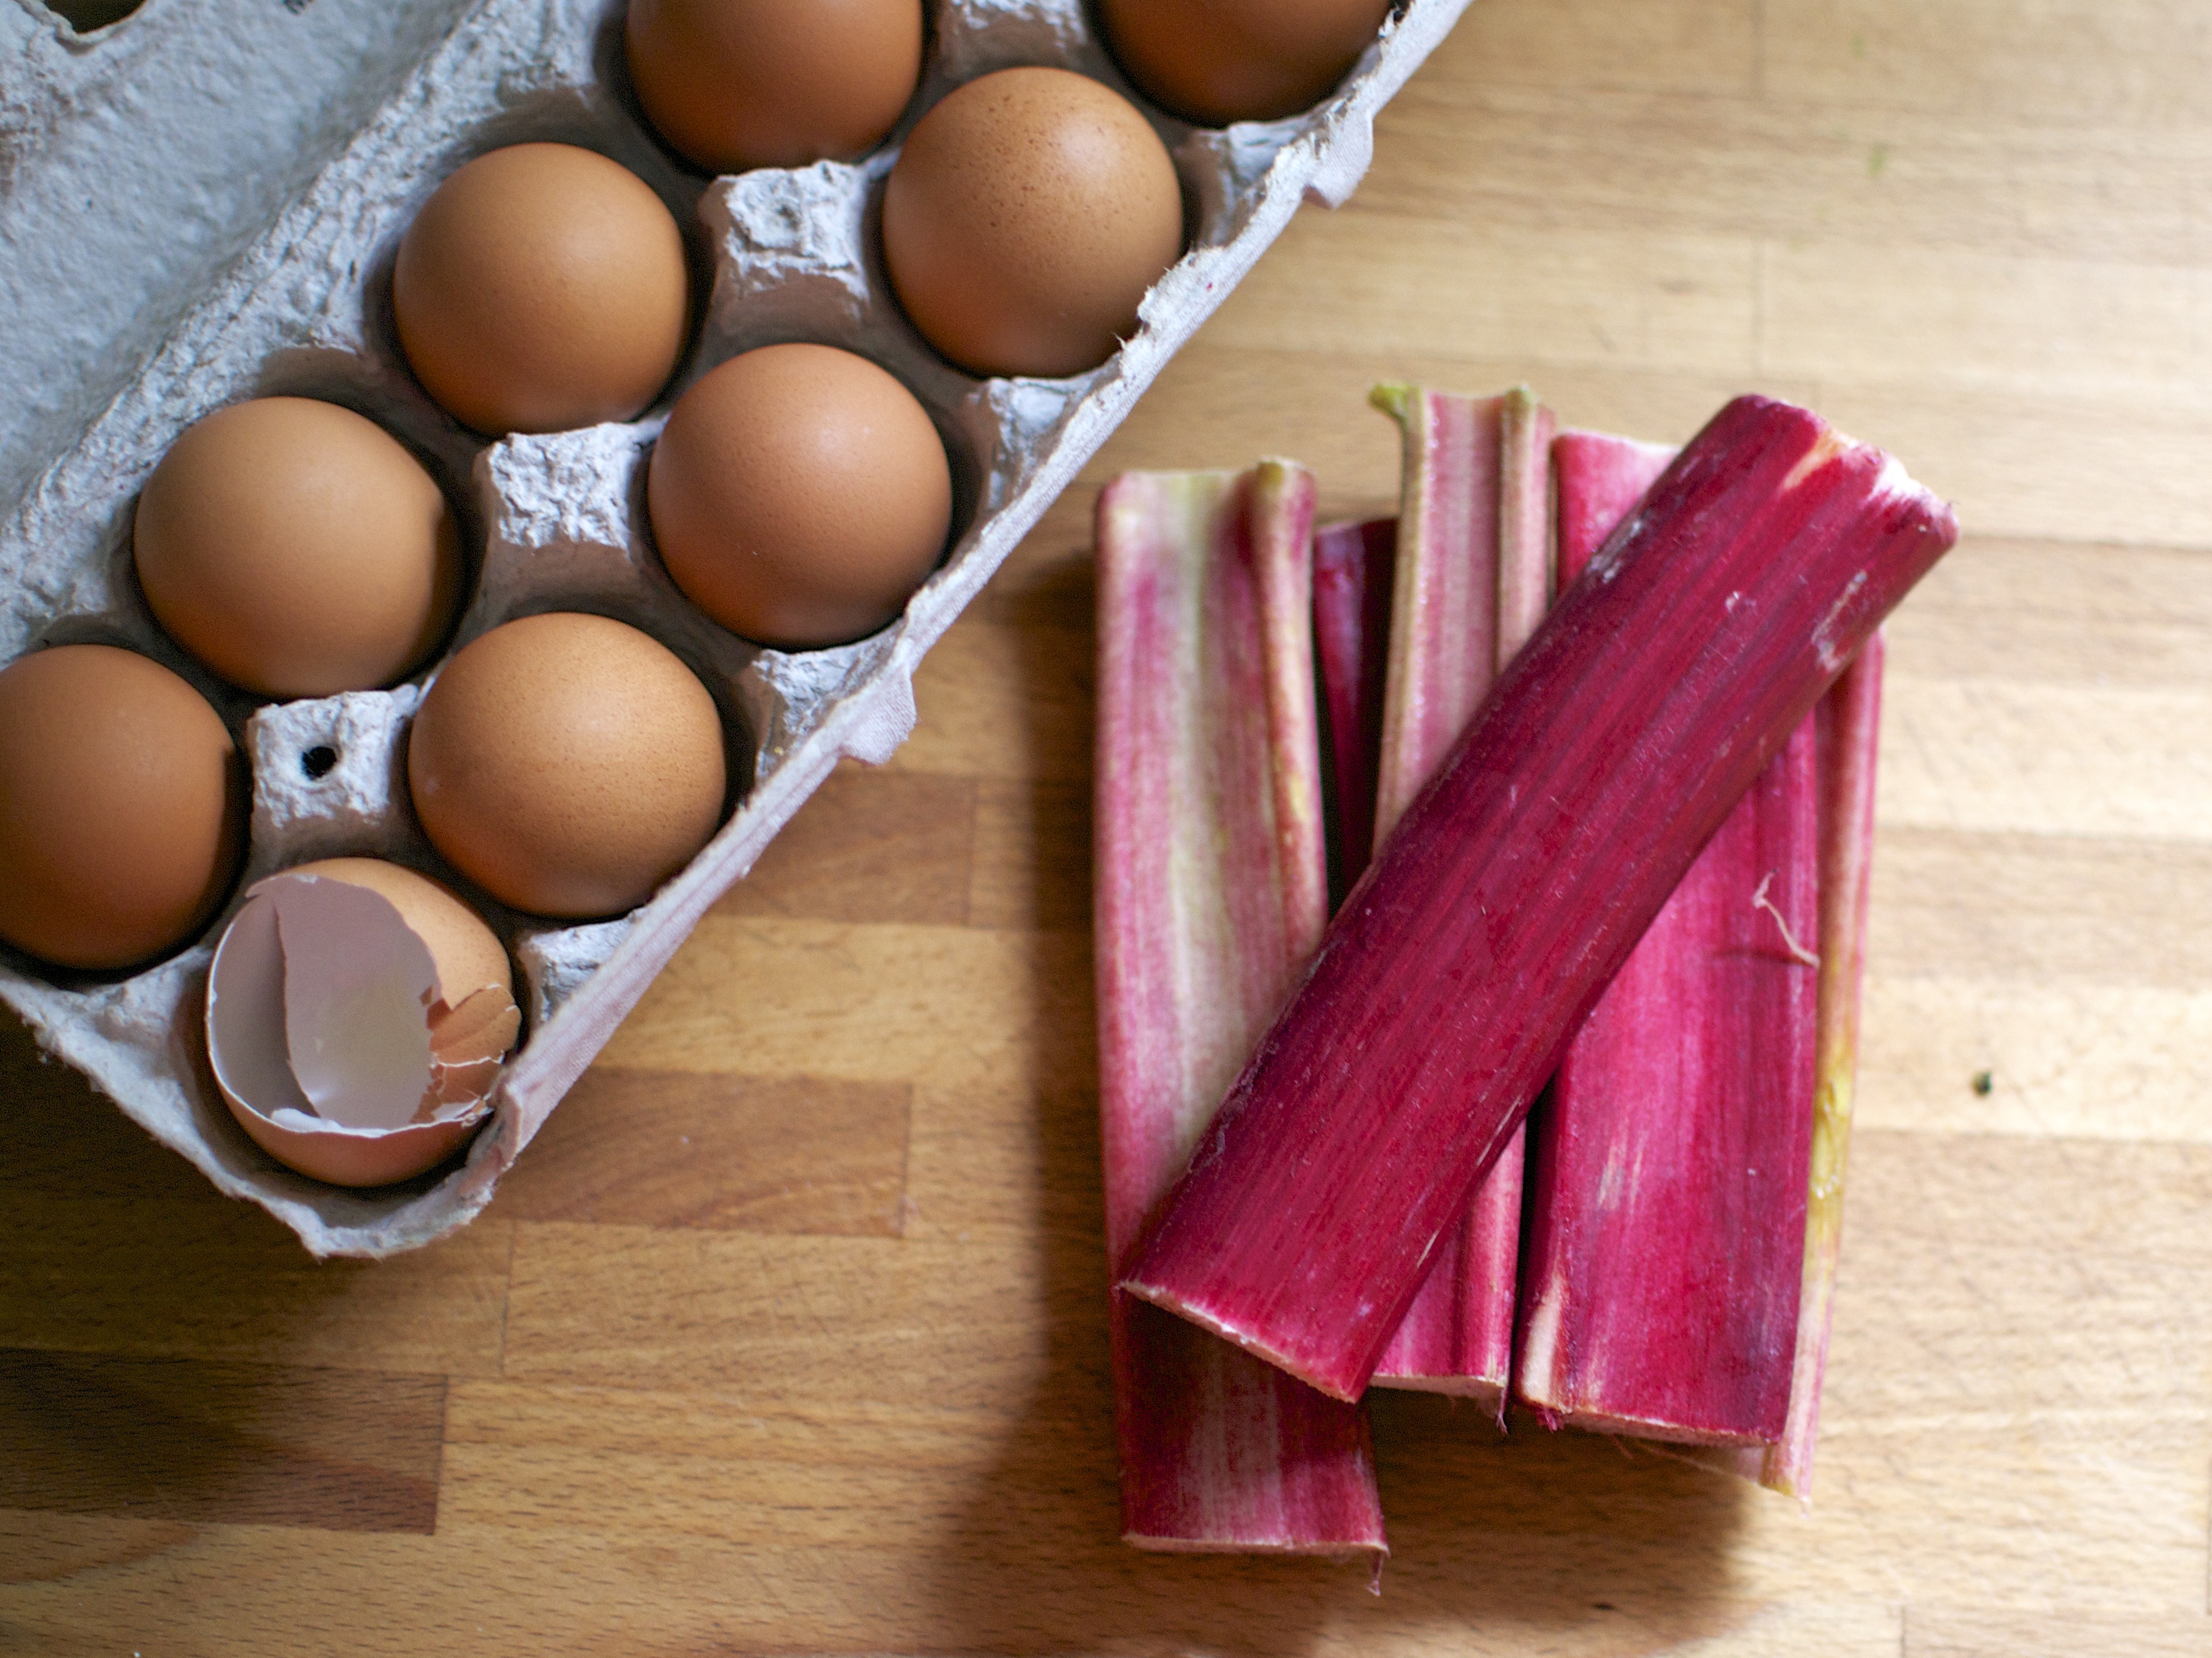
  • 2 cups fresh rhubarb, sliced 1/2-inch thick (about 5 trimmed stalks)
  • 1 cup fresh or frozen strawberries
  • 1/4 cup water
  • 1/3 cup honey
  • 4 eggs, yolks separated (reserve whites for another use)
  • 4 tablespoons unsalted butter

Instructions

  1. In a heavy saucepan placed over medium heat, cook rhubarb, strawberries, water, and 3 tablespoons of honey for about 10 minutes, stirring frequently and smashing the fruit with the back of spoon. Mixture will begin to fall apart and look mushy. Turn off heat and allow to cool for about 5 minutes.
  2. Transfer mixture to the bowl of a food processor and puree smooth. Set aside.
  3. In a separate medium bowl, cream the butter and the honey together until fluffy.  Beat in the eggs slowly. Slowly add the rhubarb and strawberry mixture, whisking constantly until completely combined.
  4. Transfer mixture to a medium-sized, non-reactive saucepan. Place over medium-low heat and stir constantly with either a rubber spatula or wooden spoon until the mixture has thickened to jelly consistency, about 10-12 minutes.  Do not let the curd boil! Pull the pan off the stove before it gets to that stage. The curd is done when it coats the back of a spatula or leaves a clear path when pulled through the mixture.
  5. Remove from heat allow to cool for about 5 minutes. Pour curd mixture into a clean glass jar, but let it cool completely before you screw on the lid. You can even place the filled jar in the freezer (without the lid) for about 15 minutes and then remove from freezer and place the lid on the jar. Keep refrigerated until ready to use.

Note – Recipe adapted from Dolly and Oatmeal.

Four Ingredient Dark Chocolate Peanut Butter Eggs

DSC_0375

We all need a little treat now and then.  For me, my favorite treat is always peanut butter eggs or dark chocolate peanut butter cups. Swooooooon. I don’t have them often, but when I do, I prefer the mini ones because I can have more than one and not feel so bad. I also am like a squirrel and like to save them, placing them in weird places in our house (hiding them from my chocoholic husband).

We hosted a huge Easter gathering at our house this year and had 30 people in our tiny and cozy little abode.  It was a lot of fun because I had a game plan: only make stress free food! This would ensure that I could enjoy my family and not appear like a crazed woman. One of the stress free foods that I made were these amazing Dark Chocolate Peanut Butter Eggs.

Four Ingredient Dark Chocolate Peanut Butter Eggs // Big Eats Tiny Kitchen

Four Ingredient Dark Chocolate Peanut Butter Eggs // Big Eats Tiny Kitchen

My sister and I whipped up these easy peasy peanut butter eggs a day in advance. They didn’t take much time and they were a great tiny sweet treat for people to pop one, two, or five eggs into their mouth.

Did I mention that these Dark Chocolate Peanut Butter Eggs are made with only FOUR ingredients? FOUR.  They are very very very easy to make and very very very easy to eat. Too easy. But hey, on the bright side, they are made with all natural ingredients and are only 70 calories per egg. Boom!

Homemade Four Ingredient Dark Chocolate Peanut Butter Eggs

  • Servings: 60 eggs
  • Difficulty: Easy
  • Print

Ingredients

  • 2 cups creamy salted natural peanut butter
  • 1/2 cup honey
  • 1 tablespoon vanilla extract
  • 5 oz dark chocolate

Instructions

  1. Using either an electric mixer or a food processor, thoroughly mix the peanut butter, honey, and vanilla on high-speed for several minutes until the mixture turns into a thick ball of peanut butter dough. Depending on the time of year and humidity in your kitchen, a tablespoon of water may need to be added to the mixture so that it will come together like dough. You can also pull it out of the mixing bowl and work it by hand for it to come together at the end after mixing it.
  2. Place parchment paper or waxed paper on a rimmed baking sheet or inside several glass pyrex baking dishes.
  3. Take a tablespoon of the peanut butter dough and use your hands to shape into a ball or egg shape, if you are feeling eggy. Place the balls (or eggs) onto the parchment-lined baking sheet.  Continue making the peanut butter eggs or balls until all of the dough is used. Depending on the size of your eggs, this recipe makes between 50 and 60 peanut butter eggs. Chill the peanut butter eggs in the freezer for 1 hour or in the refrigerator overnight.
  4. When you are ready to coat the peanut butter eggs in chocolate, place the chocolate into a microwave safe bowl and microwave for 30 seconds, then stir. Microwave in 10 second intervals, stirring between until the chocolate is melted.
  5. Remove the peanut butter eggs from the freezer. Place one egg at a time into the chocolate and roll around until covered. Remove using a large fork placed under the egg and allow the excess chocolate to drip from the egg. Place the dipped egg on the parchment paper to harden. Store in the refrigerator until time to serve.

*Note – for a paleo-friendly version or for those that are allergic to peanuts, almond butter could be used instead.

Gluten Free Apple Spice Muffins with Walnut-Oat Streusel

Gluten Free Apple Spice Muffins // Big Eats Tiny Kitchen

Apples are here! And these Gluten Free Apple Spice Muffins are healthy, delicious, moist, and sweet.

Similar to the way people are feeling about post season baseball around here is the way I feel about Apple Season.

APPLE SEASON is Post Season to me! Am I right?  Let’s get pumped, people! Summer is over and HELLOOOOO apples. Crunchy, juicy, sweet/tart Apples.

I could seriously OD on apples more than chocolate… weird, huh?  Seriously, I can’t be the only one who has fantasies about going apple picking and bringing home loads of perfect apples and then baking them up in pies, muffins, cobblers, a la mode, cinnamon-spiked applesauce, or, hell, just eating them fresh ALL the TIME.  I’m drooling right now.

DSC_0223

Gluten Free Apple Spice Muffins // Big Eats Tiny Kitchen

I also have to admit that I get SO overwhelmed with all the apple varieties. Holy pooh on a stick! How can you choose?  I’m on the hunt for some interesting varieties this year.  Here in Missouri, there are lots of apple orchards that allow you to pick your own. I’m a big fan of the local varieties of Jonathan, Ozark Gold, Goldrush, and Enterprise. These varieties are good for eating and baking, having sweet/tart flavors with plenty of crunch. They don’t mush up when baked, which is a plus as well.

I used a combination of Jonathan and Golden Delicious when I baked up these luscious Gluten Free Apple Spice Muffins, but any variety should be fine. However, depending on the quality of apples you have access to, the final flavor will vary slightly.

Gluten Free Apple Spice Muffins // Big Eats Tiny Kitchen

I used a combination of two flours: gluten free oat flour and almond flour. I really like the balance of these two flours in muffins. The combo of these flours provide both fiber and protein, which are perfect for beginning your morning and staying satiated longer. And you get a great fall spice treat to start your day.

I used an interesting technique with these muffins. Instead of using store-bought applesauce, I created my own by pureeing one of the three apples in a food processor. After it was pureed, I then added the remaining two apples to the bowl of the food processor and pulsed the apples until they were chopped. If you don’t have a food processor, you can sub 1/2-cup of applesauce for one of the apples.

DSC_0228

Gluten Free Apple Spice Muffins // Big Eats Tiny Kitchen

And let’s also talk about this Walnut-Oat Streusel topping. Walnuts, oats, maple…mmmmm. You mustn’t skimp on this step, friends. Noo no no. Do this. I typically don’t top my muffins (because I’m lazy). But I took the extra 2 minutes (seriously…why do I not do this) and holy mama was it worth it.

Gluten Free Apple Spice Muffins // Big Eats Tiny Kitchen

Gluten Free Apple Spice Muffins

  • Servings: 12
  • Difficulty: Easy/Medium
  • Print

Gluten Free Apple Spice Muffins Ingredients

  • 2 cups gluten free oat flour (ground from gluten free rolled oats or use Bob’s Red Mill gluten free oat flour)
  • 1 cup almond flour (I use Honeyville)
  • 2 teaspoon baking powder
  • 1/2 teaspoon salt
  • 2 teaspoons ground cinnamon
  • 1/2 teaspoon ground ginger
  • 1/4 teaspoon ground nutmeg
  • 3 medium apples, cored and sliced in quarters
  • 1/3 cup greek yogurt (or dairy free yogurt)
  • 1/2 cup maple syrup
  • 2 tablespoons butter, melted (or coconut oil)
  • 4 eggs (at room temperature)

Walnut-Oat Streusel Topping Ingredients

  • 1/3 cup rolled gluten free oats
  • 1/3 cup chopped walnuts (or pecans)
  • 2 tablespoons maple syrup
  • 2 tablespoons butter or coconut oil, melted
  • 1/2 teaspoon cinnamon
  • 1/4 teaspoon salt

Instructions

  1. Preheat oven to 350 F. Line or grease a 12-muffin tin with liners and set aside.
  2. Place dry ingredients in a large bowl.
  3. Combine Walnut-Oat Streusel topping ingredients in a small bowl and set aside.
  4. In the bowl of a food processor, place pieces of one apple, greek yogurt, maple syrup, melted butter, and eggs.  Puree mixture until smooth. Add remaining pieces of two apples and pulse until the apples are in small chunks. Add wet ingredients to dry ingredients. Stir mixture until just combined.
  5. Scoop 1/3-cup of batter into each lined muffin tin to 3/4 full. Sprinkle streusel topping evenly on each muffin. Bake for 30 to 40 minutes, until muffins are browned and cooked all the way through. Remove from oven. After 15 minutes, move muffins to a cooling rack.

Fruit-on-Bottom Yogurt Cups

I’m a snacker. I love to snack throughout the day, eating one snack around 10am and another one around 3pm.  Snacking keeps my blood sugar in check and also keeps me from eating everything in sight once I get home.  One of my favorite snacks is yogurt!

Prepackaged yogurt cups have a lot of added sugar and preservatives. You can save money and have a tastier treat by making your own. I buy organic plain yogurt. Plain greek yogurt is also a great alternative which has over twice the protein as plain yogurt and is ultra creamy. Buying bulk plain yogurt is a lot cheaper and you can keep it on hand to use in other recipes (as an alternative to sour cream in dips, on tacos).

Fruit-on-Bottom Yogurt Cups

Ingredients

Organic plain yogurt (greek style, whole fat, or low fat)

Yogurt Option Add-ins:

  • unsweetened applesauce (add a dash of cinnamon for a kick)
  • 1/4 cup fruit (blueberry, strawberry, blackberry, peaches, whatever you have), frozen or fresh
  • 1 teaspoon no added sugar fruit preserves
  • dried fruit (cranberries, figs, apples, apricots)
  • vanilla extract
  • fresh sliced or chopped nuts (almonds, walnuts, pecans, etc)

Instructions

  1. If using frozen fruit, thaw in the microwave for 15 to 30 seconds. Add fruit, preserves, or applesauce  (or combination of these ingredients) to the bottom of a container.
  2. Add 1/2 cup to 1 cup of plain yogurt. Top with a sprinkle of nuts, vanilla extract, or dried cranberries.