Baked Lamb Stew (Gluten Free and Paleo-Friendly)

Lamb Stew / Big Eats Tiny Kitchen (Paleo, Gluten Free)

For my birthday, a friend of mine gave me an amazing cookbook by Rachel Khoo called My Little French Kitchen.  I’ve been wrapped up in her delicious recipes, bright photos, and lovely stories about exploring regional french cuisine as she travels all around France! Ugh…Tough job, I know.  I try not to get too bitter at the picturesque seaside photos around Normandy and the nonstop lavender fields of Provance…especially when my fingers are numb by just driving my car to work. Spring needs to come quickly.

As we say goodbye to winter, I am still cooking up stews and comfort meals. This cookbook offers plenty of that as well.  There is a wonderful section in her book about Alsace, a northeastern region of France, bordering Germany.  The recipes in this section are hearty, winter-loving, comfort foods.  One of my favorite recipes in the Alsace region of her book is called Baeckeoffe or “Baker’s Oven Stew”.  The history behind the stew refers to a time when french women would often bring this casserole to the baker in the morning on their way to the river to wash their clothes.  The baker would bake it in the coolest part of the oven all day. The women would then pick up the baked stew and a loaf of bread for dinner on their way home.  Hence the name Baeckeoffe or literally Baker’s Oven.

Lamb Stew / Big Eats Tiny Kitchen (Paleo, Gluten Free)

Lamb Stew / Big Eats Tiny Kitchen (Paleo, Gluten Free)

As I started thinking more and more about that story, I couldn’t help but feel so sorry for those poor women. Those women had to lug that huuuuge cast iron casserole pot full of meat and wine to the baker’s shop PLUS haul their whole families’ stinky laundry to the river in the winter! Then they spent all day doing laundry in a cold river. They then had to pick up a fiery hot casserole and hoped that they wouldn’t drop it or get on their newly cleaned clothes. Hmm…Makes my issues seem pretty petty.

The original recipe used several different cuts of beef (oxtail and beef cheeks) and none of the spices that I mention below.  Buuuuut I had a leg of lamb staring me down in my freezer that needed to be used.  So there. I decided to adapt the recipe by using lamb and several warming spices such as cinnamon, coriander, cumin, and smoked paprika.  These spices pair very well with lamb. It gave the stew a hearty and warm balance.  If you don’t have lamb, you can sub out a 3-pound chuck roast and leave out the cinnamon and coriander. This stew is so easy and can be easily adjusted for whatever you have on hand.  Don’t have red wine? Use white. Don’t have white? Use chicken or beef stock.  Seriously… this is like the compost of all stews. And yet it comes out like magic.

Lamb Stew / Big Eats Tiny Kitchen (Paleo, Gluten Free)

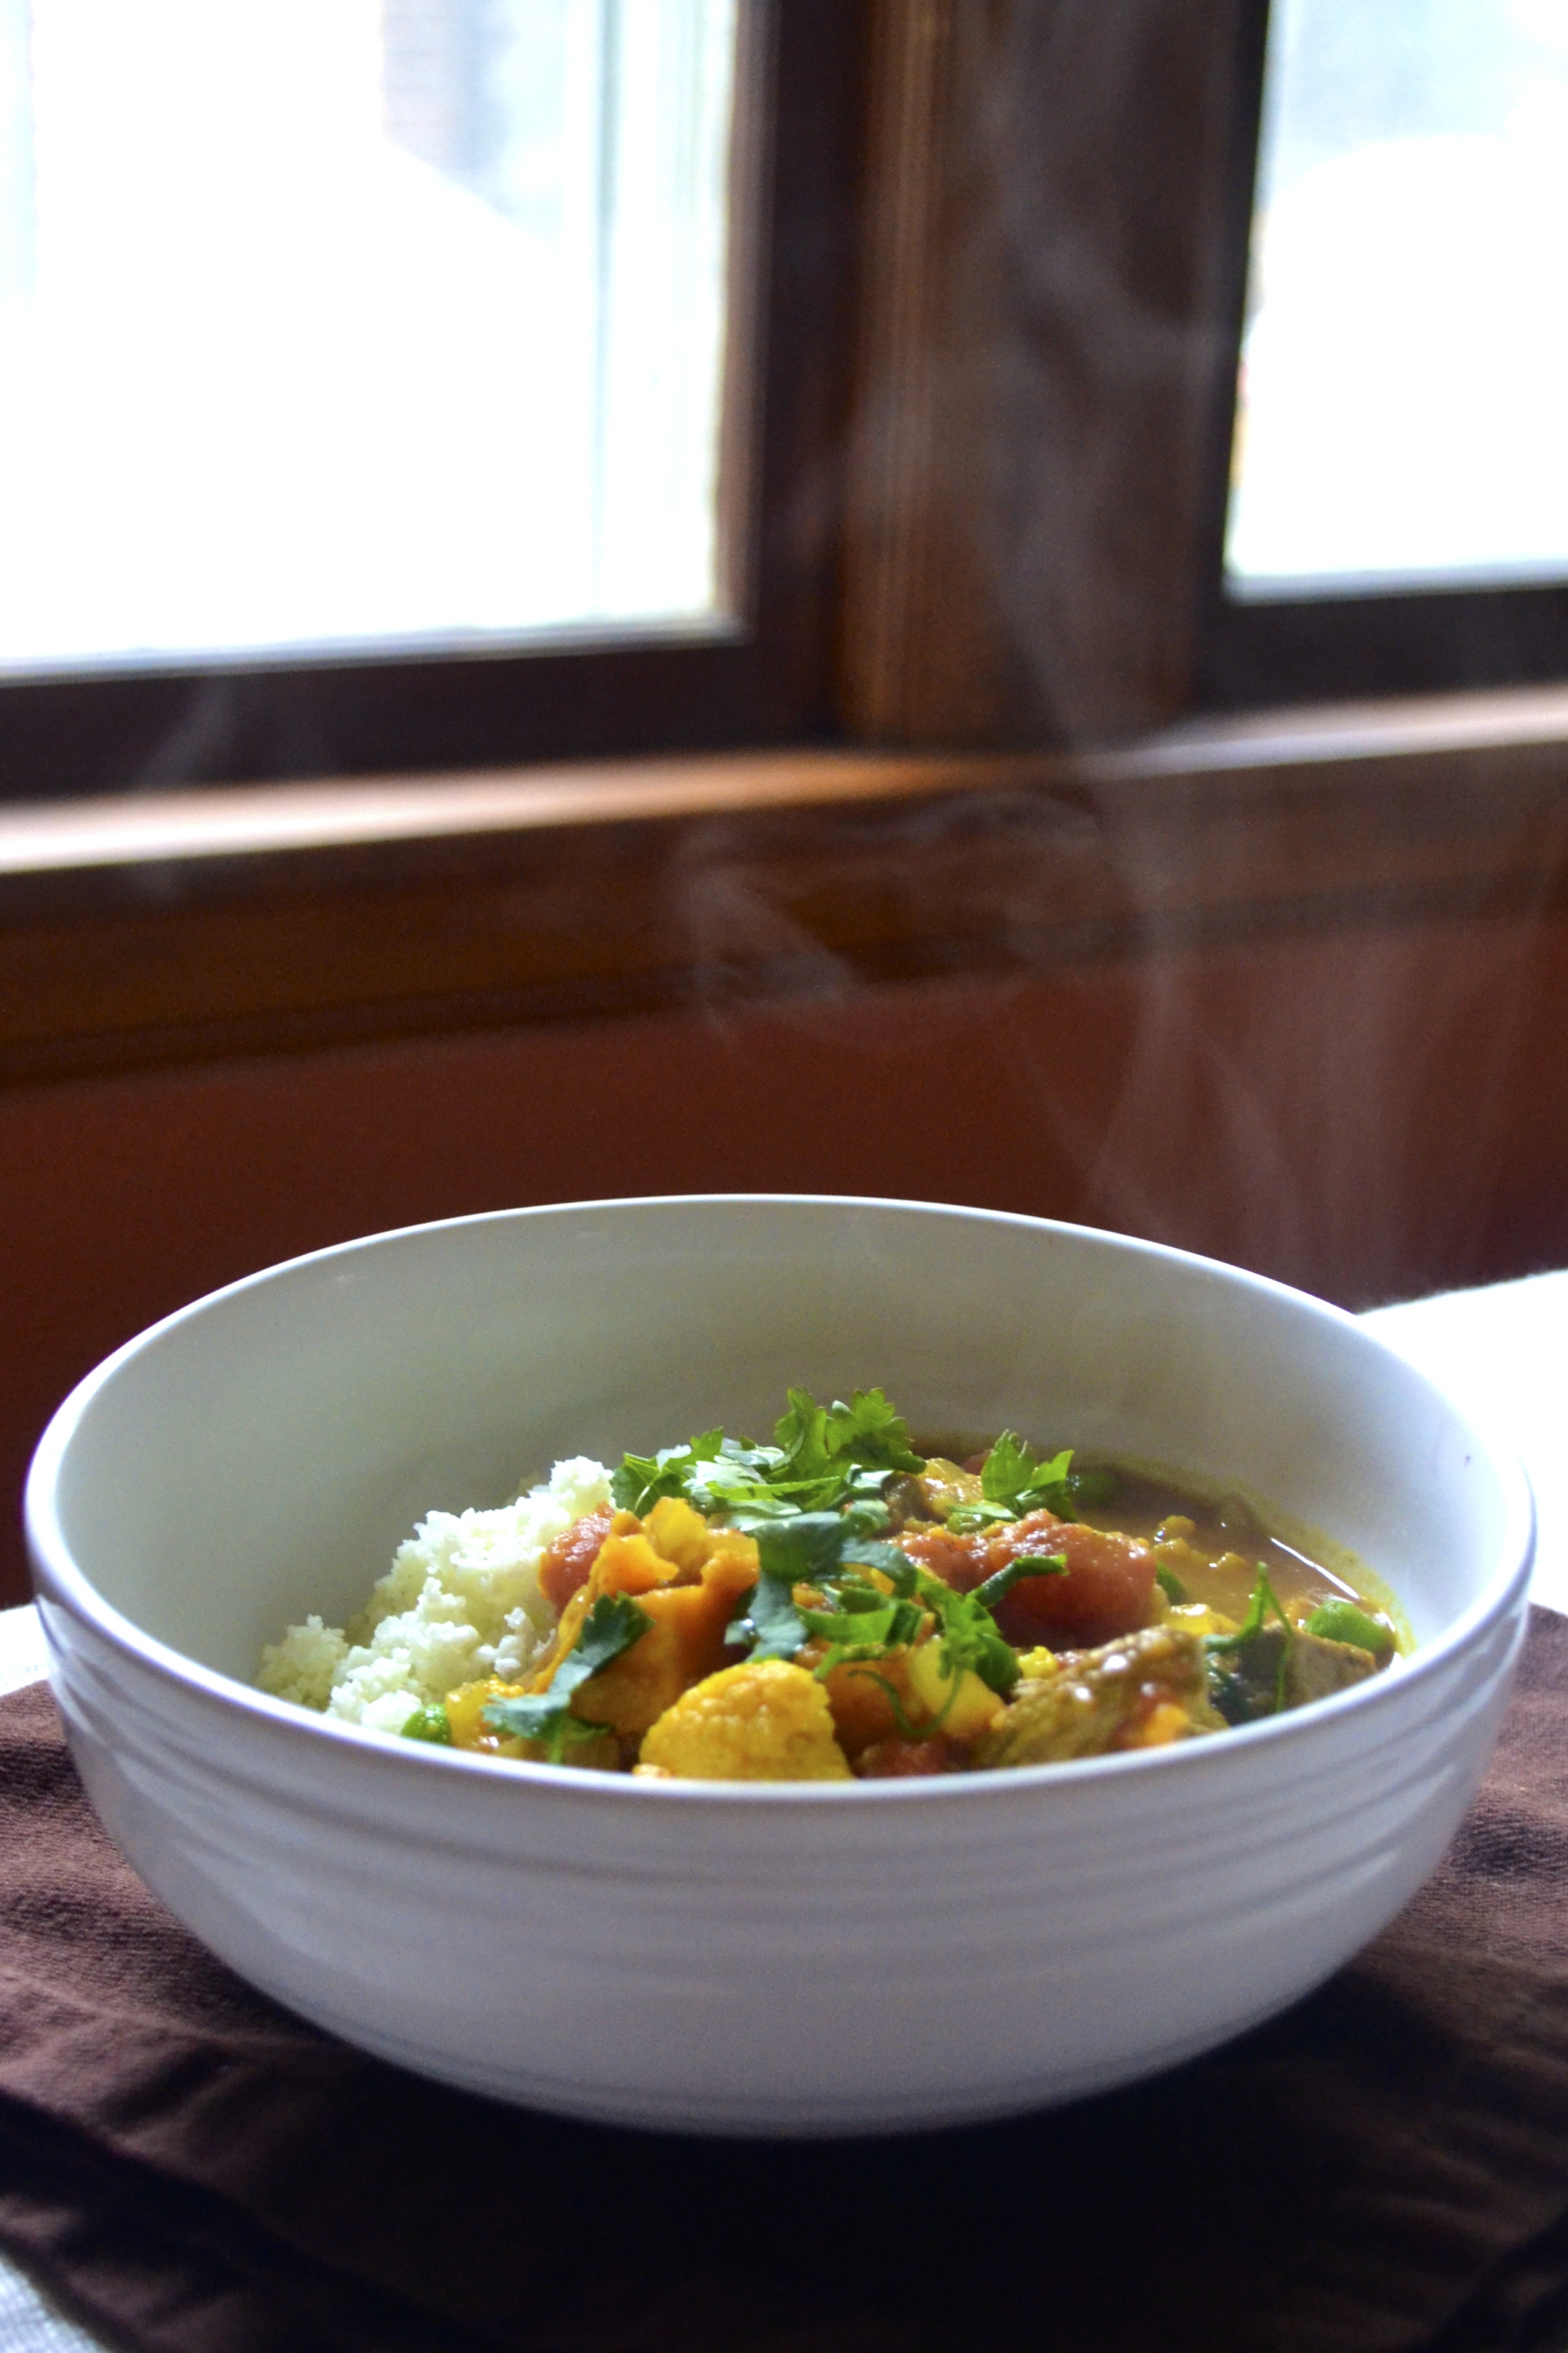
Oh and let’s talk about that lovely top, shall we?  It is just a butternut squash and a sweet potato that have been thinly sliced and layered around like a flower petal.  It’s quite a treat to take the top off of this stew when it is done and see that beautiful rose and smell the amazingness that wafts out. Just think of it as your winter flower.

Lamb Stew / Big Eats Tiny Kitchen (Paleo, Gluten Free)

Baked Lamb Stew

  • Servings: 8
  • Difficulty: Easy
  • Print

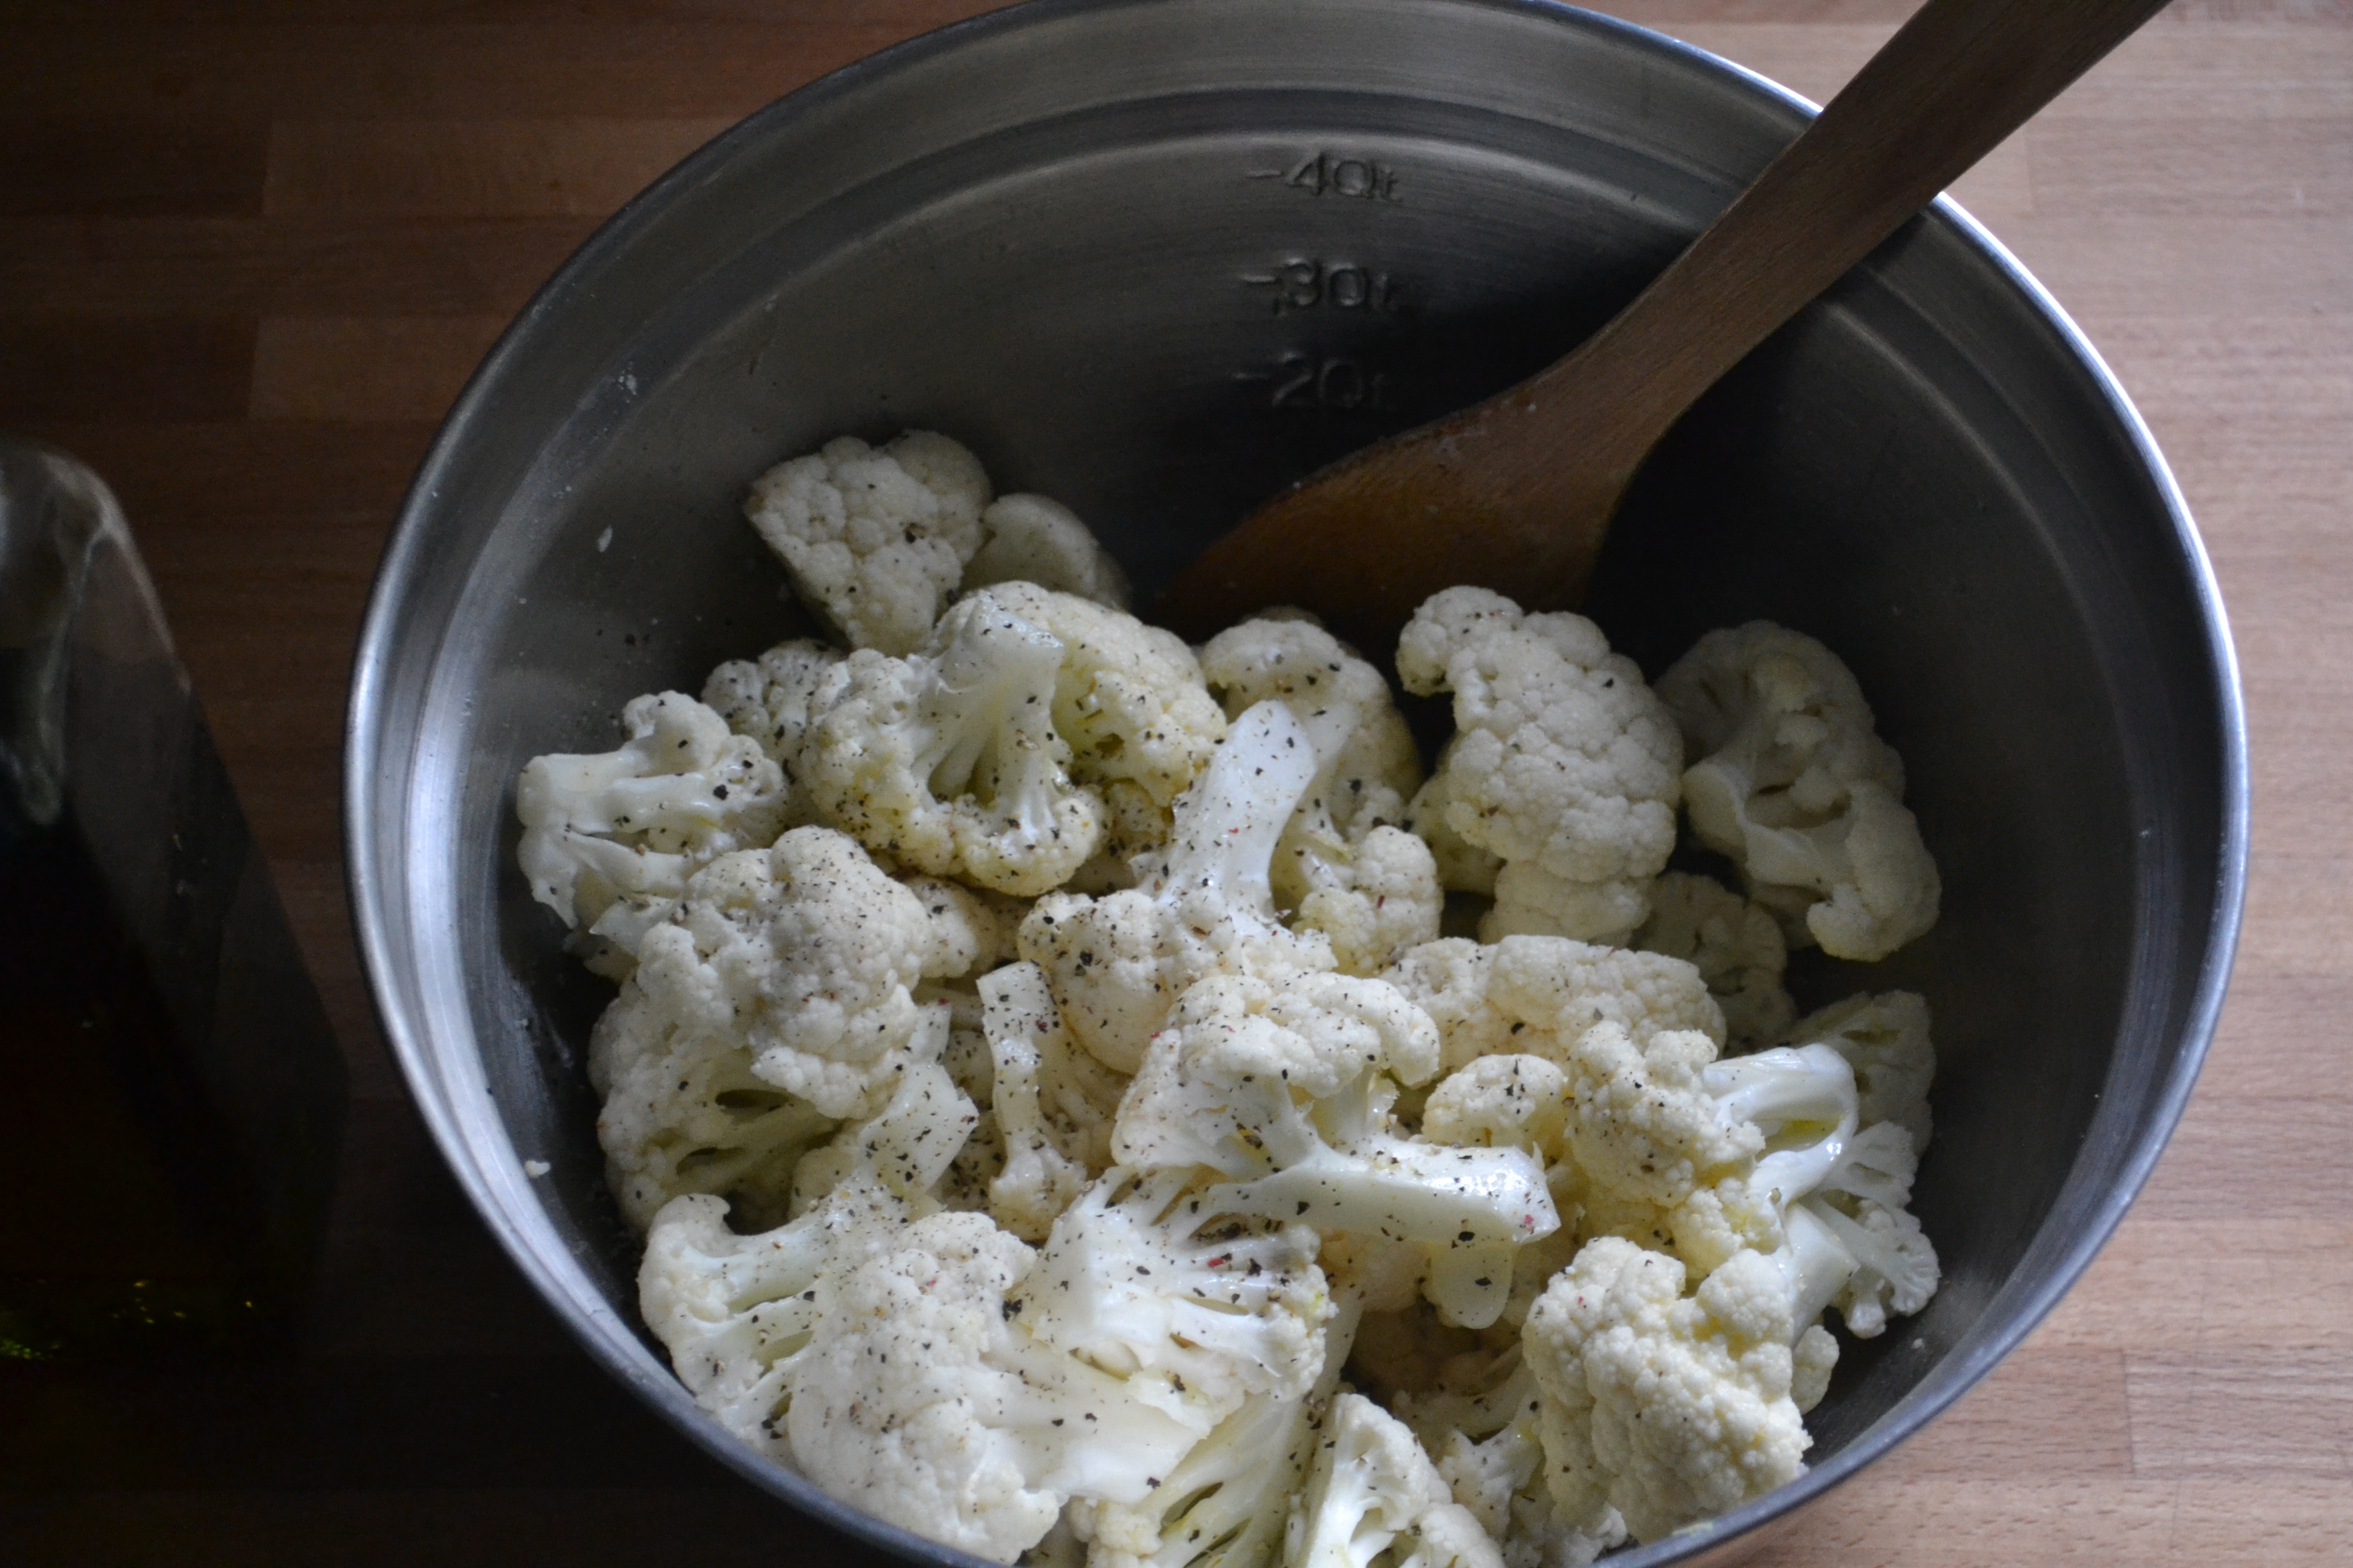
  • 3 lbs lamb shoulder, cut into 1 1/2-inch cubes
  • 1 teaspoon ground cinnamon
  • 1 teaspoon ground coriander
  • 1 teaspoon ground cumin
  • 1 teaspoon smoked paprika
  • 2 teaspoons kosher salt
  • 2 cloves garlic, minced
  • 1/2 teaspoon fresh cracked pepper
  • 1 1/2 cups dry red wine
  • 1 large onion, diced
  • 4 medium carrots
  • 28 oz can diced tomatoes, undrained
  • 2 cups water
  • 2 bay leaves
  • 1/2 cup chopped parsley
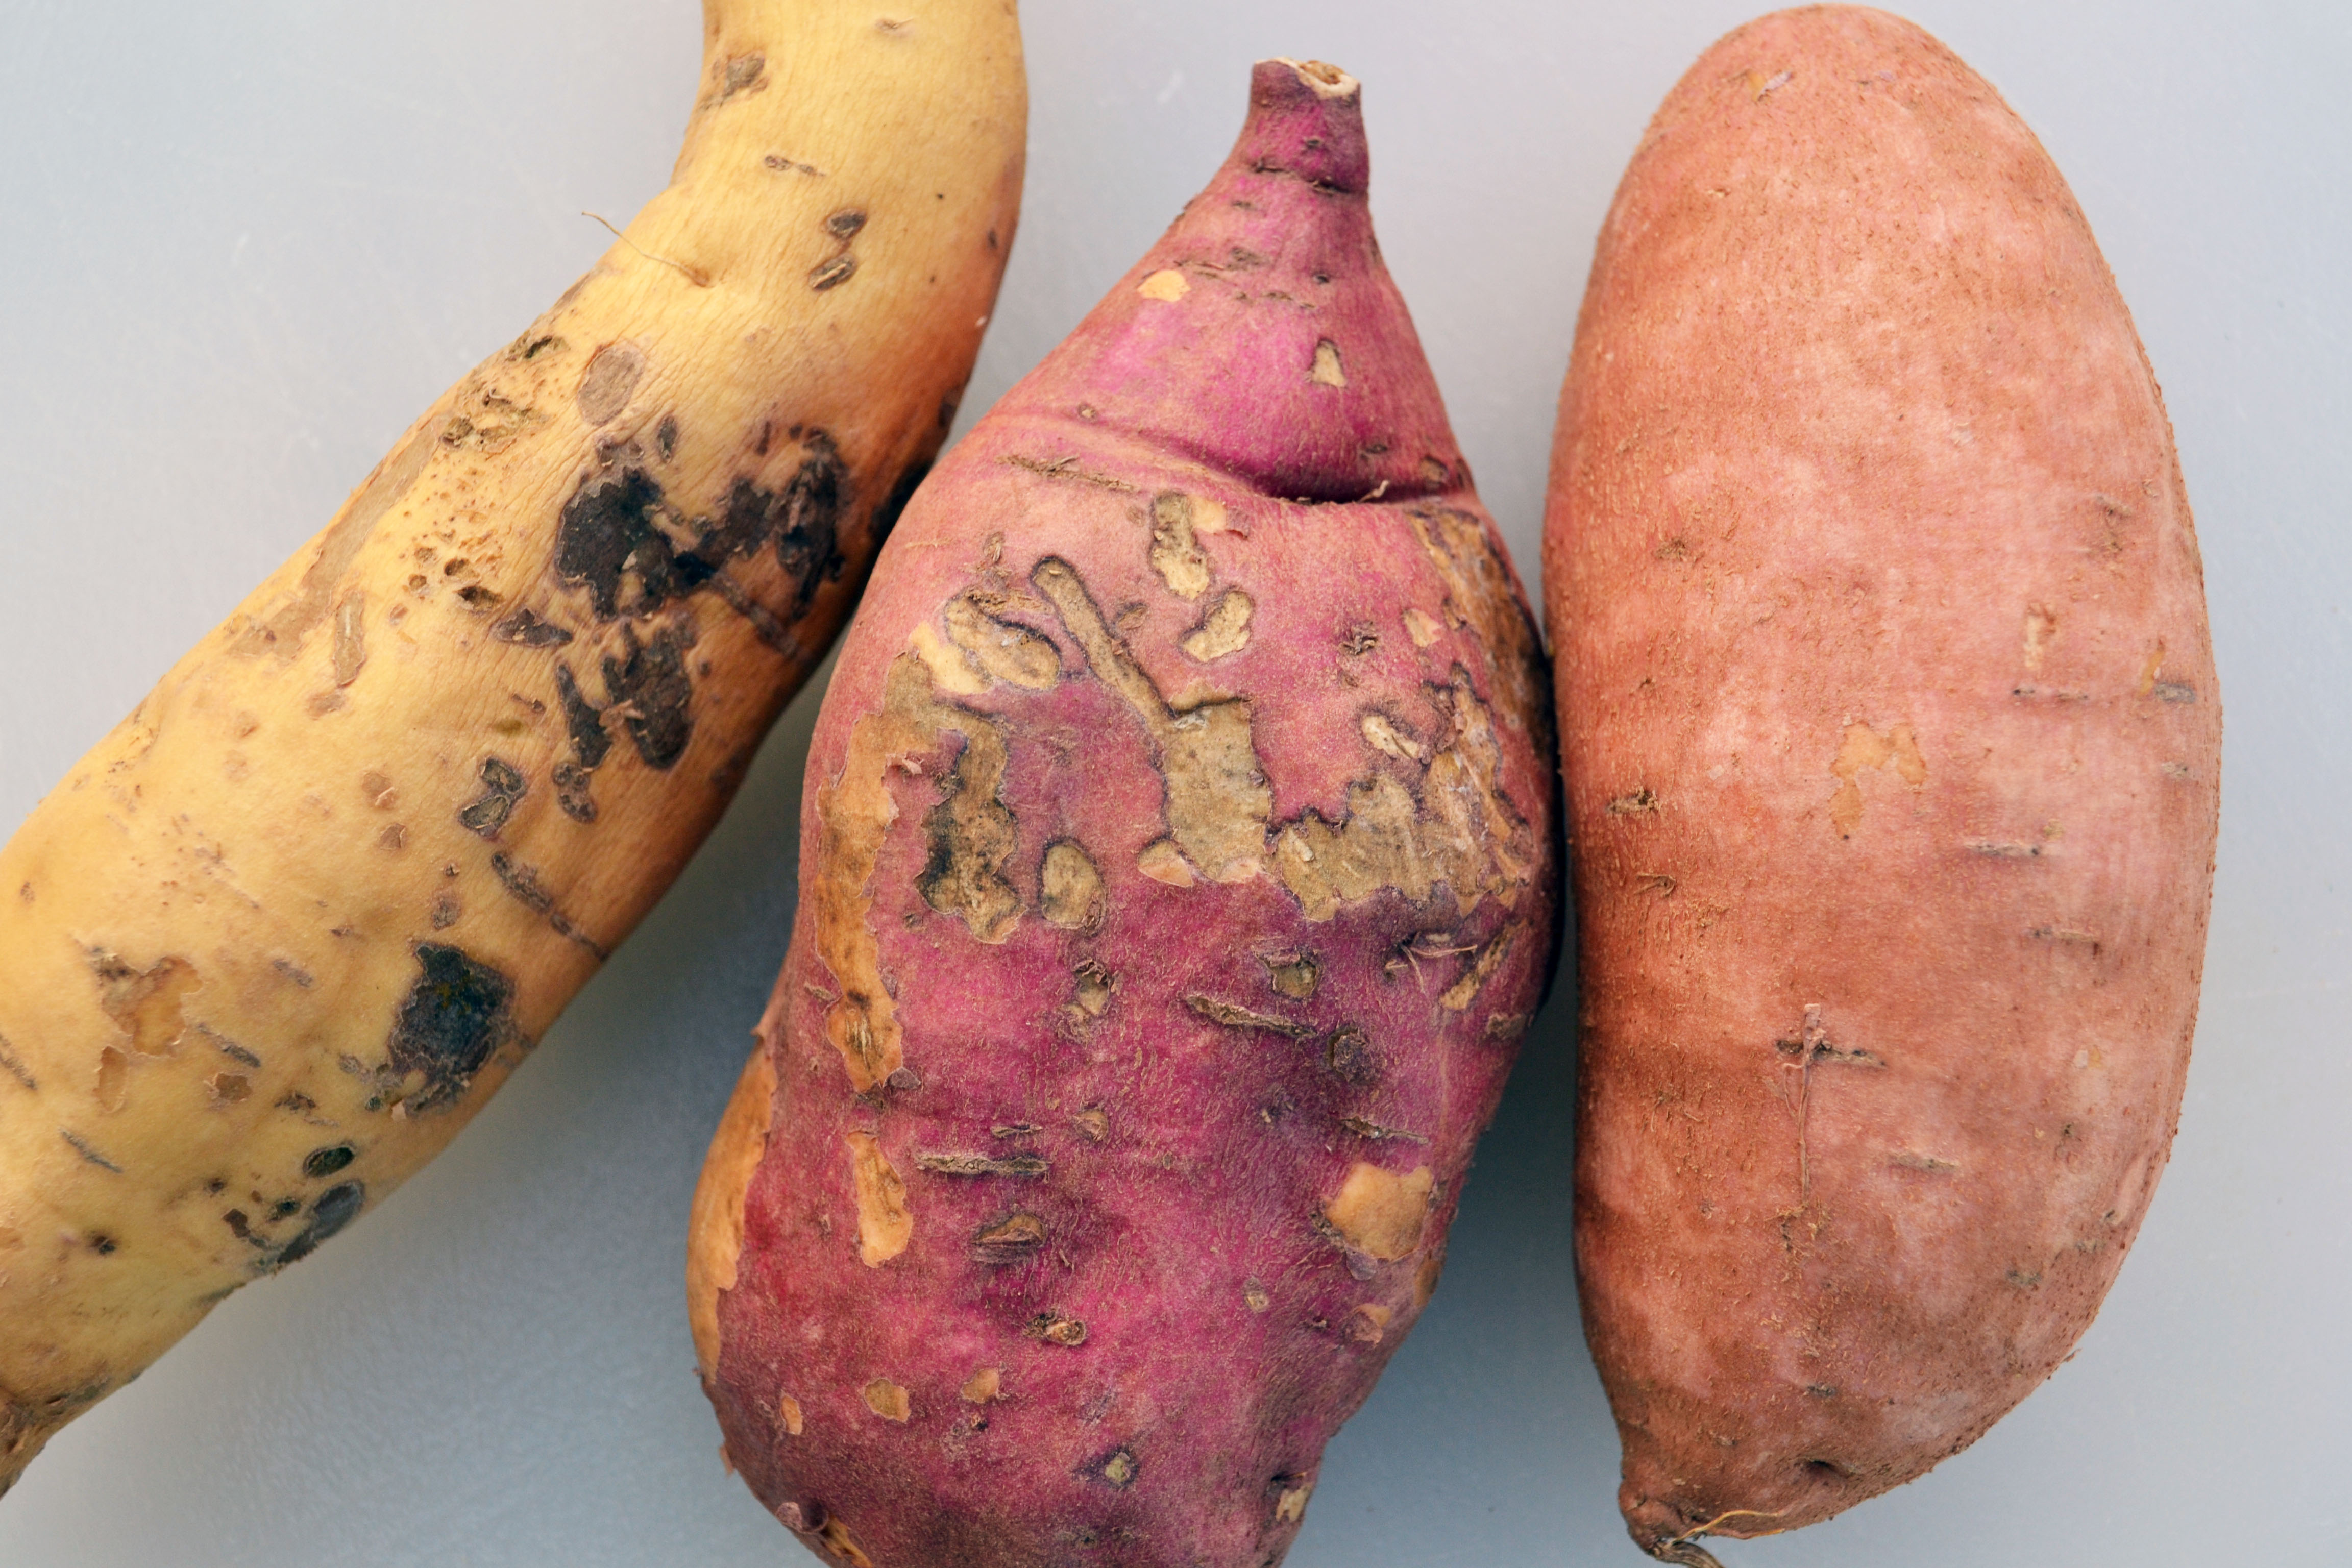
  • 1 medium butternut squash, peeled and cut into thin slices
  • 2 medium sweet potatoes, peeled and cut into thin slices

Instructions

  1. Place the lamb in a large glass bowl or baking dish and toss with the cinnamon, coriander, cumin, smoked paprika, salt, garlic, and pepper.  Use your hands to massage the seasonings into the lamb meat. Pour the wine over the meat so that it is submerged. Cover with plastic wrap or a lid and allow to marinate in the refrigerator for at least 4 hours (and up to 24 hours).
  2. When ready to cook the stew, preheat the oven to 325F. Remove the marinated lamb from the refrigerator at least 30 minutes before cook time.
  3. In a large 6 to 8-quart Dutch oven, add lamb and marinade, onions, carrots, tomatoes with juice, water, bay leaves, and parsley. Stir and bring to a gentle boil. Remove from heat.
  4. Neatly and tightly place thin slices of squash and potato around the edge of the pot.  The layers will begin to look like flower petals as shown in the above pictures. Continue layering the slices and lay them over the top of the stew until it is covered. Sprinkle with a pinch of salt. Place a sheet of parchment paper on top of the stew and then place the lid on top. Bake in the preheated oven for 3 to 4 hours, until the lamb is tender. Remove the lid and parchment paper.  Increase the heat to 450 F and bake for 5 to 10 minutes to crisp the top. Serve immediately.

Notes – you can easily use a 3-pound chuck roast in this recipe instead of lamb.

Advertisement

Crockpot Beef and Mushroom Stew (Gluten Free and Paleo-Friendly)

DSC_0258

I have been in an alternate universe, my friends. A universe where people never sleep, the air smells like strawberry perfume, puke, and alcohol and no one seems to care that a burger costs $22. Ya….I speak of Vegas.

One of my oldest friends was getting hitched last weekend there. It was great to see him and his new wife as well as many old friends from college.  It’s funny getting back together with friends that you don’t see that often, but when you do see them, it is as if no time has passed. But then the problem is that I feel like I have to cram so much fun into a condensed time span.

So what do you get when you concentrate fun in Vegas?  Drinks that should never be THAT big, beer pong rallies (be sure close to your eyes when the ball hits the floor so that you don’t vom in your mouth), mechanical bull riding that felt like it lasted 10 minutes (I pulled a groin muscle doing this because I’m OLD), no sleep no sleep no sleep.  It took only 12 hours for me and my husband to quickly realize that we were in our mid 30s, not early 20s. Ouch.

Crockpot Beef and Mushroom Stew // Big Eats Tiny Kitchen

As a result, mama is in major decompression mode. No bright lights, no floral smells, no alcohol, no loud noises. All I need right now is to be wrapped up in a blanket like a human burrito while I listen to soul music on the record player. Put it on repeat please.

I also need a massive helping of this warm comfy soup to combat the outside temps that are in the teens!

Crockpot Beef and Mushroom Stew (Gluten Free and Paleo-Friendly)

  • Servings: 4 to 6
  • Difficulty: Easy
  • Print

Ingredients

  • 2 lbs beef stew meat (seasoned with salt and pepper)
  • 2 onions, sliced in 1/4-inch slivers
  • 10 oz baby bella mushrooms, quartered
  • 1 large carrot, sliced
  • 2 cups diced potatoes
  • 1 Tablespoon thyme
  • 6 cups beef stock
  • 1/2 cup dry sherry (optional)
  • 2 tablespoons arrowroot powder (or cornstarch)
  • Salt and pepper to taste

Instructions

  1. Place first six ingredients (stew through beef stock) in a crockpot. Cook on low for at least 8 hours.
  2. In a small bowl, stir arrowroot powder into sherry until a smooth paste is formed. Add sherry mixture to the crockpot and stir to combine. Add salt and pepper as needed.

Gluten Free Zucchini Lasagna

Gluten Free Zucchini Lasagna // Big Eats Tiny Kitchen

As fall starts to move in, I find myself in comfort mode.

I want to be cozy.

I want to wear wool socks.

I want comfy meals.

But I also don’t want to pack on some comfy pounds…can I have both?  Why can’t I just have the things I want!

It’s simple.

Gluten Free Zucchini Lasagna // Big Eats Tiny Kitchen

My comfort meal of choice is lasagna. It is hearty, comfy, and saucy. I miss the original butt busting version dearly, I do. But as an alternative, I love replacing the noodles in a typical lasagna with different vegetables. One of my favorite paleo versions uses roasted eggplants.  Aaaaaaand, my thighs are pretty thankful for this swap.

Gluten Free Zucchini Lasagna // Big Eats Tiny Kitchen

Gluten Free Zucchini Lasagna // Big Eats Tiny Kitchen

With zucchini being at the end of their peak season, I decided to whip up a lasagna using zucchini ribbons in place of lasagna noodles for a healthy and tasty lasagna without weighing you down. This version does a yummy layer of whole milk ricotta with parmesan cheese which I love. However, if you are avoiding dairy, you can easily skip the ricotta cheese mixture layer and this lasagna would still be a winner!

Gluten Free Zucchini Lasagna // Big Eats Tiny Kitchen

Gluten Free Zucchini Lasagna

  • Servings: 9
  • Difficulty: Medium
  • Print

Ingredients

  • 2 medium zucchini
  • 1 lb ground grass-fed beef or gluten free pork sausage
  • 1 medium onion, diced
  • 10 oz whole baby bella mushrooms, sliced
  • 1 diced bell pepper
  • 4 to 6 cloves of garlic, minced
  • 2 15 oz cans of diced tomatoes (undrained)
  • 6 oz can of tomato paste
  • 1 tablespoon dried oregano
  • 2 tablespoons dried basil
  • 1/2 teaspoon ground black pepper
  • 1/4 cup fresh parsley (plus more for garnish)
  • salt to taste
  • 1 cup whole milk ricotta
  • 1 large egg
  • 1/2 cup parmesan (divided)

Instructions

  1. Preheat oven to 350 F.
  2. Slice zucchini 1/8-inch thick using a mandolin slicer. Place in a single layer on a plate lined with paper towels or a clean kitchen towel. Sprinkle with salt and set them aside for 10 minutes to drain of excess moisture.  After 10 minutes, pat the zucchini slices with the clean towel to remove the moisture.
  3. In a large sauce pan or pot, brown the ground beef (or sausage) over medium heat until completely cooked. Drain excess grease. Return pan to heat and add onion, minced garlic, and sliced mushrooms.  Stirring frequently, brown and cook until onions, bell pepper, and mushrooms are tender, about 5 to 10 minutes.  Add 2 cans of diced tomatoes with juice, tomato paste, oregano, basil, salt, pepper, and parsley.  Bring to a simmer. Allow to simmer for about 10 minutes, stirring frequently. Sauce can be made several days ahead and refrigerated.
  4. In a small bowl, mix the ricotta, egg, and 1/4-cup parmesan.
  5. Spread 1/3 of the meat sauce (about 2 cups) in the bottom of a 9″ X 13″ glass pan.  Layer slices of zucchini on top of the sauce.  Spread another 1 to 2 cups of sauce on top of the zucchini slices.  Spread all of the ricotta mixture on top of the sauce layer. Then place a second layer of zucchini slices on top. Spoon remaining sauce on top. Top with remaining parmesan cheese. This can be made 1 day ahead. Cover with foil and refrigerate until ready to cook. (Note – you will need to remove from refrigerator at least 30 minutes prior to placing in oven.)
  6. Bake lasagna at 350 F for 30 minutes. (If the lasagna was made ahead of time and placed in the refrigerator, add 15 minutes to the cook time.) Serve hot topped with fresh basil and/or extra parmesan cheese.

Note – This recipe is easily adaptable for food intolerances or other diets.

Paleo-Friendly and Dairy Free Adaption: To make this paleo-friendly and dairy free, do not include the ricotta-cheese layer. The lasagna will still taste amazing.

Vegetarian Adaption: Remove the meat from the marinara sauce. Double the Riccotta-mixture for added protein.

Gluten Free Zucchini Lasagna // Big Eats Tiny Kitchen

Thai Burger-in-a-Bowl

Thai Burger-in-a-Bowl / Big Eats Tiny Kitchen

The concept of “home” is an interesting one to me. Although I call Kansas City my home now, other places feel like home when I am surrounded by certain people.

Last weekend I took a short road trip through my home state of Oklahoma. My first destination was Tulsa where i spent a few days with three of my closest girlfriends from college for Estrogenfest…an annual tradition with no men, no children, lots of love, and lots of booze. It is like a boozy spa retreat for my soul. We talk. We laugh. We cry. We remember old times. We build each other up. We bring out the best in each other. It feels like home.

Thai Burger-in-a-Bowl / Big Eats Tiny Kitchen

I took back roads to get there from Kansas City. I like not traveling on the main highways during road trips so that I can see the forgotten pieces of slow American life. Slowing down is something I have to remind myself to do often. I was able to spend good quality time by myself and with my thoughts. I felt centered. I felt home.

After a few days, I left my girlfriends and headed further south to see my family. Being with my brother and two sisters is one of the biggest rewards I get in life.  I can sit for hours around them without saying anything and all feels right in the world. We laugh so much with each other…inside jokes get funnier, food tastes better, the hot summer breeze feels right. It feels like home.

Thai Burger-in-a-Bowl / Big Eats Tiny Kitchen

After a few days in OKC, I headed back to Kansas City.  Even though I find comfort in the people that I see back in Oklahoma, Kansas City is my new home. When I am gone from here, I miss it more and more.  The streets are becoming more and more familiar to me.   I realize that other cities just don’t seem as pretty as Kansas City.  I miss my rituals when I’m gone. I miss the tall trees from my neighborhood. I miss seeing the same people every morning during my morning jog. I miss cooking. I miss playing chess at night with my husband while drinking good beer. I miss visiting the same friendly farmers on Saturday mornings and asking how their farms are doing. I miss my home.

Weeknight dinners at my home often consist of burger-in-a-bowl. It’s super easy and refreshing. This past week when I got back from trekking around OK, I whipped up this Thai Burger-in-a-Bowl using a slaw I made with red cabbage from the market and tons of herbs from our garden. This is heavily inspired by my Green Curry Burger. I hope you enjoy this comfy recipe as I share it from my home to yours.

Thai Burger-in-a-Bowl / Big Eats Tiny Kitchen

Thai Burger-in-a-Bowl (Gluten Free)

  • Servings: 4
  • Difficulty: Easy/Medium
  • Print

Adapted from my green curry burger wraps.

Thai Burger-in-a-Bowl Ingredients

  • 4 burgers, grilled (see instructions below)
  • Cabbage and Carrot Slaw
  • Greens (Kale, Butter Lettuce, Chard)
  • Spicy Peanut Sauce Dressing
  • 1 lime, cut in quarters
  • siracha
  • cilantro, mint, and basil

Burger Ingredients

  • 1 lb ground beef
  • 1/2 teaspoon salt
  • 2 cloves garlic, minced
  • 1 tablespoon gluten-free tamari
  • 1/4 teaspoon ground pepper

Cabbage and Carrot Slaw

  • 1/2 large head of red cabbage, shredded
  • 5 medium carrots, shredded
  • 1/3 cup rice wine vinegar
  • 1 teaspoon sesame seed oil
  • 1/4 cup chopped cilantro
  • 1 tablespoon chopped mint
  • 1 tablespoon chopped basil
  • salt and pepper to taste

Spicy Peanut Sauce Dressing

  • 1/3 cup unsalted creamy peanut butter (or almond butter)
  • 1 Tablespoon fresh ginger, peeled and grated
  • 1 clove garlic, minced
  • 1 Tablespoon soy sauce
  • 1 Tablespoon rice wine vinegar
  • 1 Tablespoon lime juice
  • 1 Tablespoon honey
  • 1 teaspoon Siracha
  • ¼ Cup water

Instructions

  1. Making Burgers – Combine all of the ingredients in a large bowl and mix with hands until ingredients are distributed throughout meat. Try to handle meat as lightly and as little as possible so that the meat does not become compact and tough when cooking. You are making burgers, not meatloaf, people! Form the meat into 4 equal-portioned patties, about ¾-inch thick. Make a dimple in the middle of the patty, pressing down with thumb or fingers. This will keep the burger from bulging during the cooking process and maintains juiciness. Sprinkle with additional salt and pepper and set aside.
  2. Making Slaw – Combine all ingredients in a large bowl. Mix well. Place in refrigerator while preparing everything else, mixing every once and awhile. Best if made at least 30 minutes ahead of time. Can be prepared up to 1 day ahead of time.
  3. Preparing the Spicy Peanut Sauce – Combine all ingredients in a small food processor or bowl. Mix well. Set aside.
  4. Cooking Burger Patties – Prepare a gas or charcoal grill to medium-high heat. When the grill is ready, place the patties on the rack, cover, and cook, turning once, until done to preference, 3 to 5 minutes on each side.
  5. Assembling Thai Burger-in-a-Bowl – Divide greens among four bowls. Add about 1/2 cup of slaw to each bowl and then top with a grilled burger. Add desired amount of siracha and herbs on top of burger. Drizzle peanut sauce on top of assembled burger. Squeeze fresh lime juice on top of everything.

Carne Asada Salad (Paleo Friendly and Gluten Free)

Carne Asada Salad / Big Eats Tiny Kitchen

Have you ever lost your mojo? Felt lost?

If you are frequent reader or friend of mine or even someone I have passed on the street, it has been a bit too obvious that I have lost my mojo.  I’m typically so goal-driven, mega type A, and awesome…or anal, whichever you deem it. But not for sometime. For a while I have felt like a feather in the wind with no direction, which is TERRIFYING to me. I think we all have a threshold of how much willpower we have and how much we can endure. And then one day you snap…for me it was the lack of ketchup in our house when I had made sweet potato fries…. FOR THE LOVE OF PETE WHY CAN”T I HAVE WHAT I WANT!

Too dramatic? naaaah.

Carne Asada Salad / Big Eats Tiny Kitchen

But there has to be a certain point when you just have to realize that life just is what it is. We get handed certain things in life and we can either roll around in it like a stinky pile of poop or we can make poop pie and throw it at someone that deserves it. I’ve decided to quite rolling in poop and throw it. Wait…I don’t think that came out right.

Well, you get what I’m saying right?  Take out your frustrations on others, am I right? That’s what friends are for? right? Friends? Thanks for being there for me. 🙂 No really. Thanks.

This week has been operation “get my mojo back”. If you have often felt like your mojo is gone, I challenge you to get it back by realizing that we can’t compare ourselves to others (even past versions of ourselves). We are where we are and we have to try to enjoy these moments, even the hard ones, because our time is short and our love is vast.

Carne Asada Salad / Big Eats Tiny Kitchen

Here are a few of the things I did to get mojo back this week that you can try:

  • Exercise – Go for a walk. Listen to the birds, see the trees in bloom, embrace the now.
  • Treat Yo’ self – Hello mani/pedi.
  • Cook – Try something simple and fresh for yourself and family. Your belly will thank you.
  • Laugh – This is the most important thing of all.

As part of my “get my mojo back” week, I decided to cook something fresh and simple. I thawed out a strip steak from our purchase of 1/4 of a COW. (I don’t know which fourth I got, but he’s tasty.)  Strip steaks are nice and thin and are great for carne asada! So I whipped up a quick carne asada marinade when I got home from work. Fresh limes are key to the marinade. Let your steak marinade for at least an hour and up to 4 hours. Fresh greens are abundant in the farmers market and in my garden so I decided to create a fresh salad instead of tacos.  I used fresh baby butter lettuce, baby kale, and cilantro that is growing in our garden and some other goodies that I picked up at the market to create a Carne Asada Salad that was quick, delicious, and something that I will be making many times during this grilling season. Feel free to modify your toppings, but focus on fresh and good quality items.

Carne Asada Salad / Big Eats Tiny Kitchen

Carne Asada Salad / Big Eats Tiny Kitchen

Strip steaks are thin and will not require a long time on the grill. For medium, you will likely only need to grill it 4 to 5 minutes per side, or less. Keep an eye on it. You could even cook your steaks inside in a cast iron skillet or grill pan if you don’t have a grill.

Carne Asada Salad (Gluten Free, Dairy Free, Paleo Friendly)

  • Servings: 2-4
  • Difficulty: Easy
  • Print

Marinade Ingredients

  • 1 lb strip steak (flank steak would work too)
  • 1 large clove of garlic, smashed and minced
  • juice of 1 large lime
  • 1 tablespoon apple cider vinegar
  • 1 teaspoon cumin
  • 1 teaspoon smoked paprika
  • 1/2 teaspoon coriander
  • 1/4 teaspoon cayenne powder
  • salt and pepper
  • 2 tablespoons olive oil

Salad Ingredients

  • Mixed greens (baby kale, spinach, arugula, butter lettuce, etc)
  • 1 bunch of cilantro, chopped
  • green onions, diced
  • 1 cup grape tomatoes, diced
  • crumbled feta (optional)
  • fresh limes
  • avocado
  • salsa

Instructions

  1. Place the strip steak in a large glass bowl or baking dish.  Do not use metal because it may react with the acids in the marinade. Salt and pepper on both sides. Combine the marinade ingredients in a small bowl and pour over the steak. Make sure that all of is covered and saturated with the marinade. Cover the bowl with plastic wrap and allow to marinate in the refrigerator for 1 to 4 hours. Pull out of the refrigerator and allow the steak to come to room temperature (about 30 minutes). 
  2. Preheat your grill or grill pan using medium-high heat or flame. Brush the grates of your grill with a bit of olive oil so that the steak does not stick to the grates. Remove the steak from the marinade and place onto the hottest part of the grill and cover the grill. Grill until the underside of the steak is browned, about 4 minutes depending on the thickness of your steak.  Flip the steak and cook on the other side for another 4 minutes.
  3. Remove the steak from the grill and allow to rest for 5 minutes. Thinly slice the steak across the grain on a diagonal. This will help the steak from being chewy.
  4. Prepare four salad bowls and place sliced steak on top. As another option, prepare these as tacos using grilled corn tortillas. Mmmmm! Happy eating!


Gluten Free French Onion Soup

Gluten Free French Onion Soup / Big Eats Tiny Kitchen

Some things in life take a bit of extra time and extra effort to get a great result. French onion soup is a prime example. This will take a good 2 to 2 1/2 hours…but dear sweet MOSES it is worth it. You will have your mind BLOWN that you are enjoying a simple bowl of slow cooked onions under a gooey mound of cheese haven. Smells of sherry, deep caramelized onions, earthy beef broth, and fresh thyme fill your home.

Gluten Free French Onion Soup / Big Eats Tiny Kitchen

I closed my eyes while enjoying this amazing bowl of soup and could hear the sounds of the tiny cafe in Paris with people whispering, rain falling outside, vespas rushing by, and the an espresso machine running nonstop. But all the while, nothing mattered but the delightful bowl of french onion soup that revealed long beautiful onions and drippy cheese with every bite. It makes me have FOMO (fear of missing out)…FOMO on amazing food.

Gluten Free French Onion Soup / Big Eats Tiny Kitchen

This soup makes me want to slow down. I stir onions for an hour until they are caramelized. I breathe deep and enjoy all the smells that flow through my home as the snow falls outside the windows. It’s a lazy Sunday and a steady stream of different vinyls are on rotation…from Sam Cook to Ryan Adams and then the Band gets tossed on for good measure.

Grab the one you love, throw some good soulful music on, and dance. The soup will continue to cook and the longer the better. Don’t worry, you have some time. Get comfy and enjoy every bite of life.

Gluten Free French Onion Soup / Big Eats Tiny Kitchen

Gluten Free French Onion Soup / Big Eats Tiny Kitchen

Gluten Free French Onion Soup

Adapted from Julia Child’s The Art of French Cooking

Makes 6 servings 

Ingredients

  • 4 tablespoons unsalted butter
  • 3 lbs of sweet onions (about 8 cups), sliced thinly in half rounds
  • 1 teaspoon salt
  • 1 teaspoon coconut palm sugar
  • 2 tablespoons arrowroot powder
  • 1/2 cup dry sherry (or dry white wine or dry vermouth)
  • 2 quarts (64 ounces) of good beef broth
  • 2 teaspoons chopped fresh thyme or 1 teaspoon dried thyme
  • 8 ounces Gruyère cheese, grated

Instructions

  1. Get ready…this will take at least 2 hours. But it’s worth it.
  2. Melt butter in a large dutch oven over medium-low heat. Place all of the onions into the dutch oven. Stir and coat the onions with the melted butter. Place lid on dutch oven and allow to cook for 15 minutes.
  3. Remove lid from dutch oven. The onions should have cooked down. Stir. Add salt and palm sugar. Stir again and crank heat up to medium. Stir onions frequently and continue to cook until onions are soft, melting, and golden brown. This will take 40 minutes to an hour.
  4. Sprinkle arrowroot powder over onions. Stir and cook for about 1 minute. Add sherry, broth, and thyme. Bring soup to a simmer and place lid slightly off of pot so that steam can escape the simmering soup. Allow to simmer for an additional 40 minutes, scooping off froth from the top every once and awhile. Adjust seasonings with salt and pepper.
  5. Ladle hot soup into 6 ovenproof bowls. Place at least 1/4 cup shredded Gruyère on top of each soup bowl. Serve immediately or broil the cheese. To broil the cheese, place all of the bowls onto a rimmed baking sheet. Place under a pre lit broiler set on high. Place under broiler until cheese is melted and bubbly. Remove from oven and serve immediately.

Crockpot Curry Beef and Sweet Potato Stew

DSC_0313

Most of you know that my favorite kitchen invention is the Crockpot. I have raved about this domestication blessing before. Once temps jump a little lower, I pull this amazing beauty from beneath my counter and place her in her designated spot, front and center on the counter. BAM. Fall and winter scream for ROASTS and STEWS and CHILI! Nothing is better than coming home from work with dinner ready to go. Thank you my lil’ crockpot friend.

The crockpot is great for those tougher cuts of meat that need to be cooked low and slow. This Curried Beef and Sweet Potato Stew was inspired by a recipe for Crockpot Curried Short Ribs in my favorite new cookbook from Danielle Walker of Against All Grain. If you haven’t gotten her cookbook, go…now…run…fast. It’s awesome and filled with the most lovely food porn you will see, especially for grain free meals! Amazing.

DSC_0324

DSC_0319

The original recipe slow cooks short ribs in coconut milk and asian curry spices, which sounded divine. However, because I didn’t have all of the ingredients, the recipe quickly morphed into something new. The beauty of crockpots and imagination means that stew meat, sweet potatoes, coconut milk, and indian curry spices turns out to be one helluva meal! I have made curry stews with beef and sweet potatoes before, but this one was by far the creamiest because of my fabulous friend, the crockpot.

DSC_0321

The house was filled with warming spicy aroma all day. You can increase or decrease the heat based on the quantity of curry powder and optional cayenne powder. We are SPICY people over here, so things get amped up till our knee pits sweat. Because THAT is living, people. Oh, and we served this stew over cauliflower “rice”. Check out this post for preparation methods. Mmmmm.

Crockpot Curried Beef and Sweet Potato Stew (adapted from the Against All Grain Cookbook)

Ingredients

  • 1 to 2 pounds grass-fed beef stew meat (seasoned with salt and pepper)
  • 1 medium onion, chopped
  • 4 cloves garlic, minced
  • 1 14 oz can diced organic tomatoes (no salt added)
  • 1 medium sweet potato, cut into 1/4-inch cubes
  • 1/2 cup cilantro leaves
  • 1 6 oz can organic tomato paste
  • 1 13.5 oz can coconut milk (light or full fat)
  • 2 to 3 Tablespoons curry powder (such as madras)
  • 1/4 teaspoon cayenne powder (optional)
  • 1/2 teaspoon salt
  • 1/4 teaspoon ground pepper

Instructions

  1. Place the seasoned stew meat in the bottom of a slow cooker. Top with onion, garlic, tomatoes, and sweet potato. Stir in cilantro leaves and stems. In a medium bowl, whisk the coconut milk, tomato paste, curry powder, salt and ground pepper until well mixed. Pour the coconut mixture into the slow cooker over the meat and vegetables.
  2. Cook for at least 8 hours on low, stirring the mixture every once and awhile.
  3. Serve over cauliflower “rice” or regular rice and top with additional cilantro leaves.

Thai Green Curry Burger Wraps with Spicy Peanut Sauce

DSC_0251

Are you sitting down? Because when you taste this burger, I swear you will fall over. It is a religious experience and will fill you with joy. And best of all…this burg is a tastebud-party that you can hold in your HAND! YOUR HAND! This will revolutionize your tailgating burger experience. For those of us that don’t get to partake in burger buns, here is your chance at handheld goodness.

Portable spicy burger snacks are the best….especially when they are topped with peanut sauce. Mmmmm.

DSC_0274

DSC_0247

This burger comes at you with green curry, spicy siracha sauce, tangy pickled slaw, herby freshness, and then the holy moly frijole PEANUT SAUCE. Seriously, this peanut sauce will change your life. Stick this recipe in your back pocket and USE IT. I am now an amazing fan of peanut butter on burgers. For a paleo friendly sauce, just replace the peanut butter with almond butter or sunbutter.

Really. Just try it. Trust me. You won’t look back.

Your life will consist of BPS and APS…life Before Peanut Sauce (BPS) on burgs and life After Peanut Sauce (APS) on burgs.

DSC_0220

DSC_0260

Now the ingredient list below is a bit lengthy. But don’t let that scare you. These burgs come together pretty quickly once you get everything prepped. I promise it is worth it and it will blow the mind of anyone that you serve it to. These also are great sliders to prepare for a crowd for football watch parties. But if you make them, just invite me. Because I can’t get enough of them.

DSC_0264

Thai Burger Wraps with Spicy Peanut Dressing

Green Curry Burger Ingredients

  • 1 lb ground beef
  • 1/2 Tablespoon fish sauce
  • 1/2 Tablespoon soy sauce
  • 1 Tablespoon green curry paste
  • 1/4 cup green onions, diced
  • 1/4 cup cilantro, chopped
  • 1/2 Tablespoon siracha
  • 1/4 teaspoon sea salt

Burger Fixins’

  • Asian pickled slaw
  • ¼ Cup fresh cilantro leaves, chopped
  • ¼ Cup fresh basil leaves, chopped
  • ¼ Cup fresh mint leaves, chopped
  • 4 leaves of green cabbage
  • Siracha
  • 1 lime, sliced into 4 slices

Thai Spicy Peanut Sauce

  • 1 Tablespoon fresh ginger, peeled and grated
  • 1 clove garlic, minced
  • 1/3 cup unsalted creamy peanut butter (or almond butter or sunbutter)
  • 1 Tablespoon soy sauce
  • 1 Tablespoon rice wine vinegar
  • 1 Tablespoon lime juice
  • 1 Tablespoon honey
  • 1 teaspoon Siracha
  • ¼ Cup water

Instructions

  1. Making Patties: Combine all of the ingredients in a large bowl and mix with hands until ingredients are distributed throughout meat. Try to handle as lightly and as little as possible  so that the meat does not become compact and tough when cooking. Marinate meat for 15 minutes before making patties. After 15 minutes, lightly form the meat into 4 equal-portioned patties, about ¾-inch thick. Make a dimple in the middle of the patty, pressing down with thumb or fingers. This will keep the burger from bulging and maintains juiciness.
  2. Peanut Sauce: Combine all ingredients in a food processor or blender. Blend until smooth. Set aside.
  3. Cooking Patties: Heat a gas grill to medium-high. When the grill is ready, brush the grill rack with the vegetable oil. Place the patties on the rack, cover, and cook, turning once, until done to preference, 3 to 5 minutes on each side.
  4. Wrap Fixins and Toppings: Mix herbs in a bowl and set aside. Wash cabbage leaves and allow to dry.
  5. Assembling Burger Wraps: Lay out washed and dried cabbage leaves. Spread 1 teaspoon of siracha in the bottom of each cabbage leaf. Then on top of the cabbage leaf, place one grilled patty, then one heaping tablespoon of peanut sauce, then add 1/3 C of pickled slaw, and then top with one heaping tablespoon of herb mixture. Spread additional siracha and fresh lime juice on top of your burger wrap.

Steak with Grilled Zucchini and Herb Salad

So I am incredibly proud right now. I have to admit something to you.  I painted my kitchen!

Wait wait wait…Before I gloat, it should be known that I am the worlds worst at picking out paint colors. I have a near panic attack in the paint aisle with ALL OF THOSE STUPID COLORS. Names like “pony tail”, “mushroom mist”, “crisp dawn”, “twilight foxtail”….what?  Who comes up with these names for Pete’s sake!

DSC_0173

I swear I am partially color blind (is that a thing?). Or maybe I’m just terrible with colors. My wardrobe proves it. And I can’t decide on things. I have had paint swatches on a wall for months and months before. I have left painter’s tape in the hallway for nearly a year because I couldn’t pick a stupid paint color! Ugh. And when I do pick one, finally, I hate it. It either resembles a cardboard box, or a hospital, or baby blue boys room, or a 1980s doctor’s office. Seriously…I suck at this.  Well until yesterday!

I stand before you…well, I type before you today as a new woman! A woman who PICKED THE PERFECT GRAY PAINT! ya…GRAY. That is a bitch of a color, can I say. It’s either a purple gray, or a blue-gray, or a brown gray….blah! I just want gray.  And I did it…first try. Well…ok, with the help of my hubby. But honestly, we went in the paint store in the morning and looked at the colors.  We pointed at a color. Paint dude mixed it up. We went home and we completely repainted the kitchen cabinets in a day! A day! I have a new kitchen now…white walls instead of blue. Gray lower cabinets and the cutest farm hutch that I repainted in a bright turquoise. Totally urban farmhouse. I just have to redo the floors. Once it is all put back together I will post picks! High five to me and my man.

DSC_0178

But in the mean time, here is a simple farm salad that is easy peasy to throw together (even when your kitchen is in shambles from remod stuff). Fresh greens from the garden mixed with those fresh herbs that are so bountiful right now.  Top it with grilled steak and a fresh vinaigrette. Dinner in under 20 minutes. That includes the time to go pick your fresh veggies, if you are so lucky to have a garden. And even if you don’t have a back yard, you can easily grow these herbs and a salad mix in containers.  Try it!

DSC_0188

Steak with Grilled Zucchini and Herb Salad  (adapted from Bon Appetit)

Ingredients

  • 1/4 cup white wine vinegar
  • 1/3 cup olive oil plus 1 tablespoon
  • 1 teaspoon dijon mustard
  • salt and pepper
  • 1 medium zucchini, cut into 1/4-inch rounds
  • 1 lb hanger or skirt steak
  • 4 cups of arugula or fresh salad mix
  • 2 cups (packed) assorted fresh herb leaves (such as basil, mint, chives, parsley, cilantro)
  • salt, pepper, and smoked paprika or Piment D’Espelette to taste

Instructions

  1. Combine white wine vinegar and dijon mustard in a small bowl. Whisk in 1/3 cup olive oil until well combined. Season vinaigrette with salt and pepper. Set aside.
  2. Prepare grill for medium-high heat. Brush zucchini with remaining 1 tablespoon of olive oil. Season with salt and pepper. Grill, turning often, until tender and charred in spots, 5 minutes on each side (watch carefully to not burn). Set aside and allow to cool.
  3. Next season steak with salt and fresh cracked pepper on both sides. Grill 5–7 minutes per side for hanger steak (medium-rare) or, for skirt steak (which is thinner), about only 2 minutes per side. Let rest for about 5 minutes.  Then thinly slice against the grain.
  4. Toss arugula (or fresh salad mix), herbs, grilled zucchini, steak, and reserved vinaigrette in a medium bowl. Season with smoked paprika (or if you are lucky enough to have piment d’espelette), salt and fresh cracked pepper.

Beef Curry with Sweet Potatoes and Cauliflower

There are several people who have had a huge hand in transforming the way I cook and approach food. Michael Pollan has definitely had a hefty part in it.  That is why I was so excited to finally hear him speak this weekend about his new book, Cooked.  He is one of the leading voices of the local food movement, eating “real” food, and getting back into the kitchen and cooking with your family. I love it.

DSC_0032

Before we left Oklahoma and moved to Kansas City, I thought I ate rather healthy. But I was still consuming a lot of processed food.  I think a lot of people think this way, even when they still eat a lot of processed foods because the box saaaaays it’s healthy. Right? and why would a box or advertising lie to me? right? bonjour? But despite cooking “healthy”, I was getting sicker and sicker every day, literally.  Everything I ate seemed to put my stomach into knots or stabbing pain or worse. I began an elimination diet. I came up with a new theory every day. At first I thought it was fatty meat…no meat! Then it was beans.. no beans! then it was dairy…. so I became vegan…. and by the end, I seriously was eating only oatmeal and sweet potatoes for months….MONTHS. 

DSC_0027

And then I read Michael Pollan’s In Defense of Food. At the same time, my cousin Sarah gave me an amazing book by Barbara Kingsolver, Animal Vegetable Miracle. Reading these books were like discovering a deodorant that finally works, or finding the perfect pair of jeans, or realizing that you left ten bucks in your coat pocket last winter!  If you are looking for a summer read, I recommend these books. Life…changed.

I immediately eliminated all processed foods. I was on a hunt for local sources of meat and produce.  Everything changed…for the better. My health improved. My relationship with food was so much better. I discovered vegetables I had never heard of…what the crap is celeriac???? I grew a garden (helloooo rhubarb), learned to can, make pickles, and preserve food anyway possible. I basically got in touch with my inner grandma. I love it.  My inner grandma loves it. My tummy loves it.

DSC_0015Sweet_potatoes

Fresh produce doesn’t always require a lot of spices because their natural flavor is enough. However, during this odd time between winter and spring, fresh produce includes greens, or peas, or tubers, or something that was canned from last year’s garden.  Don’t be afraid by the long list of ingredients in this curry recipe. I promise this meal comes together rather quickly and yields an amazingly fresh and flavorful meal.  Serve with rice or, for a grain free option, make ‘riced’ cauliflower (recipe below).

DSC_0022

Beef Curry with Sweet Potatoes and Cauliflower (adapted from Food & Wine, January 2012)

Serves 4 to 6

Ingredients

  • 1 Tablespoon coconut oil
  • 1 lb grass-fed sirloin steak, cut into 1-inch pieces
  • 1 large or 2 medium onions, about 1 cup diced
  • 3 medium cloves garlic, minced
  • 2 tablespoons madras curry powder
  • 2 teaspoons turmeric
  • 1 teaspoon ground ginger
  • 1/4 teaspoon cayenne
  • 1 teaspoon salt
  • 1 14 0z can diced tomatoes with juice
  • 1 14 oz can unsweetened coconut milk (light okay)
  • 2 tablespoons apple cider vinegar
  • 1 cup water or broth
  • 1 medium sweet potato, 1-inch dice
  • 1 head of cauliflower, chopped into 1/2-inch pieces*
  • 1 1/2 cup frozen peas
  • cilantro (optional)

Instructions

  1. Heat coconut oil in dutch oven over medium-high heat.  Add diced sirloin steak and brown the pieces on all sides, about 5 minutes. 
  2. Add onion, curry powder, turmeric, ginger, and salt and stir frequently until onion is softened (about 5 minutes). Add garlic and stir constantly and cook for an additional minute.
  3. Add canned tomatoes, coconut milk, apple cider vinegar, water, diced sweet potatoes, and half of the diced cauliflower. Bring to a boil. Reduce heat to moderate heat and continue cooking covered until potato and cauliflower are tender (about 15 minutes).
  4. Turn heat to low. Mash some of the potatoes with the back of a spoon.
  5. Stir in frozen peas. Turn heat off and place lid on dutch oven, allowing peas to cook through for a few minutes. Add additional salt, pepper, and cayenne to taste.
  6. Serve in bowls with chopped cilantro and riced cauliflower (or regular rice). Directions for riced cauliflower are provided below.

*Riced Cauliflower – Place the other half of the diced cauliflower into the bowl of the food processor. Pulse for a few seconds at a time until you get rice-sized pieces. Do not over process or it will become puree cauliflower.  Place in a microwaved-safe dish with a lid slightly ajar and microwave for 3 minutes. Stir.