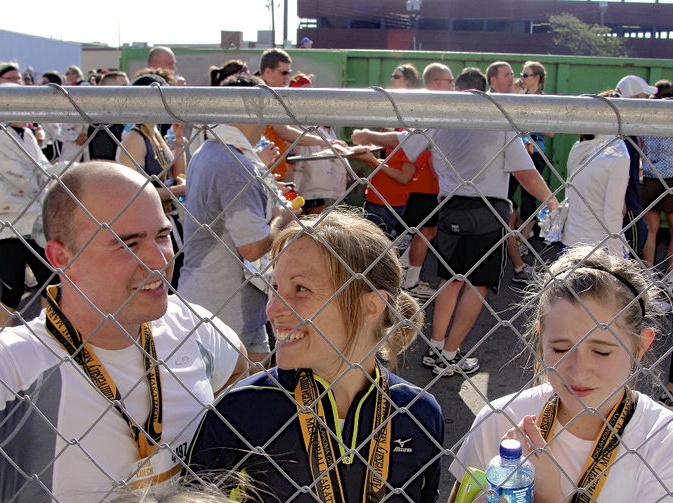
This past weekend, while a blizzard was slamming into KC, we visited my family in Oklahoma City. The only thing this cold weather is good for is staying inside, cuddling, and cooking. However, my middle sister and I ventured into the cold blustery winds for a long training run in preparation for the OKC half marathon. Running with her made it worthwhile. I was also able to get some great cooking time in with my brother (who makes the BEST salsa) and my youngest sister. My youngest sister is such a great cook and she’s only 14! We made a butternut squash and lamb stew and some paleo cobbler. MMmmmmm. The recipes should show up soon.
But seriously…April is next week. Easter is this weekend. Spring has not sprung. It’s on vacation and evidently it is having a great time not showing up anywhere around here! Winter is sticking around like a cold-hearted and deceptive ex girlfriend that just WON’T GET THE HINT.
No one needs your cold wind, 10-foot snow drifts, one lane roads, icy sidewalks, gloomy skies…
We’ve moved on. We want something new.

I want green grass!
I want to grill out!
I want patio weather!
I want to see the tulips that I planted and not all this stupid snow!
I want to show off my super dayglow white legs, people! *STOMP STOMP STOMP* Gimme it!

My grumptastic attitude was especially fueled this morning when I slipped and fell hard on my back, elbow, ass, and shoulder after getting home from an early morning workout. This just added to my ailments. I was already walking around like a fight gone bad from shoveling 1,000 pounds of snow from the loooooongest driveway in the world and hauling half a cow (dead, butchered, and frozen into steaks, roasts, and other deliciousness) down into our basement and into my deep freezer. I hurt. So. Bad.

I guess I should quite being such poop bomb and just embrace it. If only I could sit around all day and drink hot cocoa with peppermint schnapps, then I would be OK with crap weather. GRRR.
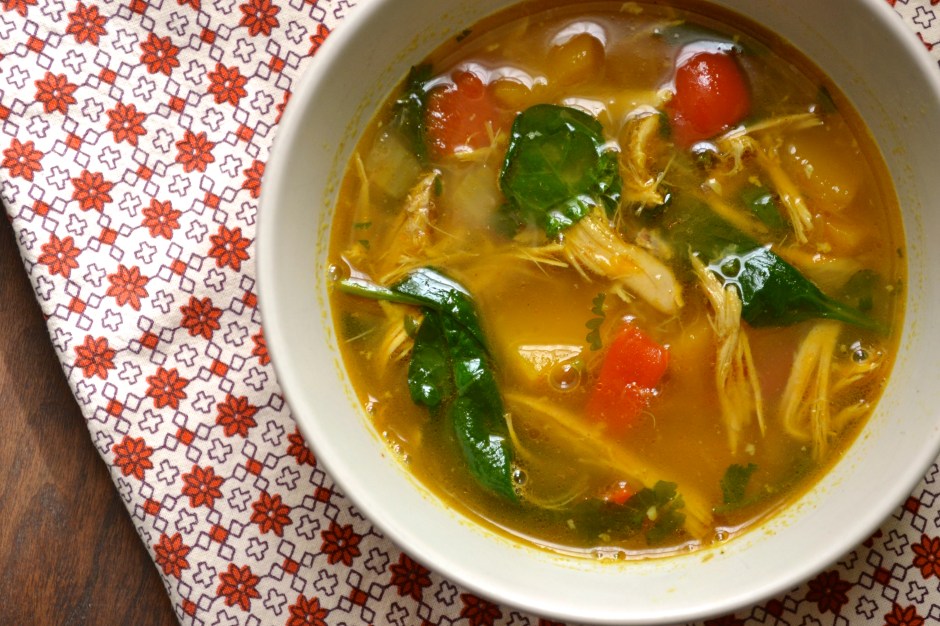
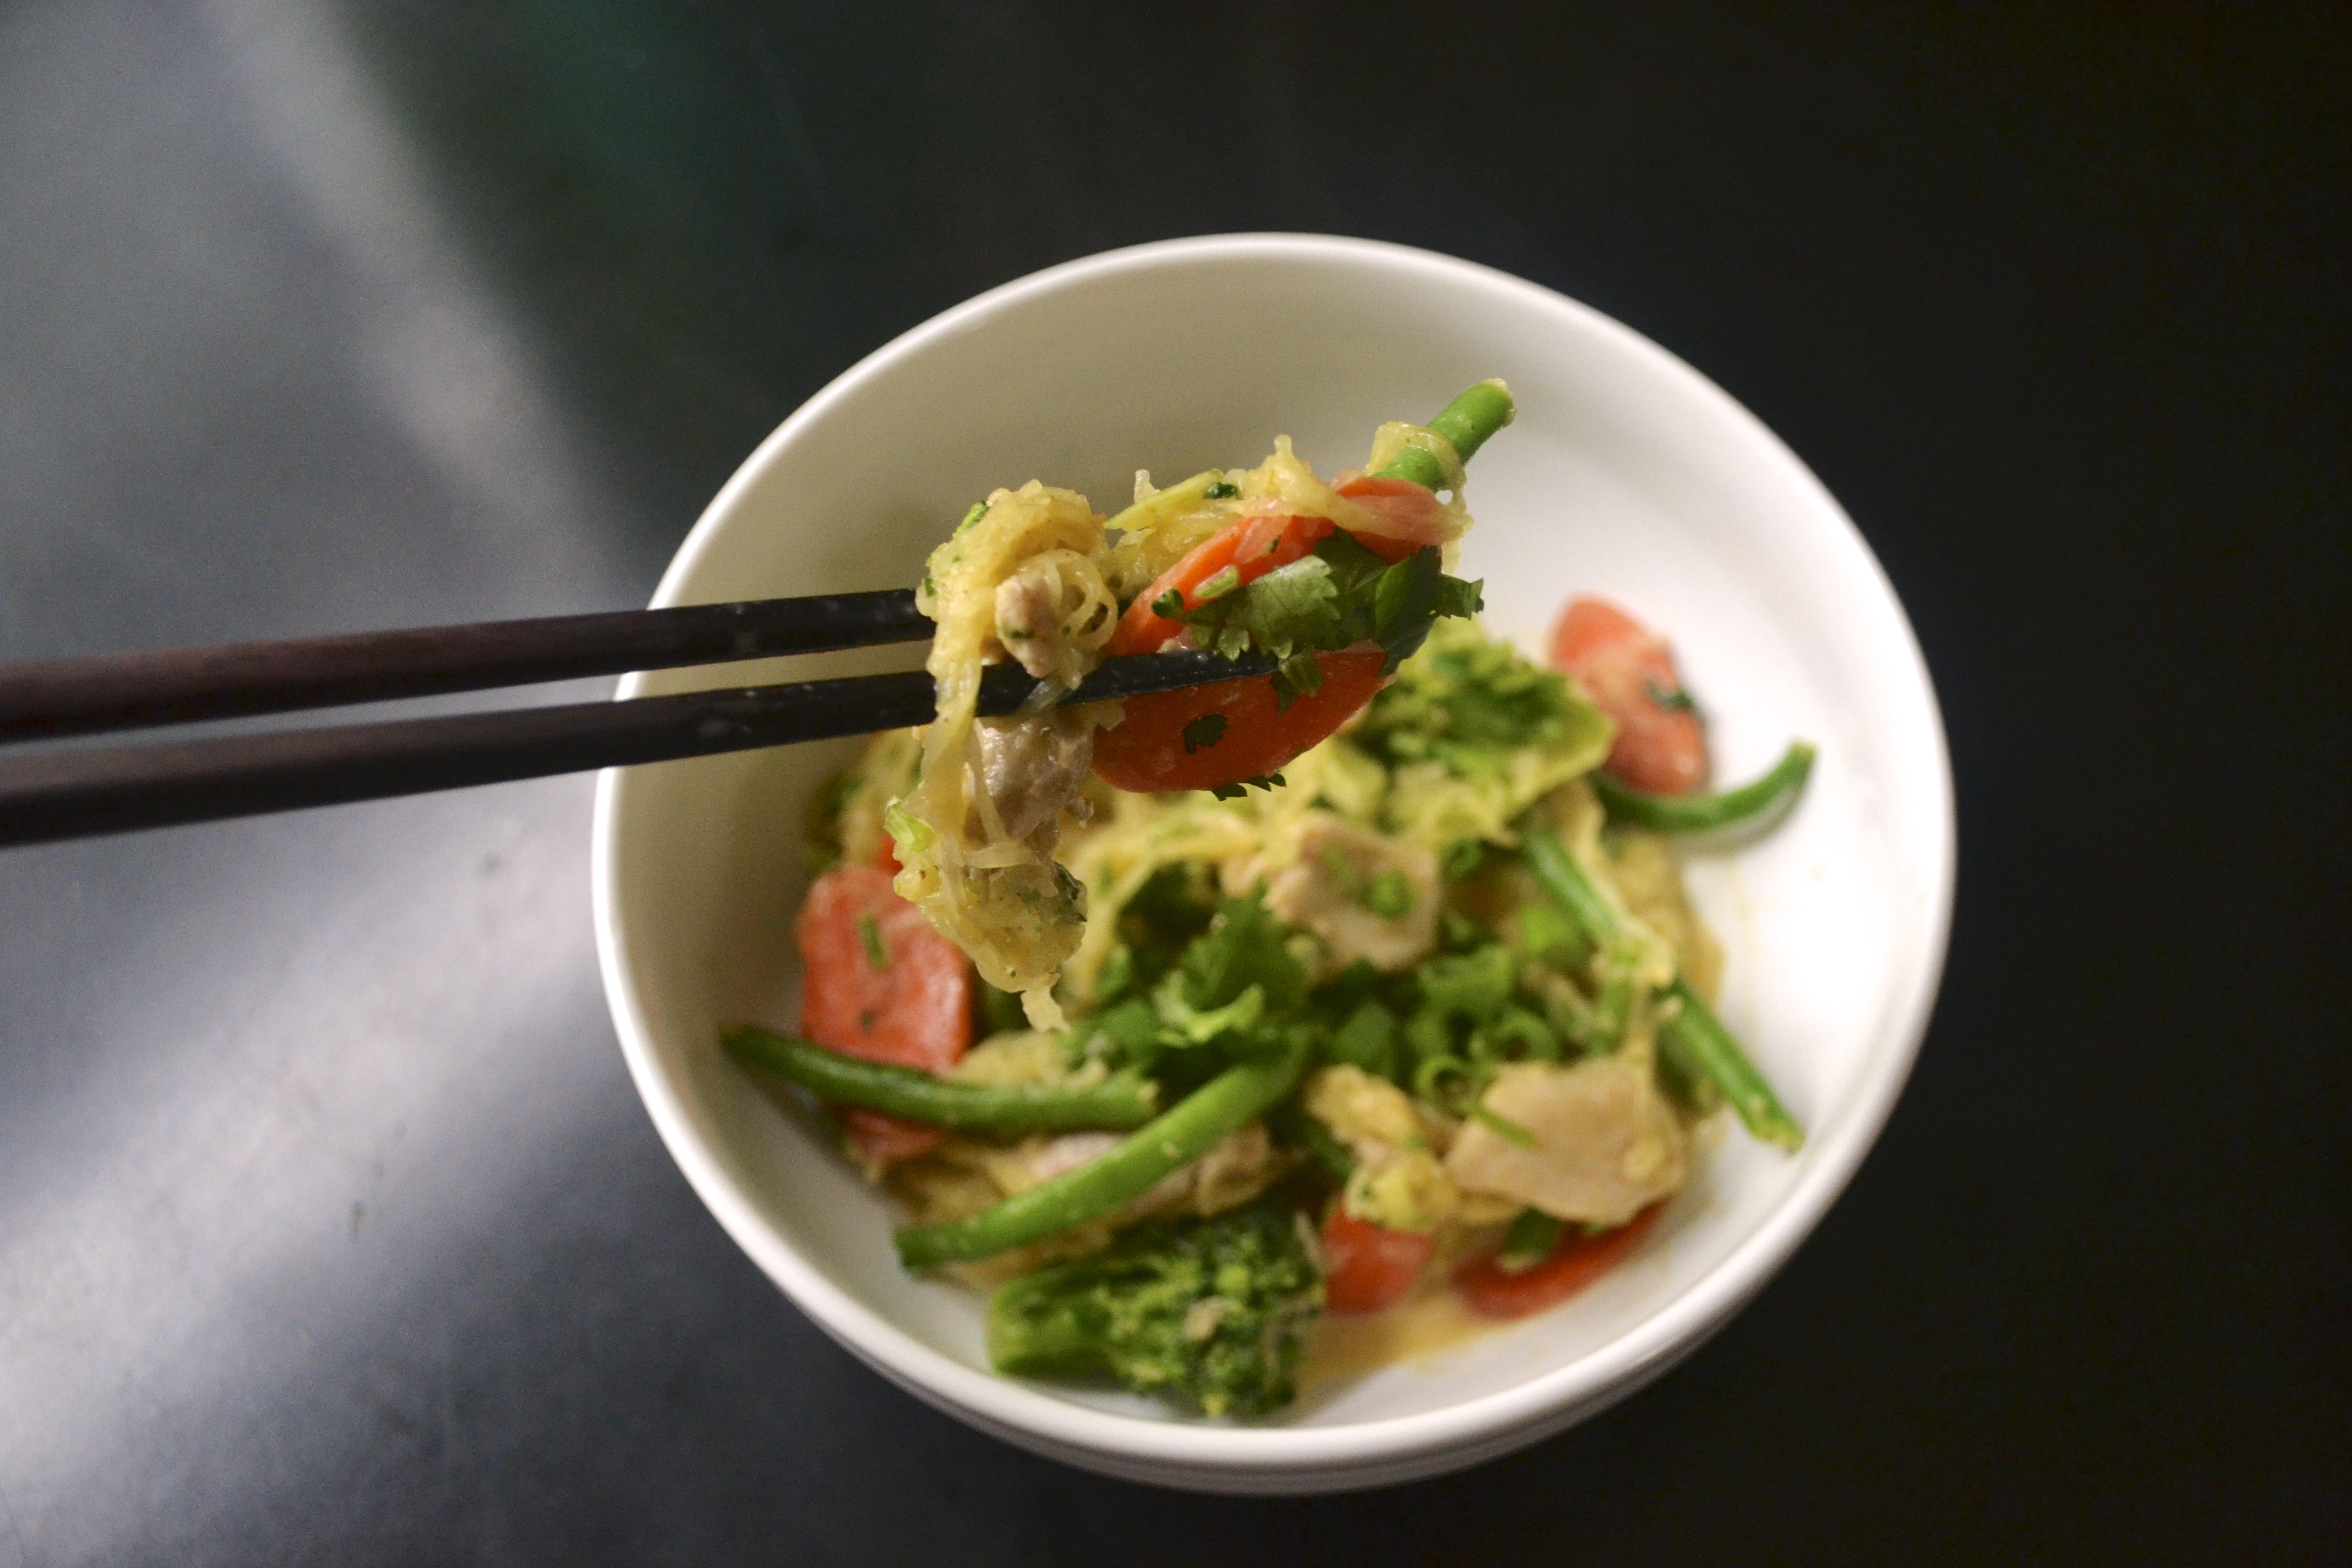
If you are also fighting the persistent winter doldrums, then I suggest you embrace it and make some comfort food. This Paleo Pad Thai is the best thing to amp up that attitude. Using spaghetti squash in place of noodles turns this comfort food dish into a healthy anytime dish! The Thai Nut Sauce is addictive and would be great as a dip. Enjoy!
Paleo Pad Thai (adapted from The Clothes Make The Girl)
Serves 6
- 1 medium-sized spaghetti squash (yields 3 to 4 cups of squash noodles)
- 1 Tablespoon coconut oil
- 2 lbs chicken meat (breasts or thighs), cut into 1/2-inch pieces
- 2 medium carrots
- 4 to 6 cups of mixed veggies (such as broccoli, green beans, mushrooms, bell peppers)
- 1/2 cup chopped cilantro
- 1/2 cup chopped green onions, green and white parts
- Thai nut sauce (recipe below)
- fresh lime slices for serving
- salt to taste
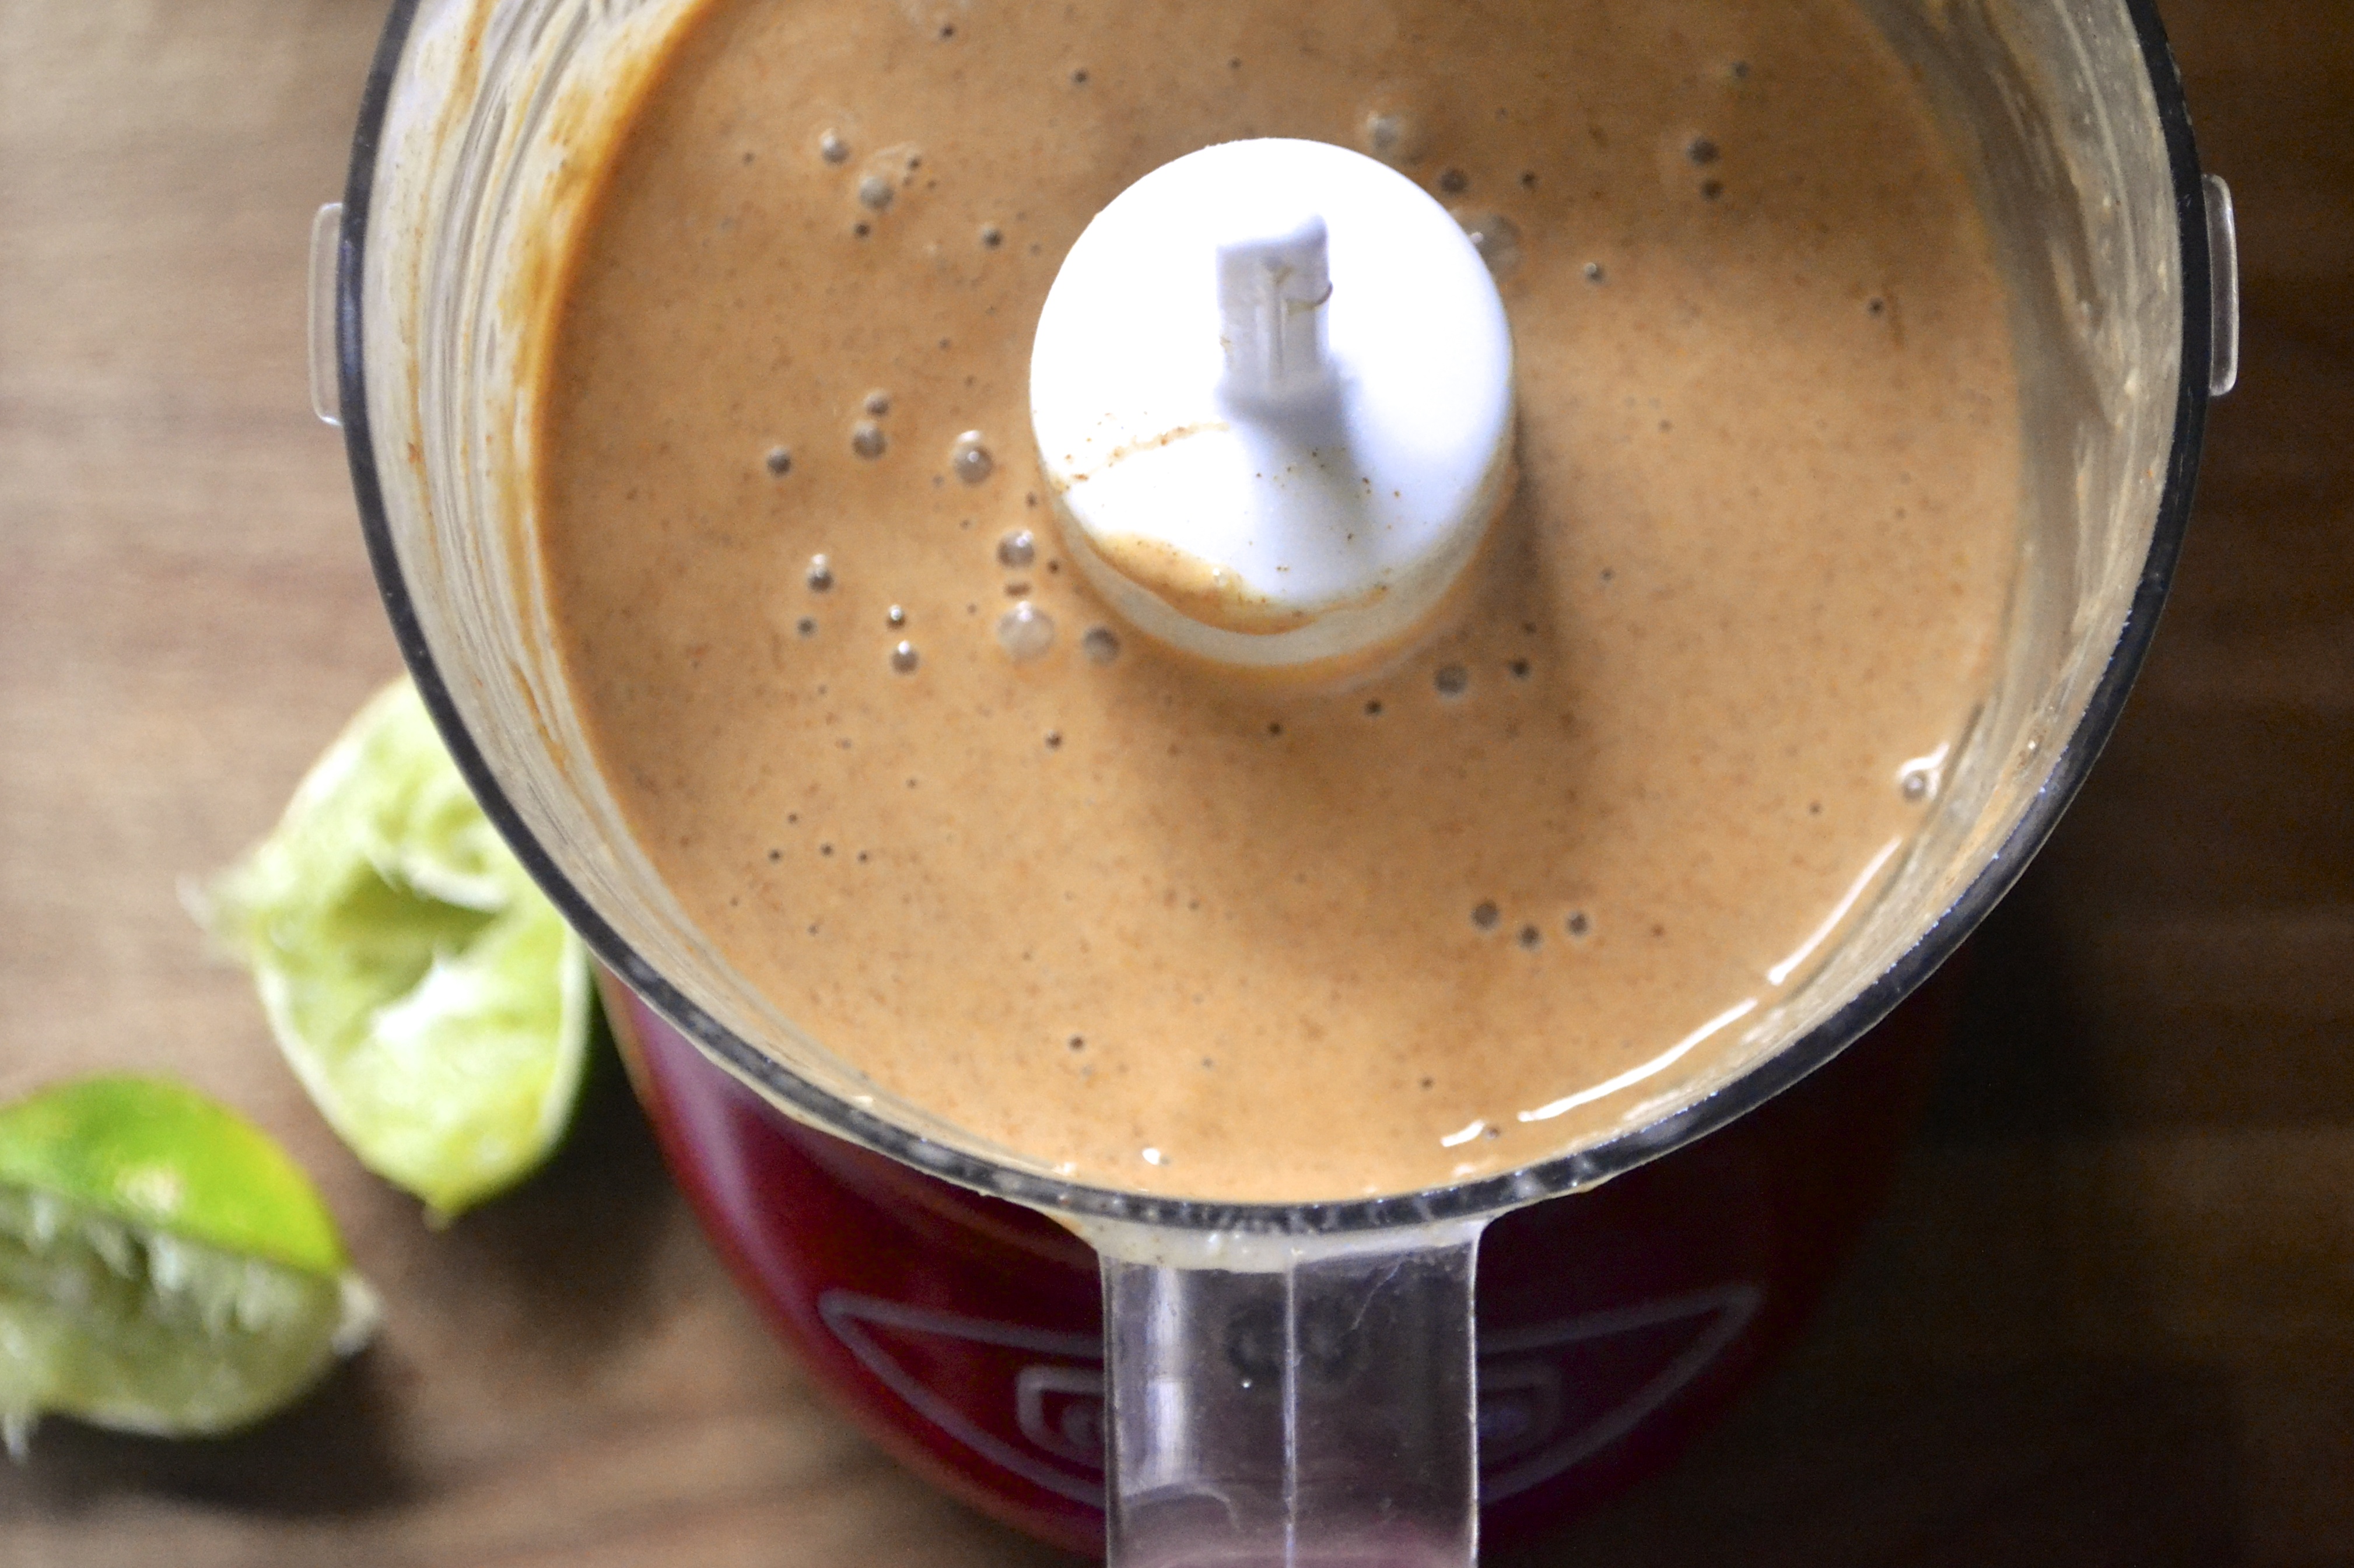
Thai Nut Sauce
- 1/3 cup almond butter (smooth or chunky)
- 1/3 cup canned coconut milk (light or full fat)
- 2 cloves of garlic, minced
- 1/2 inch piece of fresh garlic, minced
- 1 Tablespoon fish sauce
- juice of 2 limes
- 1 teaspoon sesame seed oil
- 1 to 2 tablespoons siracha sauce
- salt to taste
Instructions
- Microwave the spaghetti squash for 1 1/2 minutes. Cut in half and scoop out the seeds. Place the halved squash cut-side down into a large glass casserole dish with 1/4 cup water. Microwave for an additional 12 to 14 minutes. Remove from microwave and allow to cool for about 5 to 10 minutes, or until you can handle it. Once it has cooled, use a fork to scrape the inside of the squash and remove the squash flesh or “noodles” from the skin. Place into a medium bowl and set aside.
- In the bowl of a food processor, combine all of your sauce ingredients. Set aside or place in the refridgerator.
- In a dutch oven or large pot, heat coconut oil over medium-high heat. Cook chicken pieces until no longer pink, stirring frequently. Add carrots and cook for 2 to 3 minutes. Add remaining vegetables and cook until warmed through (about 5 to 10 minutes). In the winter, I use an assortment of frozen vegetables. Reduce heat to medium-low and add squash “noodles”, green onions, and Thai nut sauce, stirring to combine. Allow to heat through and add salt/pepper/Thai chili paste to taste.
- Serve with additional lime wedges, green onions, and cilantro.