This week is a time to give thanks and to be with those that mean the most to us. It is my favorite holiday. No pretenses. No gifts that weren’t good enough. No wrong sizes.
Just family, friends, food, and laughter.
My grandmother had seven children. However, I can’t imagine birthing 1 child, much less SEVEN, but my wonder-woman of a grandmother did it. My father was the fifth. And getting together with all of my aunts and uncles is a tradition that I look forward to every year. When I was a kid, I loved the large gatherings because I was an only child until I was 11. I had always wanted a sister or a brother. A gaggle of over 30 people enjoying each others company (sometimes), telling stories, and eating together was like heaven to me. Sure there was sometimes drama, but as a kid that all didn’t matter to me. Family mattered.


Needless to say our family gathering for Thanksgiving is large and fun. The house is warm, but the company is warmer.
On Wednesday night, my aunt hosts “Soup Night”. It’s an easy night with hot soups cooking on the stove as guests trickle in for the big event. Although Thursday is the day to showcase the TURKEY, Wednesday night is the big Paaaaarhtaaaahy.
The beer flows freely.
The wine glasses are poured large.
The stories get loud, the laughter gets even louder, and the guitars strum.
All the while, the soup stays hot.

We ladle another bowl. We pour another drink. We toast to those that have passed. We tell stories of previous Thanksgivings. We argue about the pronunciation of words and mathematical concepts and whether the seed of an avocado really keeps guacamole from turning brown or not.
All the while the soup continues to stay hot.
That is why soup is the perfect party food. You can mingle and be a great host/hostess and not worry about the food getting cold or over cooked or not being ready at the right time. Everyone can serve themselves and you get to serve yourself another tasty beverage!
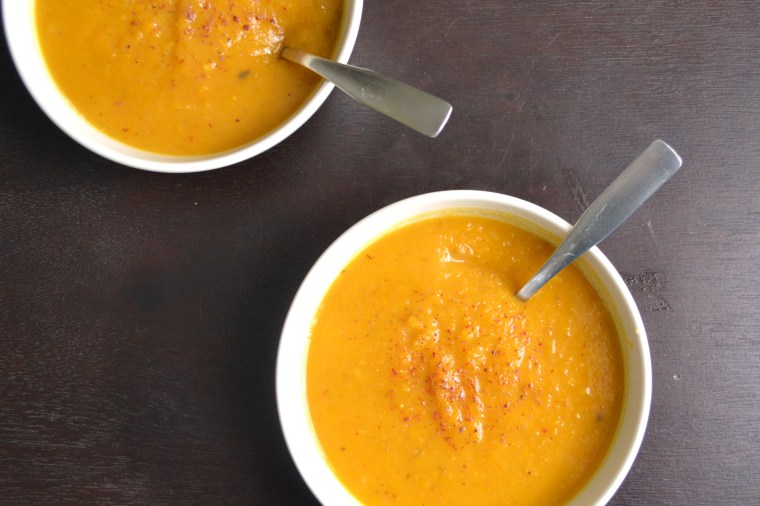
This Roasted Butternut Squash and Apple soup is particularly “soup”er easy. Roast all the vegetables at once, blend the veggies with broth using an immersion blender or food processor. Aaaaand…wait for it…. Your done. Basically. Just keep it heated. Ok. NOW you are done. There.
Breath. Do some stretches.
Now GO HUG SOMEONE! And get them a drink too! Sheeesh.
I hope you and your loved ones have a wonderful, safe, and memorable turkey day.
Cheers to you and yours.
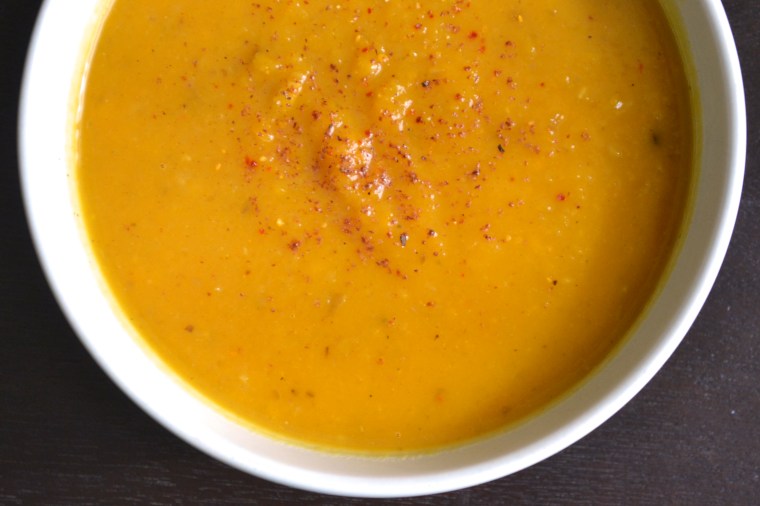
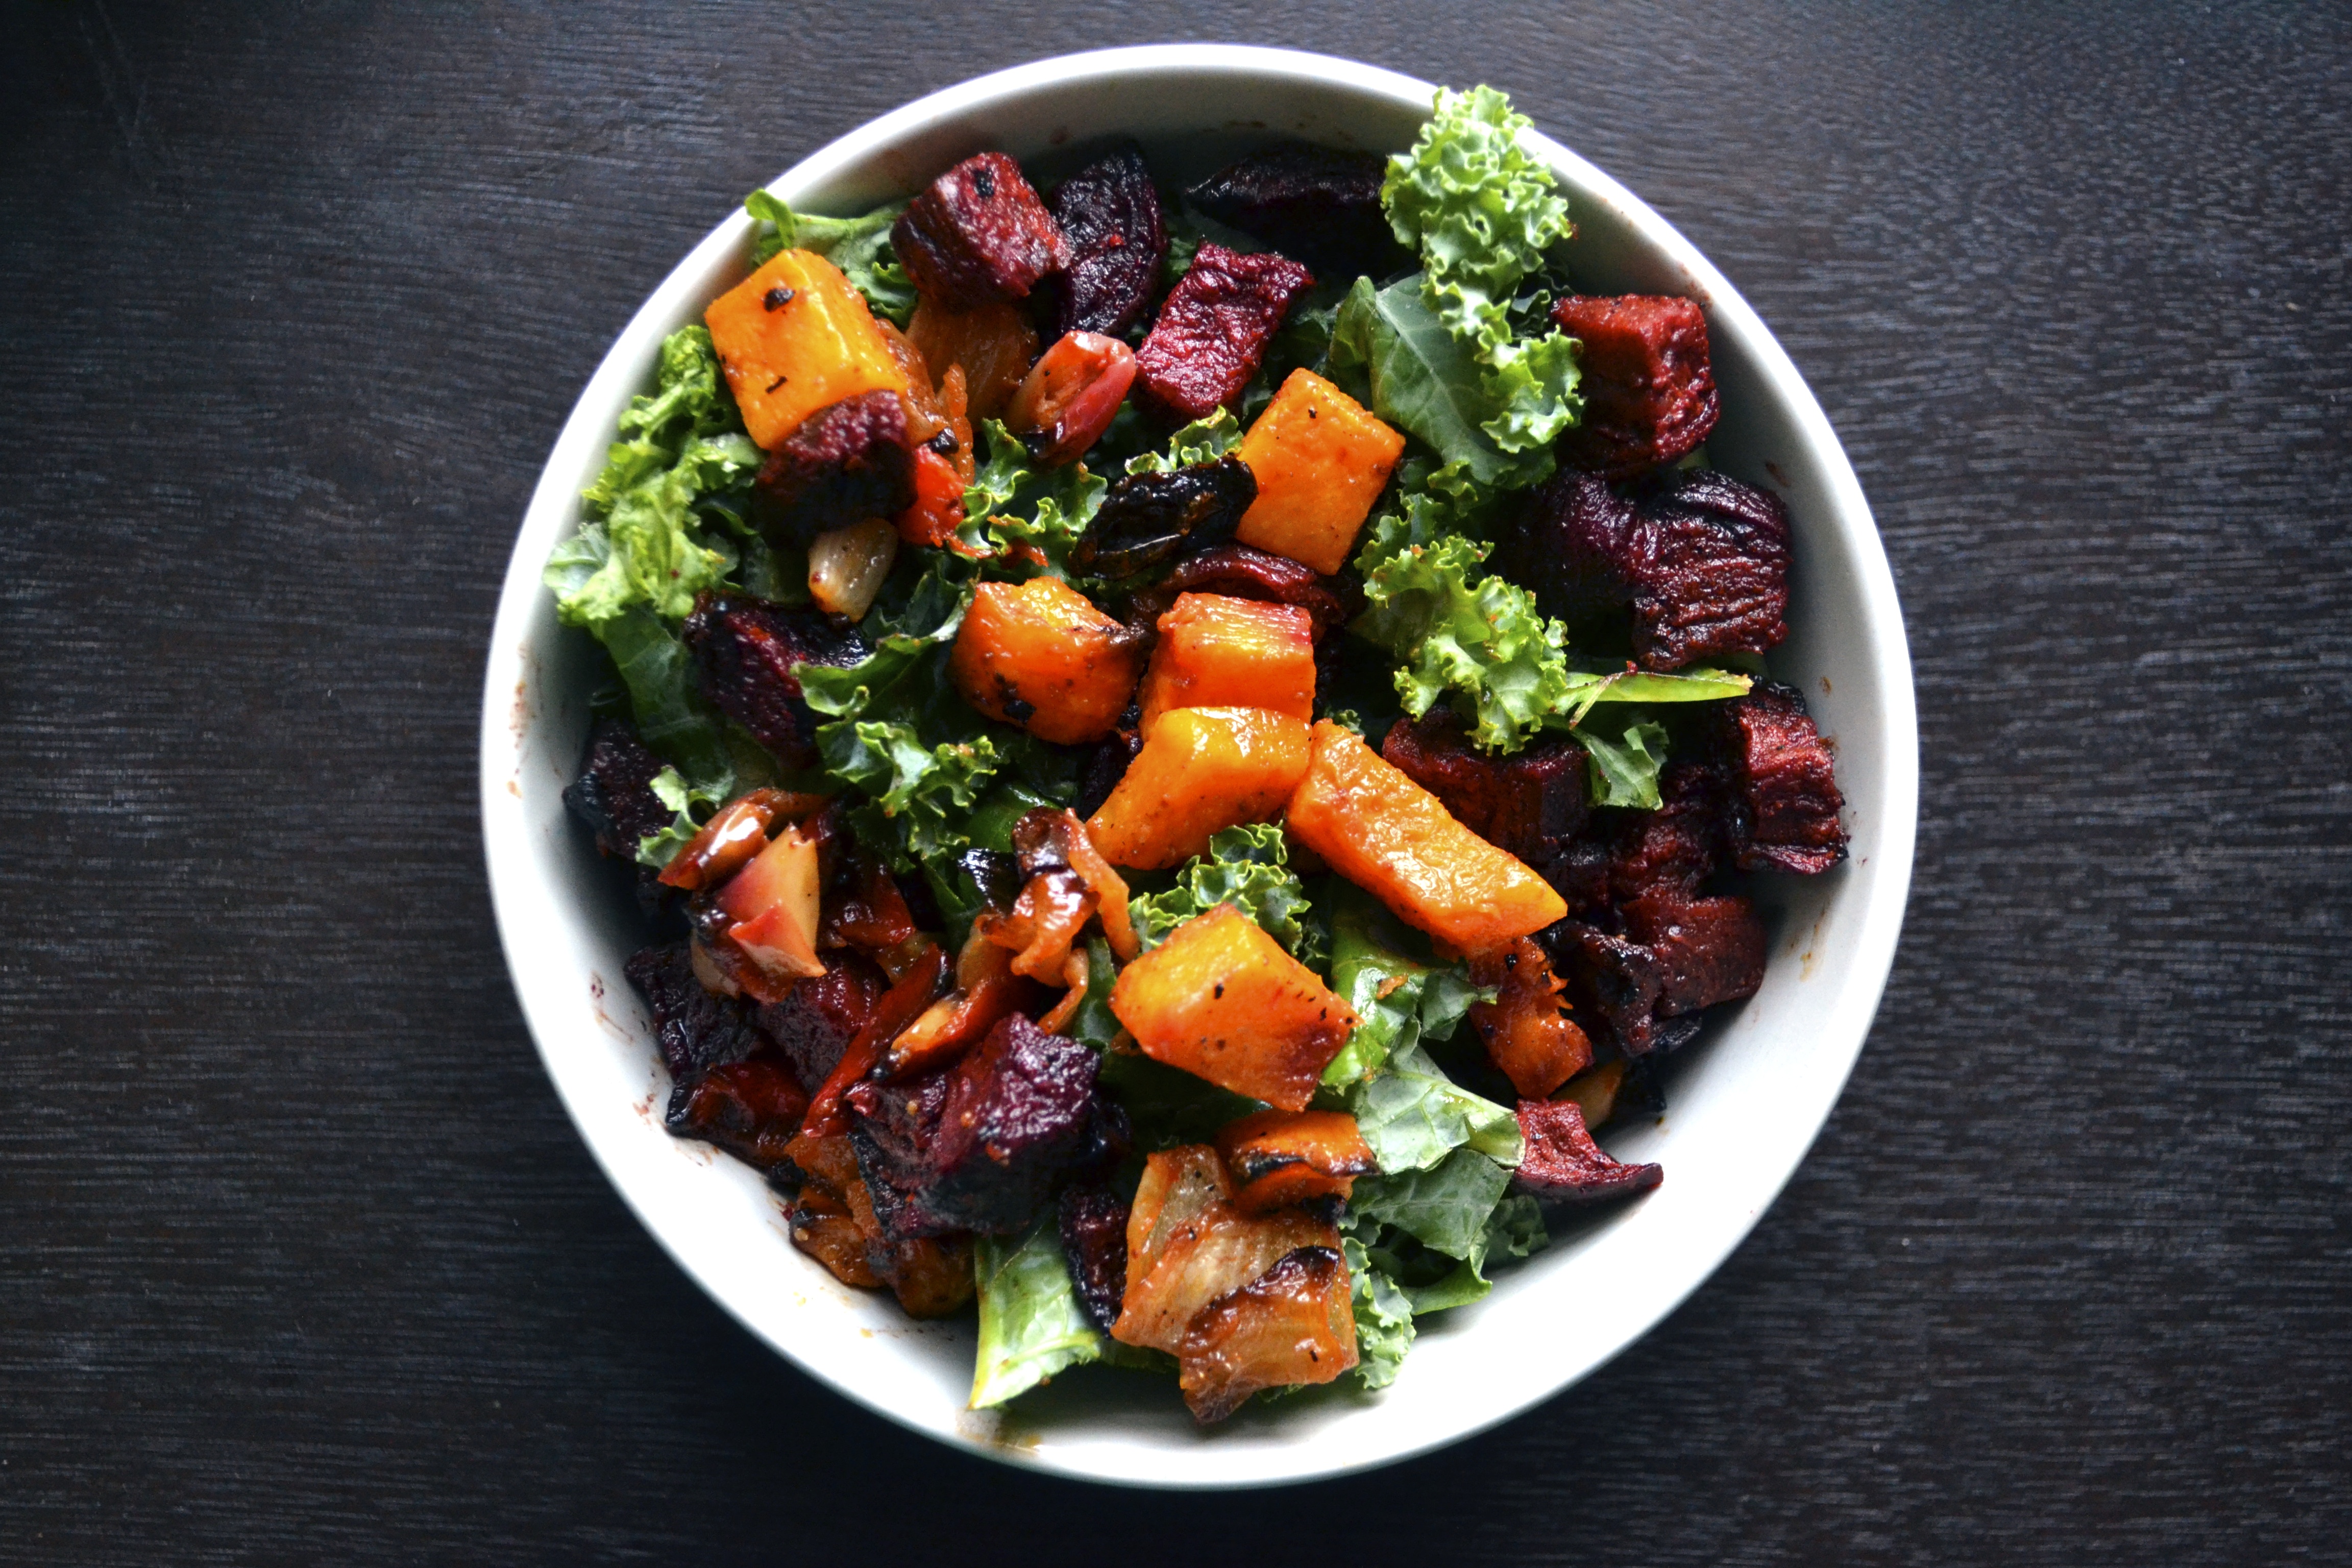
Roasted Butternut Squash and Apple Soup
(Gluten Free, Dairy Free, Paleo Friendly)
Ingredients
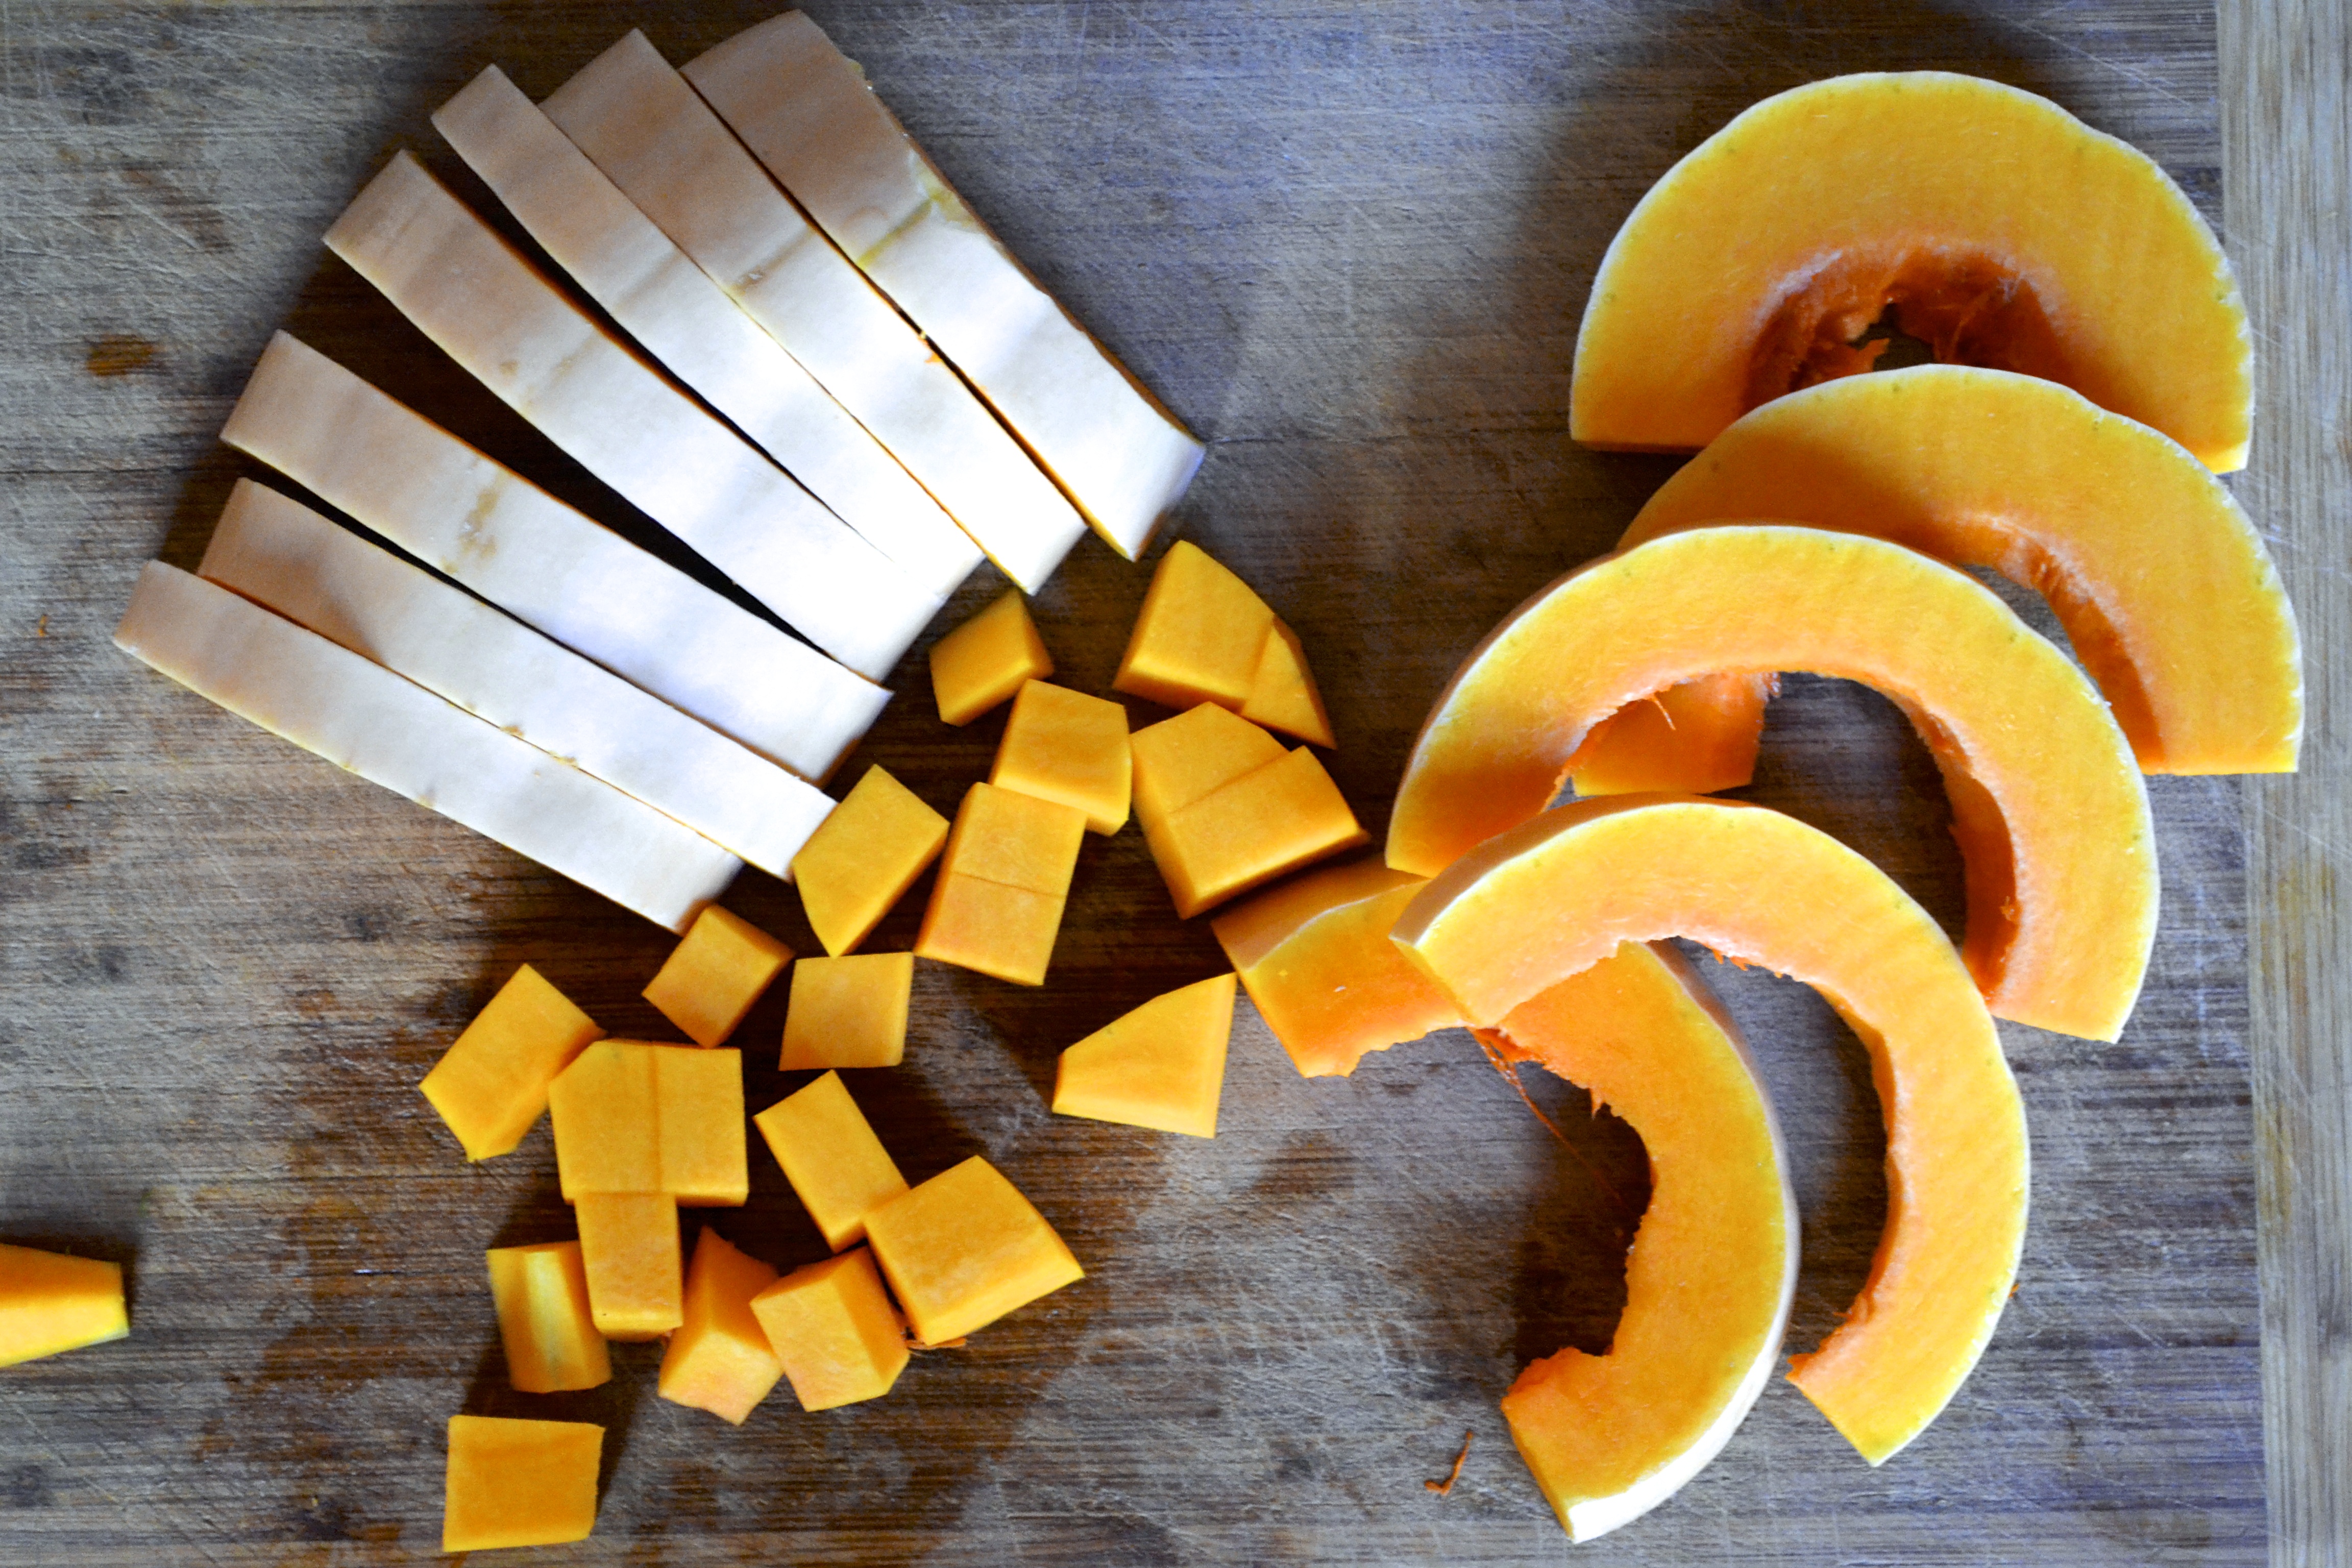
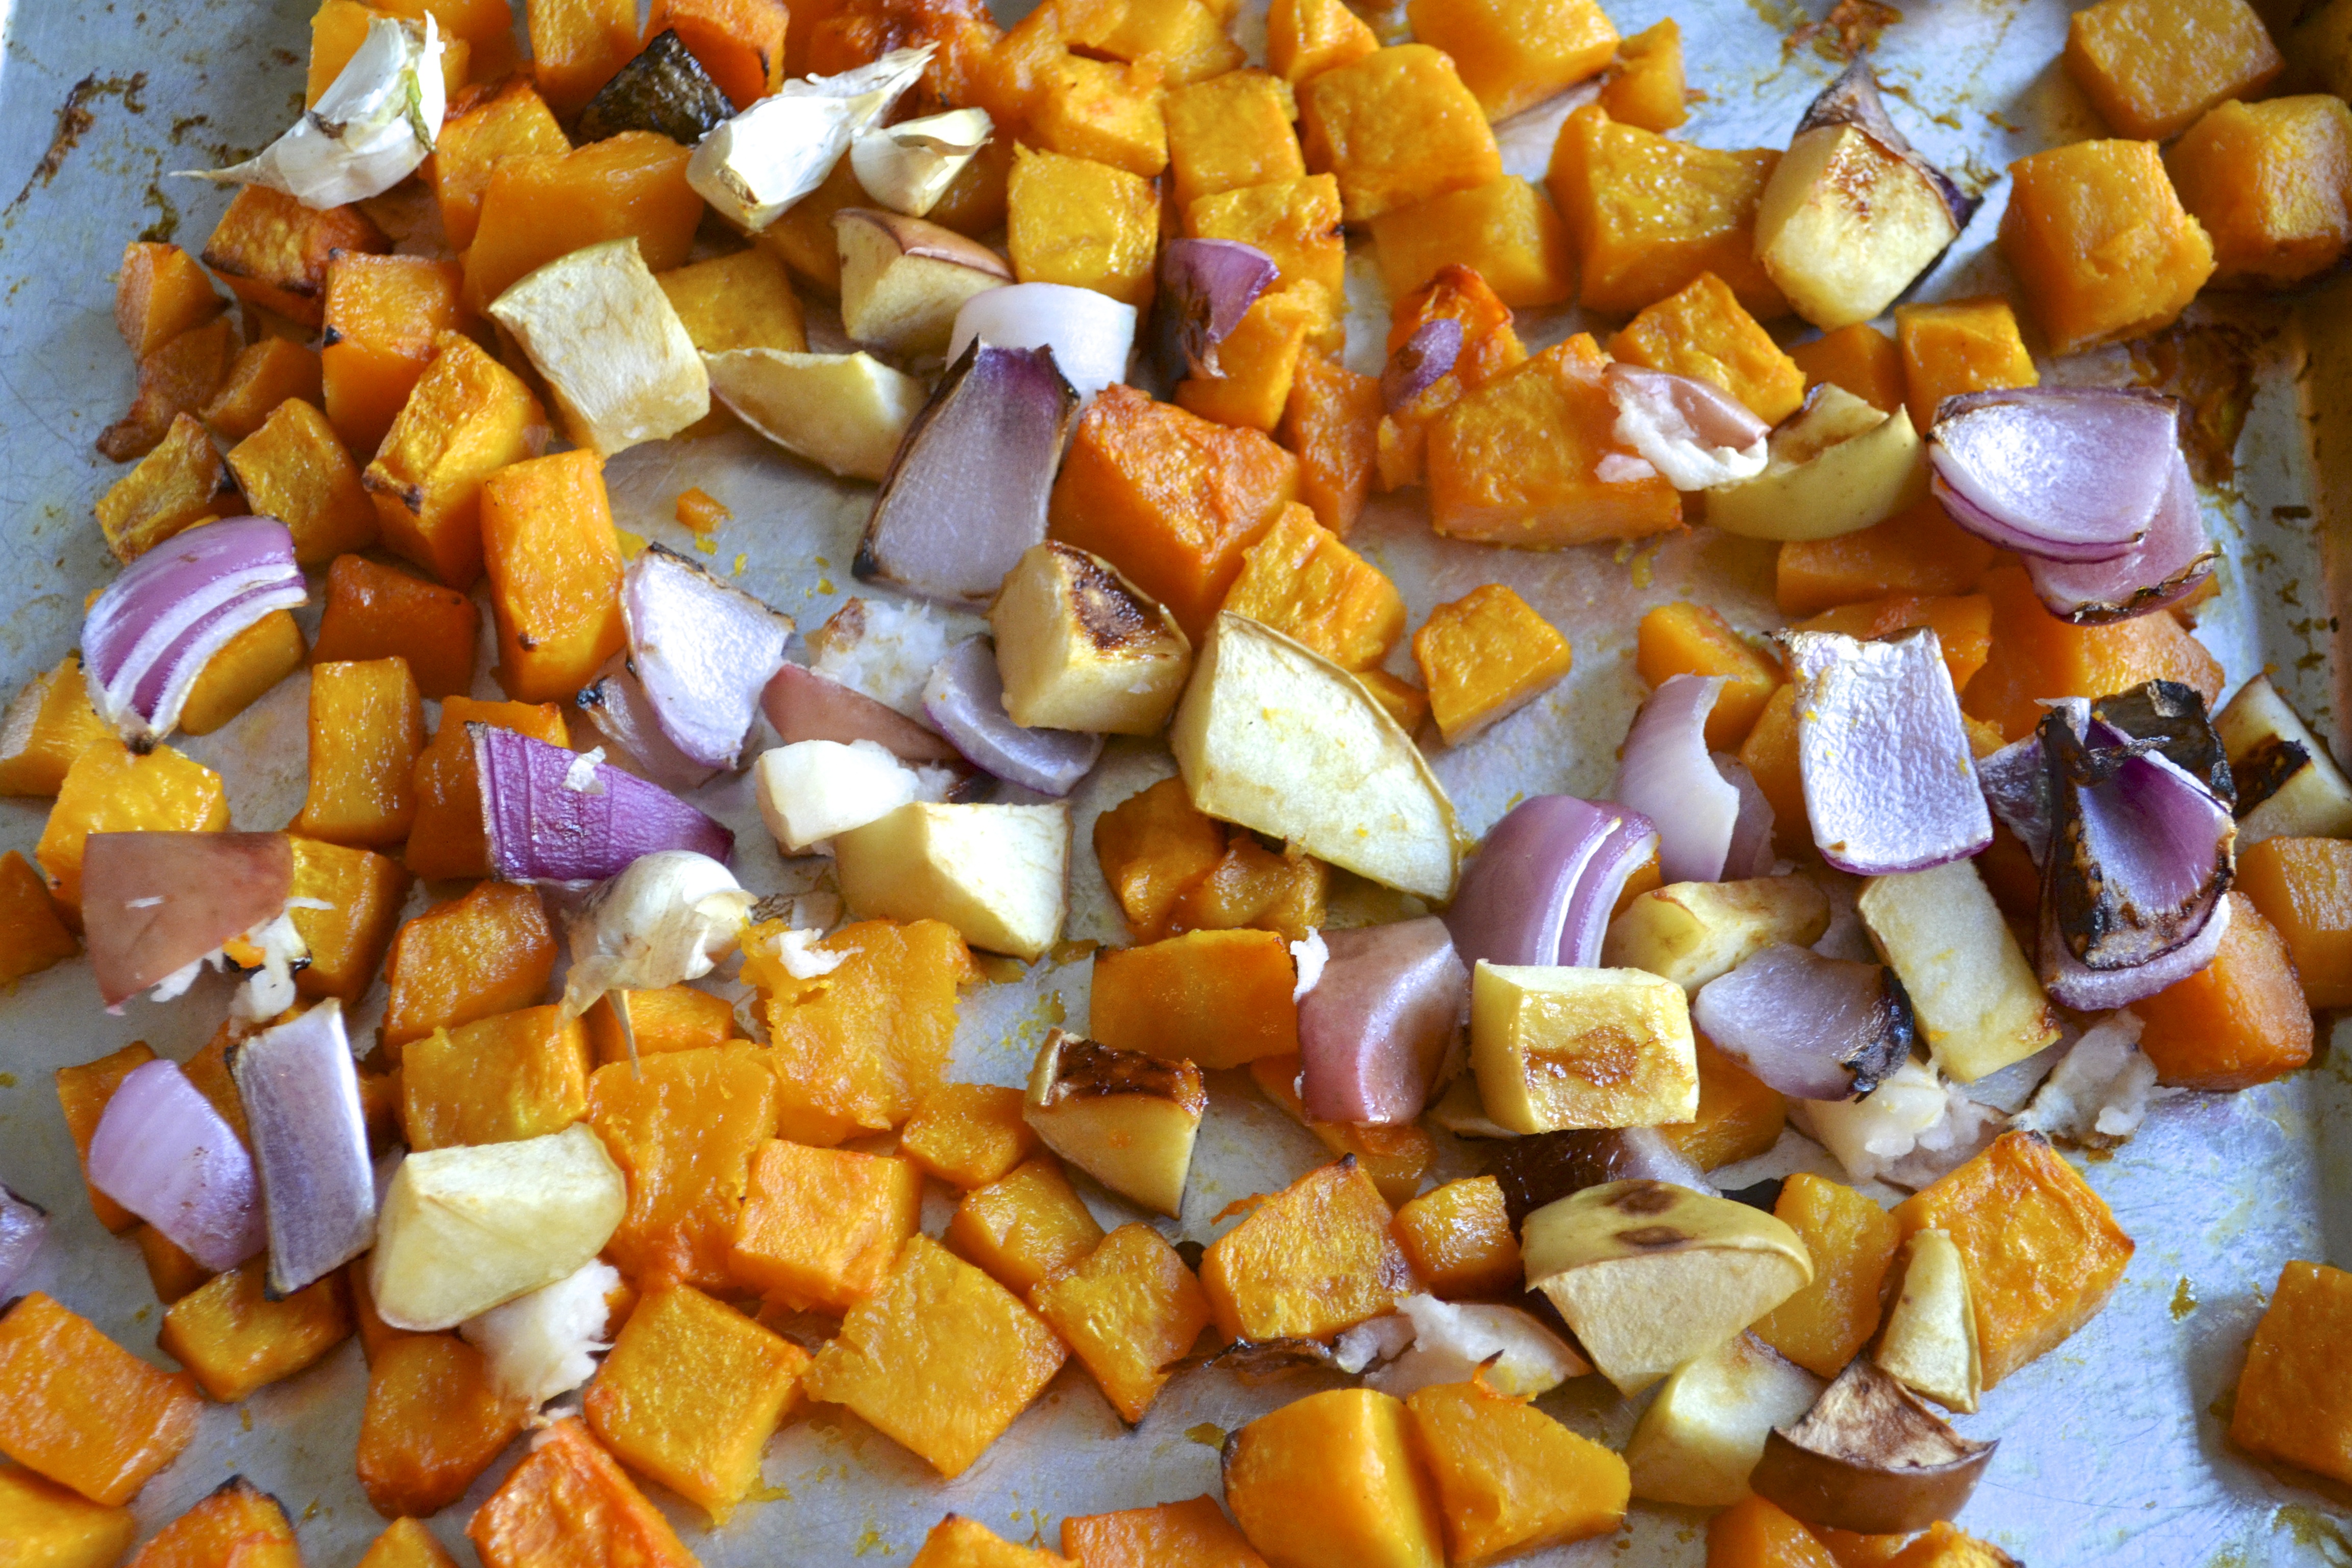
- 1 3 to 4 pound butternut squash, peeled, deseeded, and diced into 1/2-inch cubes
- 1 small red onion, cut into chunks
- 1 tablespoon olive oil
- 1/2 teaspoon kosher salt
- 4 cloves of garlic (in the skin)
- 2 sweet apples, cored and diced
- 4 cloves of garlic (in the skin)
- 4 to 6 cups of low sodium vegetable broth (or chicken broth)
- 1/2 teaspoon ground cumin
- 1/2 teaspoon ground coriander
- 1/4 teaspoon ground ginger
- 1/4 teaspoon ground cinnamon
- salt and pepper to taste
Instructions
- Preheat oven to 400 F. Prepare two shallow roasting pans by spraying with nonstick spray or lining with parchment paper.
- In a large bowl, toss the cubed butternut squash and onion with the olive oil and salt. Place in a single layer on a roasting pan. Place in the oven and roast for 40 to 45 minutes, stirring every once and awhile until the squash are cooked through.
- With 20 minutes left on the butternut squash, place the apples on a roasting pan with the garlic cloves and into the oven on a separate oven rack.
- Remove cooked vegetables from the oven. Remove the skins from the garlic and discard. Place the vegetables and spices into a dutch oven or large pot with 5 cups of vegetable or chicken broth. Using a blender, a food processor, or an immersion blender, puree the soup in several batches, adding more liquid (broth or water) if necessary. Return the soup to the pot and heat over medium heat until simmering. Season with salt and pepper to taste.