Have you ever lost your mojo? Felt lost?
If you are frequent reader or friend of mine or even someone I have passed on the street, it has been a bit too obvious that I have lost my mojo. I’m typically so goal-driven, mega type A, and awesome…or anal, whichever you deem it. But not for sometime. For a while I have felt like a feather in the wind with no direction, which is TERRIFYING to me. I think we all have a threshold of how much willpower we have and how much we can endure. And then one day you snap…for me it was the lack of ketchup in our house when I had made sweet potato fries…. FOR THE LOVE OF PETE WHY CAN”T I HAVE WHAT I WANT!
Too dramatic? naaaah.

But there has to be a certain point when you just have to realize that life just is what it is. We get handed certain things in life and we can either roll around in it like a stinky pile of poop or we can make poop pie and throw it at someone that deserves it. I’ve decided to quite rolling in poop and throw it. Wait…I don’t think that came out right.
Well, you get what I’m saying right? Take out your frustrations on others, am I right? That’s what friends are for? right? Friends? Thanks for being there for me. 🙂 No really. Thanks.
This week has been operation “get my mojo back”. If you have often felt like your mojo is gone, I challenge you to get it back by realizing that we can’t compare ourselves to others (even past versions of ourselves). We are where we are and we have to try to enjoy these moments, even the hard ones, because our time is short and our love is vast.

Here are a few of the things I did to get mojo back this week that you can try:
- Exercise – Go for a walk. Listen to the birds, see the trees in bloom, embrace the now.
- Treat Yo’ self – Hello mani/pedi.
- Cook – Try something simple and fresh for yourself and family. Your belly will thank you.
- Laugh – This is the most important thing of all.
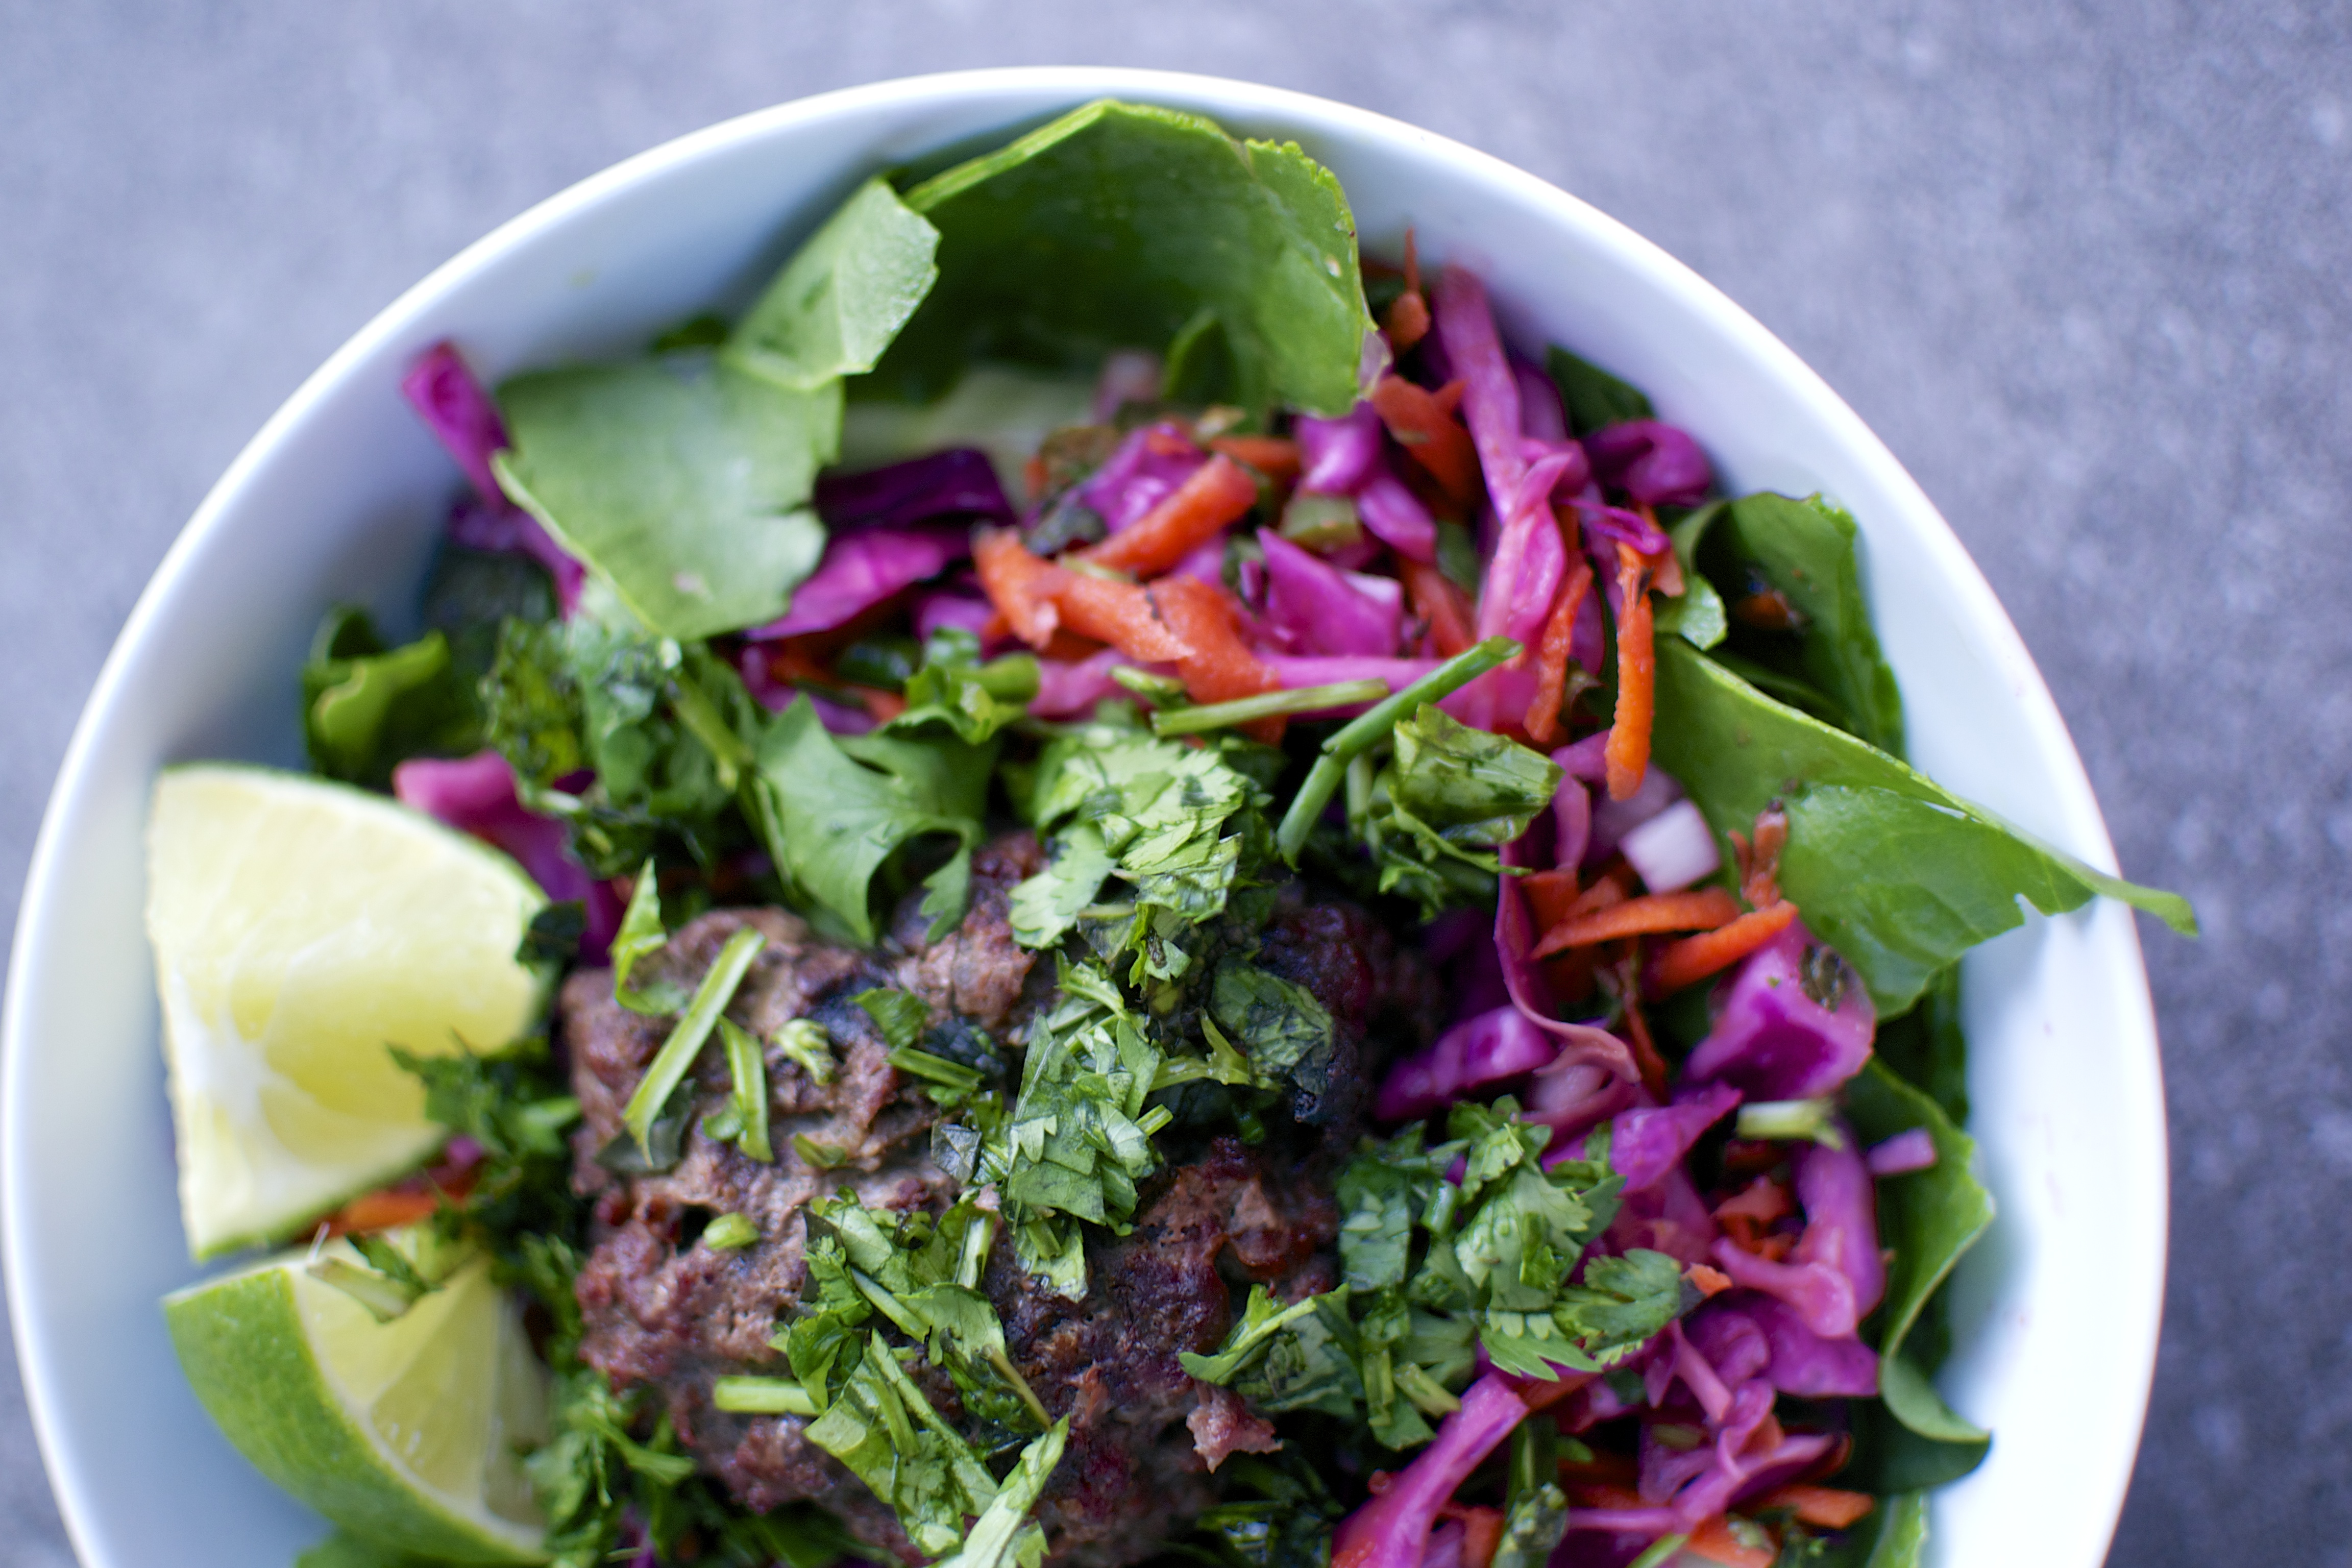
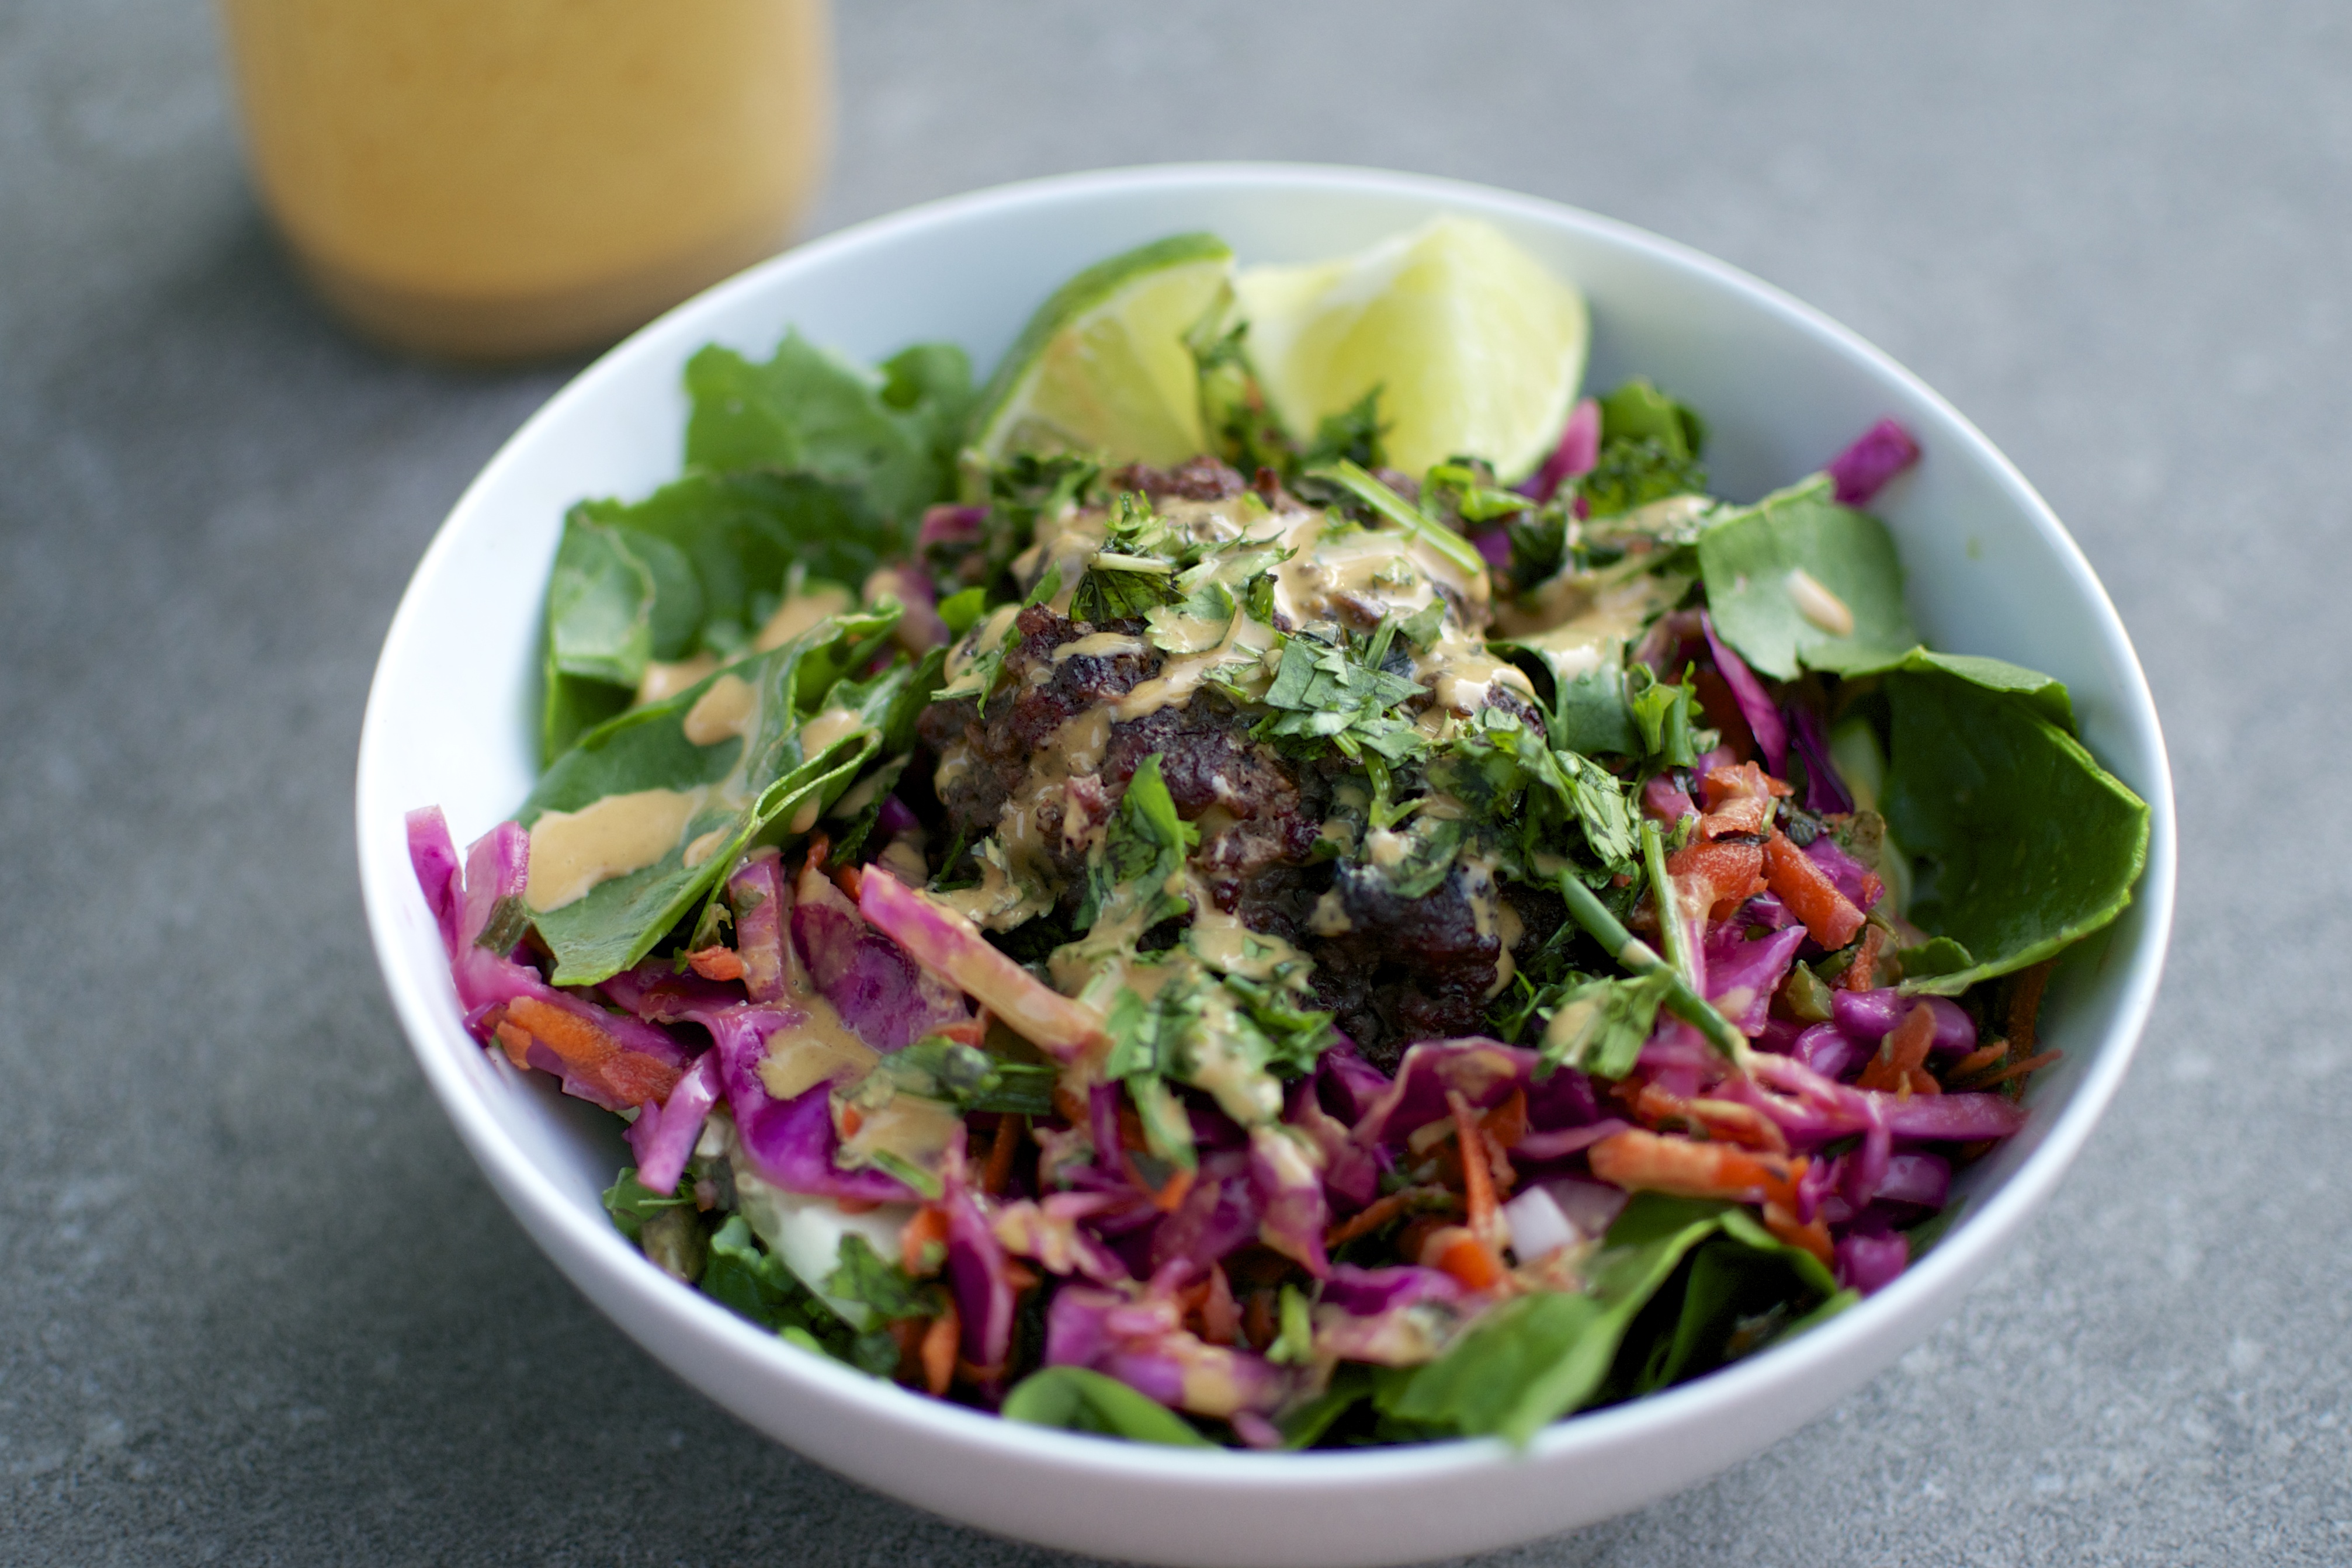
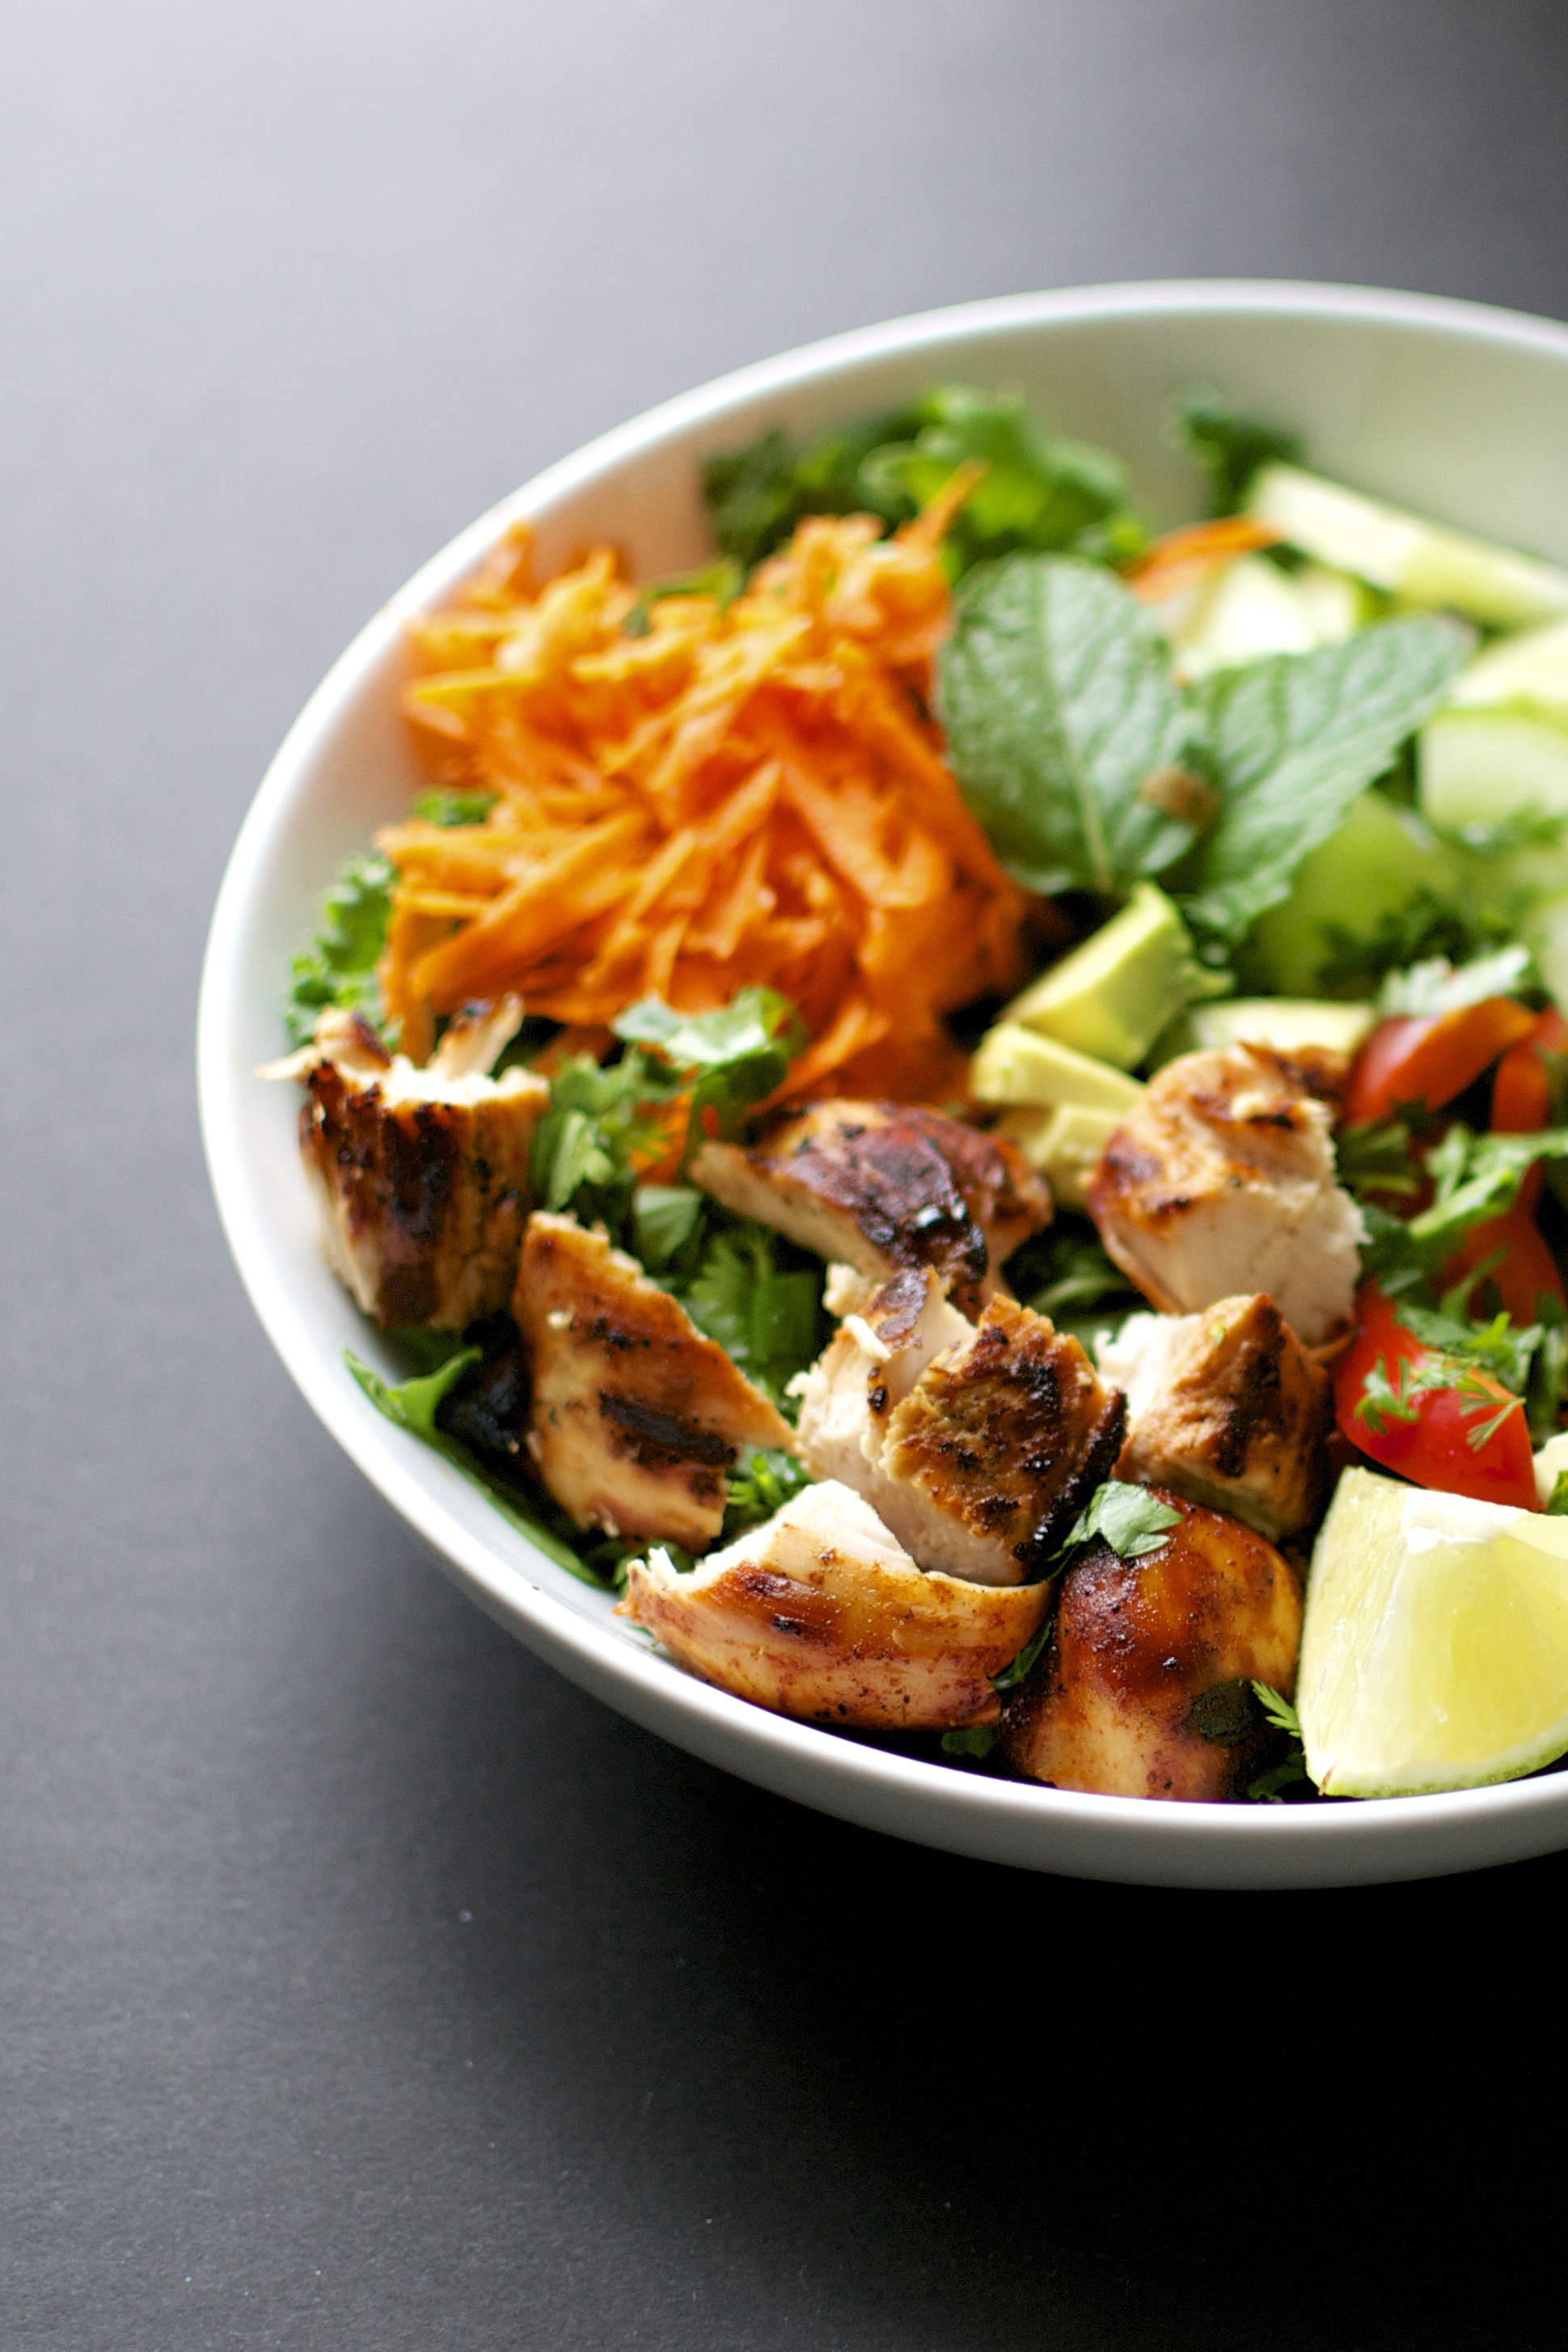
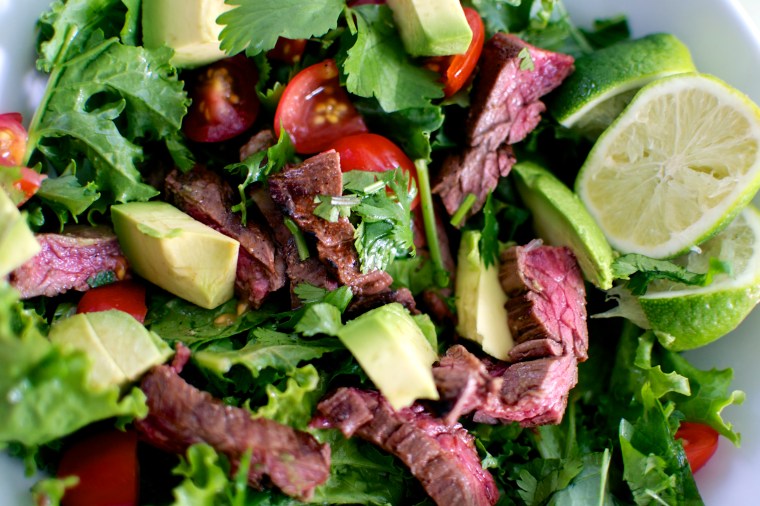
As part of my “get my mojo back” week, I decided to cook something fresh and simple. I thawed out a strip steak from our purchase of 1/4 of a COW. (I don’t know which fourth I got, but he’s tasty.) Strip steaks are nice and thin and are great for carne asada! So I whipped up a quick carne asada marinade when I got home from work. Fresh limes are key to the marinade. Let your steak marinade for at least an hour and up to 4 hours. Fresh greens are abundant in the farmers market and in my garden so I decided to create a fresh salad instead of tacos. I used fresh baby butter lettuce, baby kale, and cilantro that is growing in our garden and some other goodies that I picked up at the market to create a Carne Asada Salad that was quick, delicious, and something that I will be making many times during this grilling season. Feel free to modify your toppings, but focus on fresh and good quality items.

Strip steaks are thin and will not require a long time on the grill. For medium, you will likely only need to grill it 4 to 5 minutes per side, or less. Keep an eye on it. You could even cook your steaks inside in a cast iron skillet or grill pan if you don’t have a grill.
Carne Asada Salad (Gluten Free, Dairy Free, Paleo Friendly)
Marinade Ingredients
- 1 lb strip steak (flank steak would work too)
- 1 large clove of garlic, smashed and minced
- juice of 1 large lime
- 1 tablespoon apple cider vinegar
- 1 teaspoon cumin
- 1 teaspoon smoked paprika
- 1/2 teaspoon coriander
- 1/4 teaspoon cayenne powder
- salt and pepper
- 2 tablespoons olive oil
Salad Ingredients
- Mixed greens (baby kale, spinach, arugula, butter lettuce, etc)
- 1 bunch of cilantro, chopped
- green onions, diced
- 1 cup grape tomatoes, diced
- crumbled feta (optional)
- fresh limes
- avocado
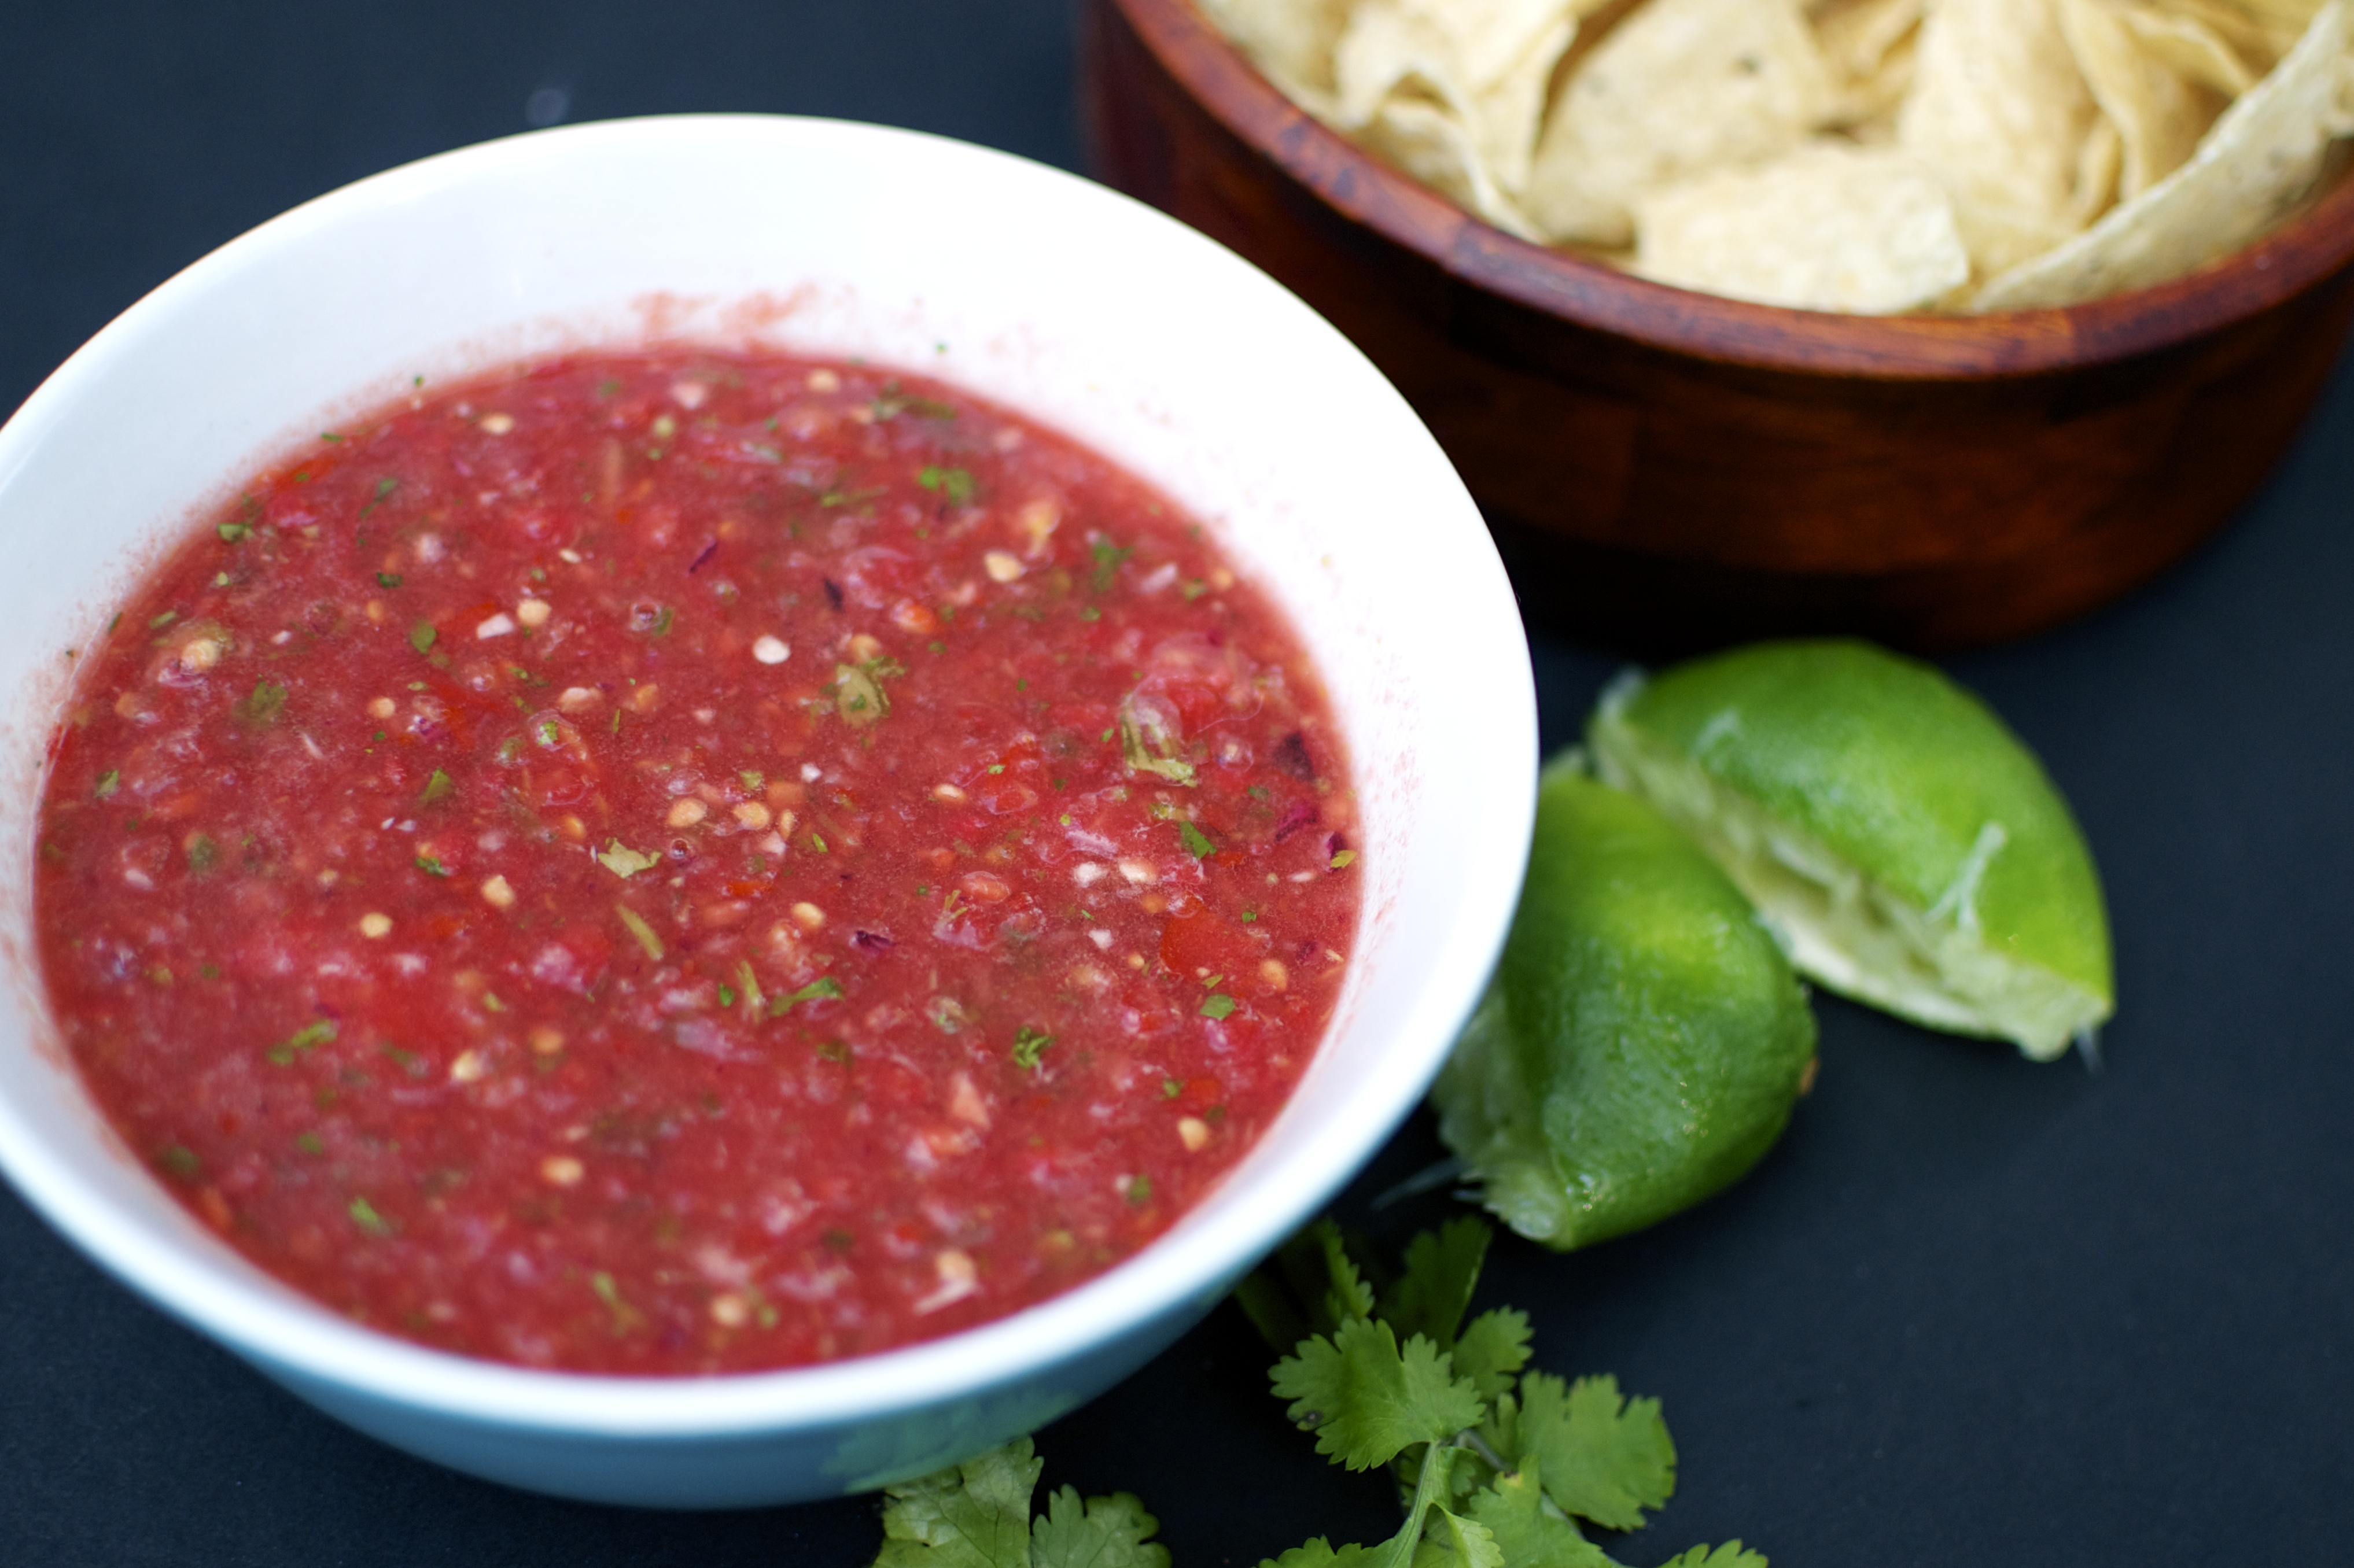
- salsa
Instructions
- Place the strip steak in a large glass bowl or baking dish. Do not use metal because it may react with the acids in the marinade. Salt and pepper on both sides. Combine the marinade ingredients in a small bowl and pour over the steak. Make sure that all of is covered and saturated with the marinade. Cover the bowl with plastic wrap and allow to marinate in the refrigerator for 1 to 4 hours. Pull out of the refrigerator and allow the steak to come to room temperature (about 30 minutes).
- Preheat your grill or grill pan using medium-high heat or flame. Brush the grates of your grill with a bit of olive oil so that the steak does not stick to the grates. Remove the steak from the marinade and place onto the hottest part of the grill and cover the grill. Grill until the underside of the steak is browned, about 4 minutes depending on the thickness of your steak. Flip the steak and cook on the other side for another 4 minutes.
- Remove the steak from the grill and allow to rest for 5 minutes. Thinly slice the steak across the grain on a diagonal. This will help the steak from being chewy.
- Prepare four salad bowls and place sliced steak on top. As another option, prepare these as tacos using grilled corn tortillas. Mmmmm! Happy eating!