Hi. It’s spring…nearly summer. And do you know what that means? VEGGIES! Fresh amazing veggies. They are sprouting up everywhere in my garden. Beets and carrots and spinach and kale and cilantro and cucumbers and tomatoes! I can’t wait.
This weekend I enjoyed renewing my Saturday ritual of going to the Farmer’s Market bright and early and drooling over the produce and transplants that the local farmers had brought. It makes salad making an adventure. Not your boring ol’ iceberg here…no spring rocket, and baby leaf kale, and beautiful sorel! Throw in some herbs, roasted beets, and avocado…yaaaaa, NOW you have heaven.
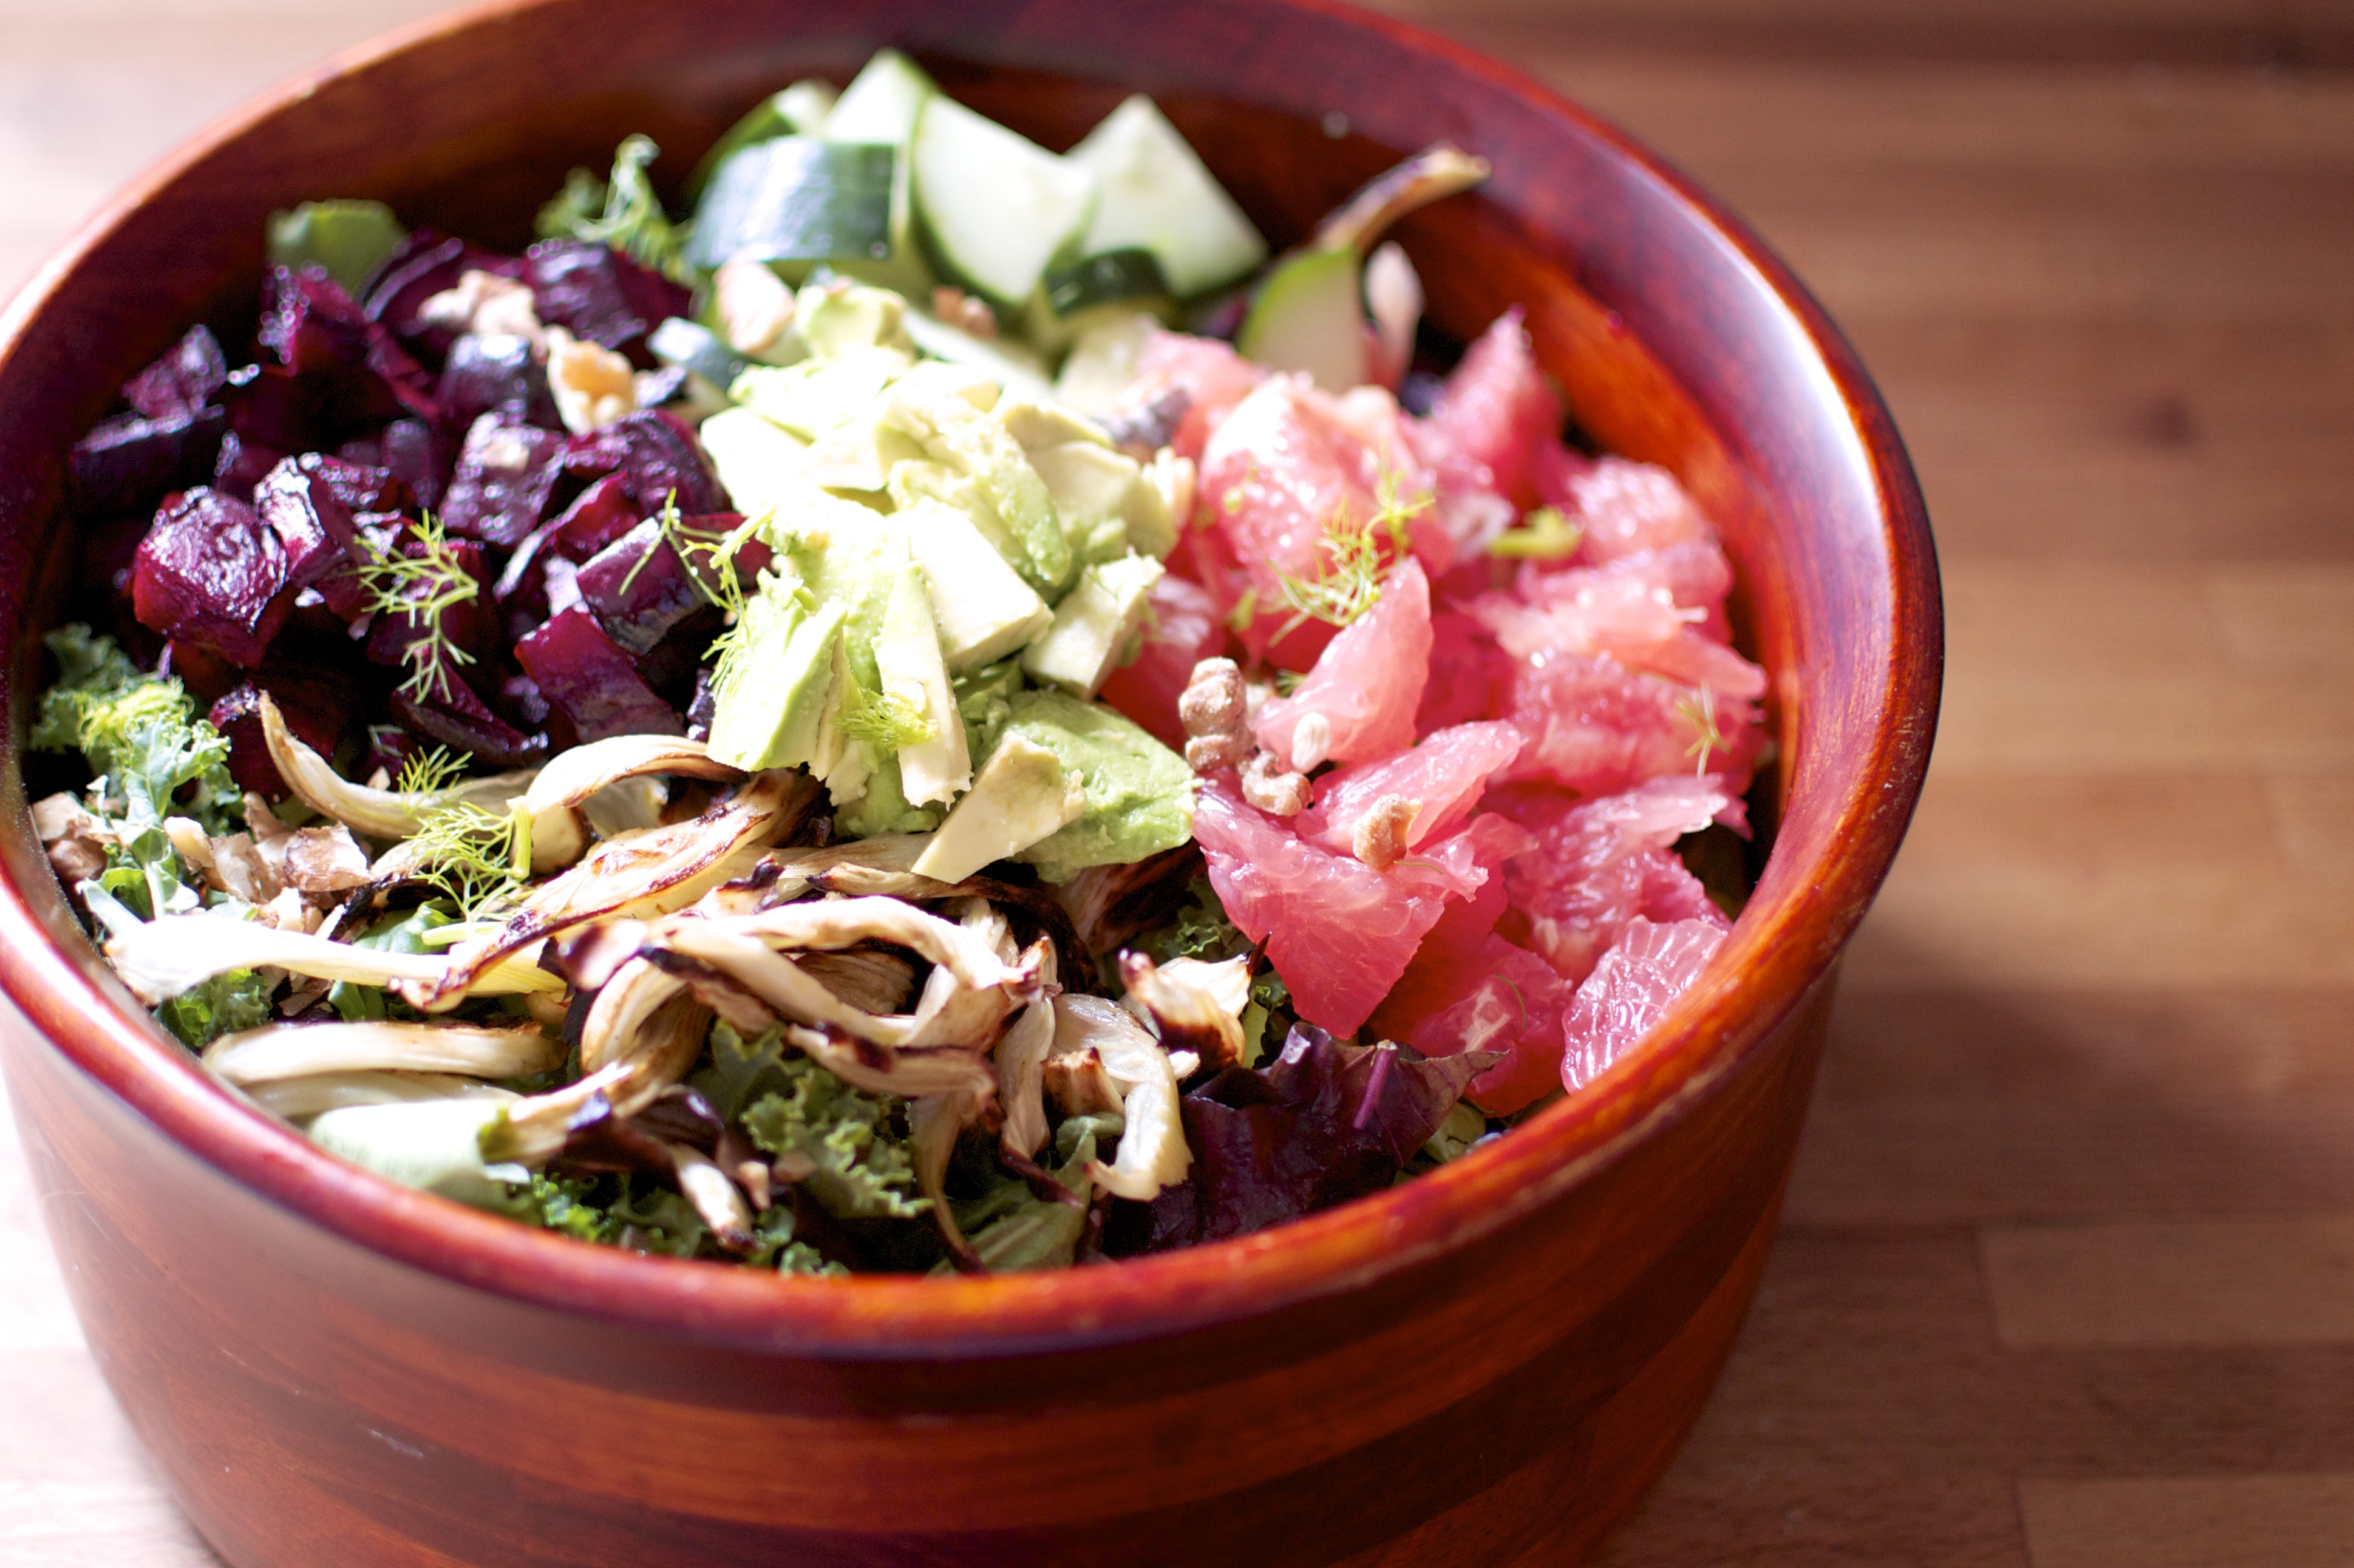
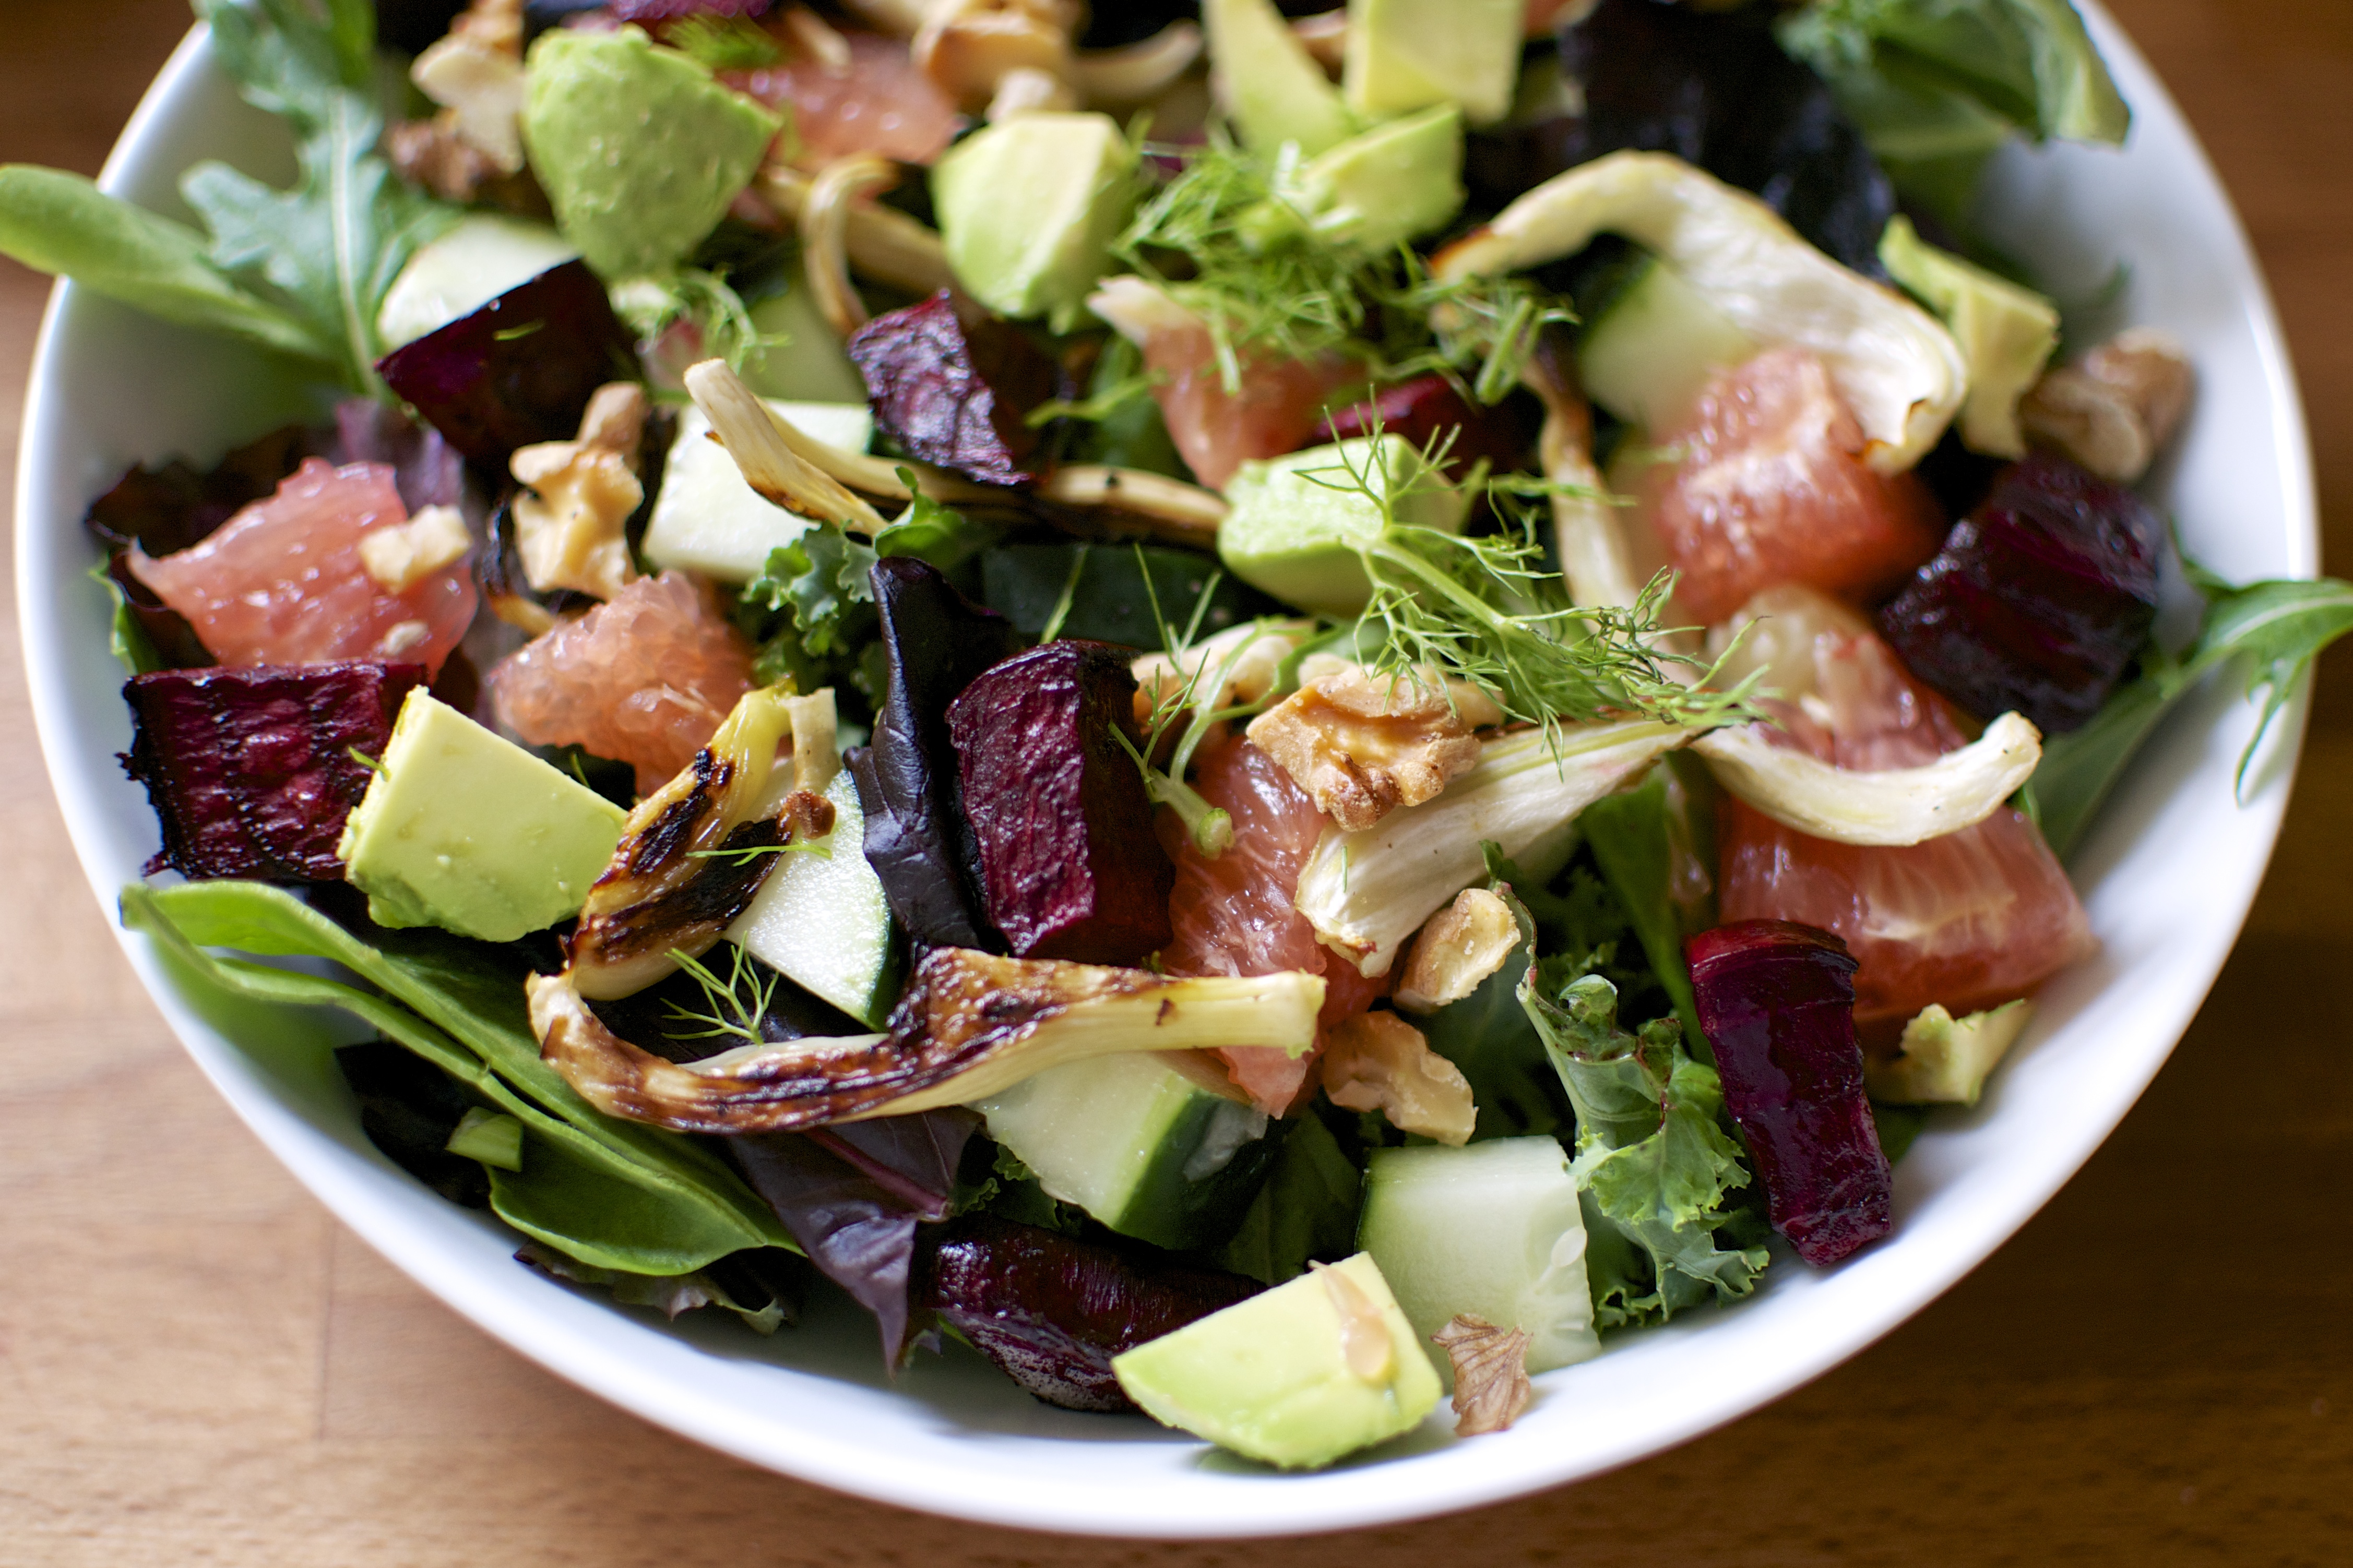
Beet, Fennel, Grapefruit, and Avocado Salad
Inspired by Pinch of Yum and my Blood Orange and Avocado Salad
Salad Ingredients
- 1 large beet
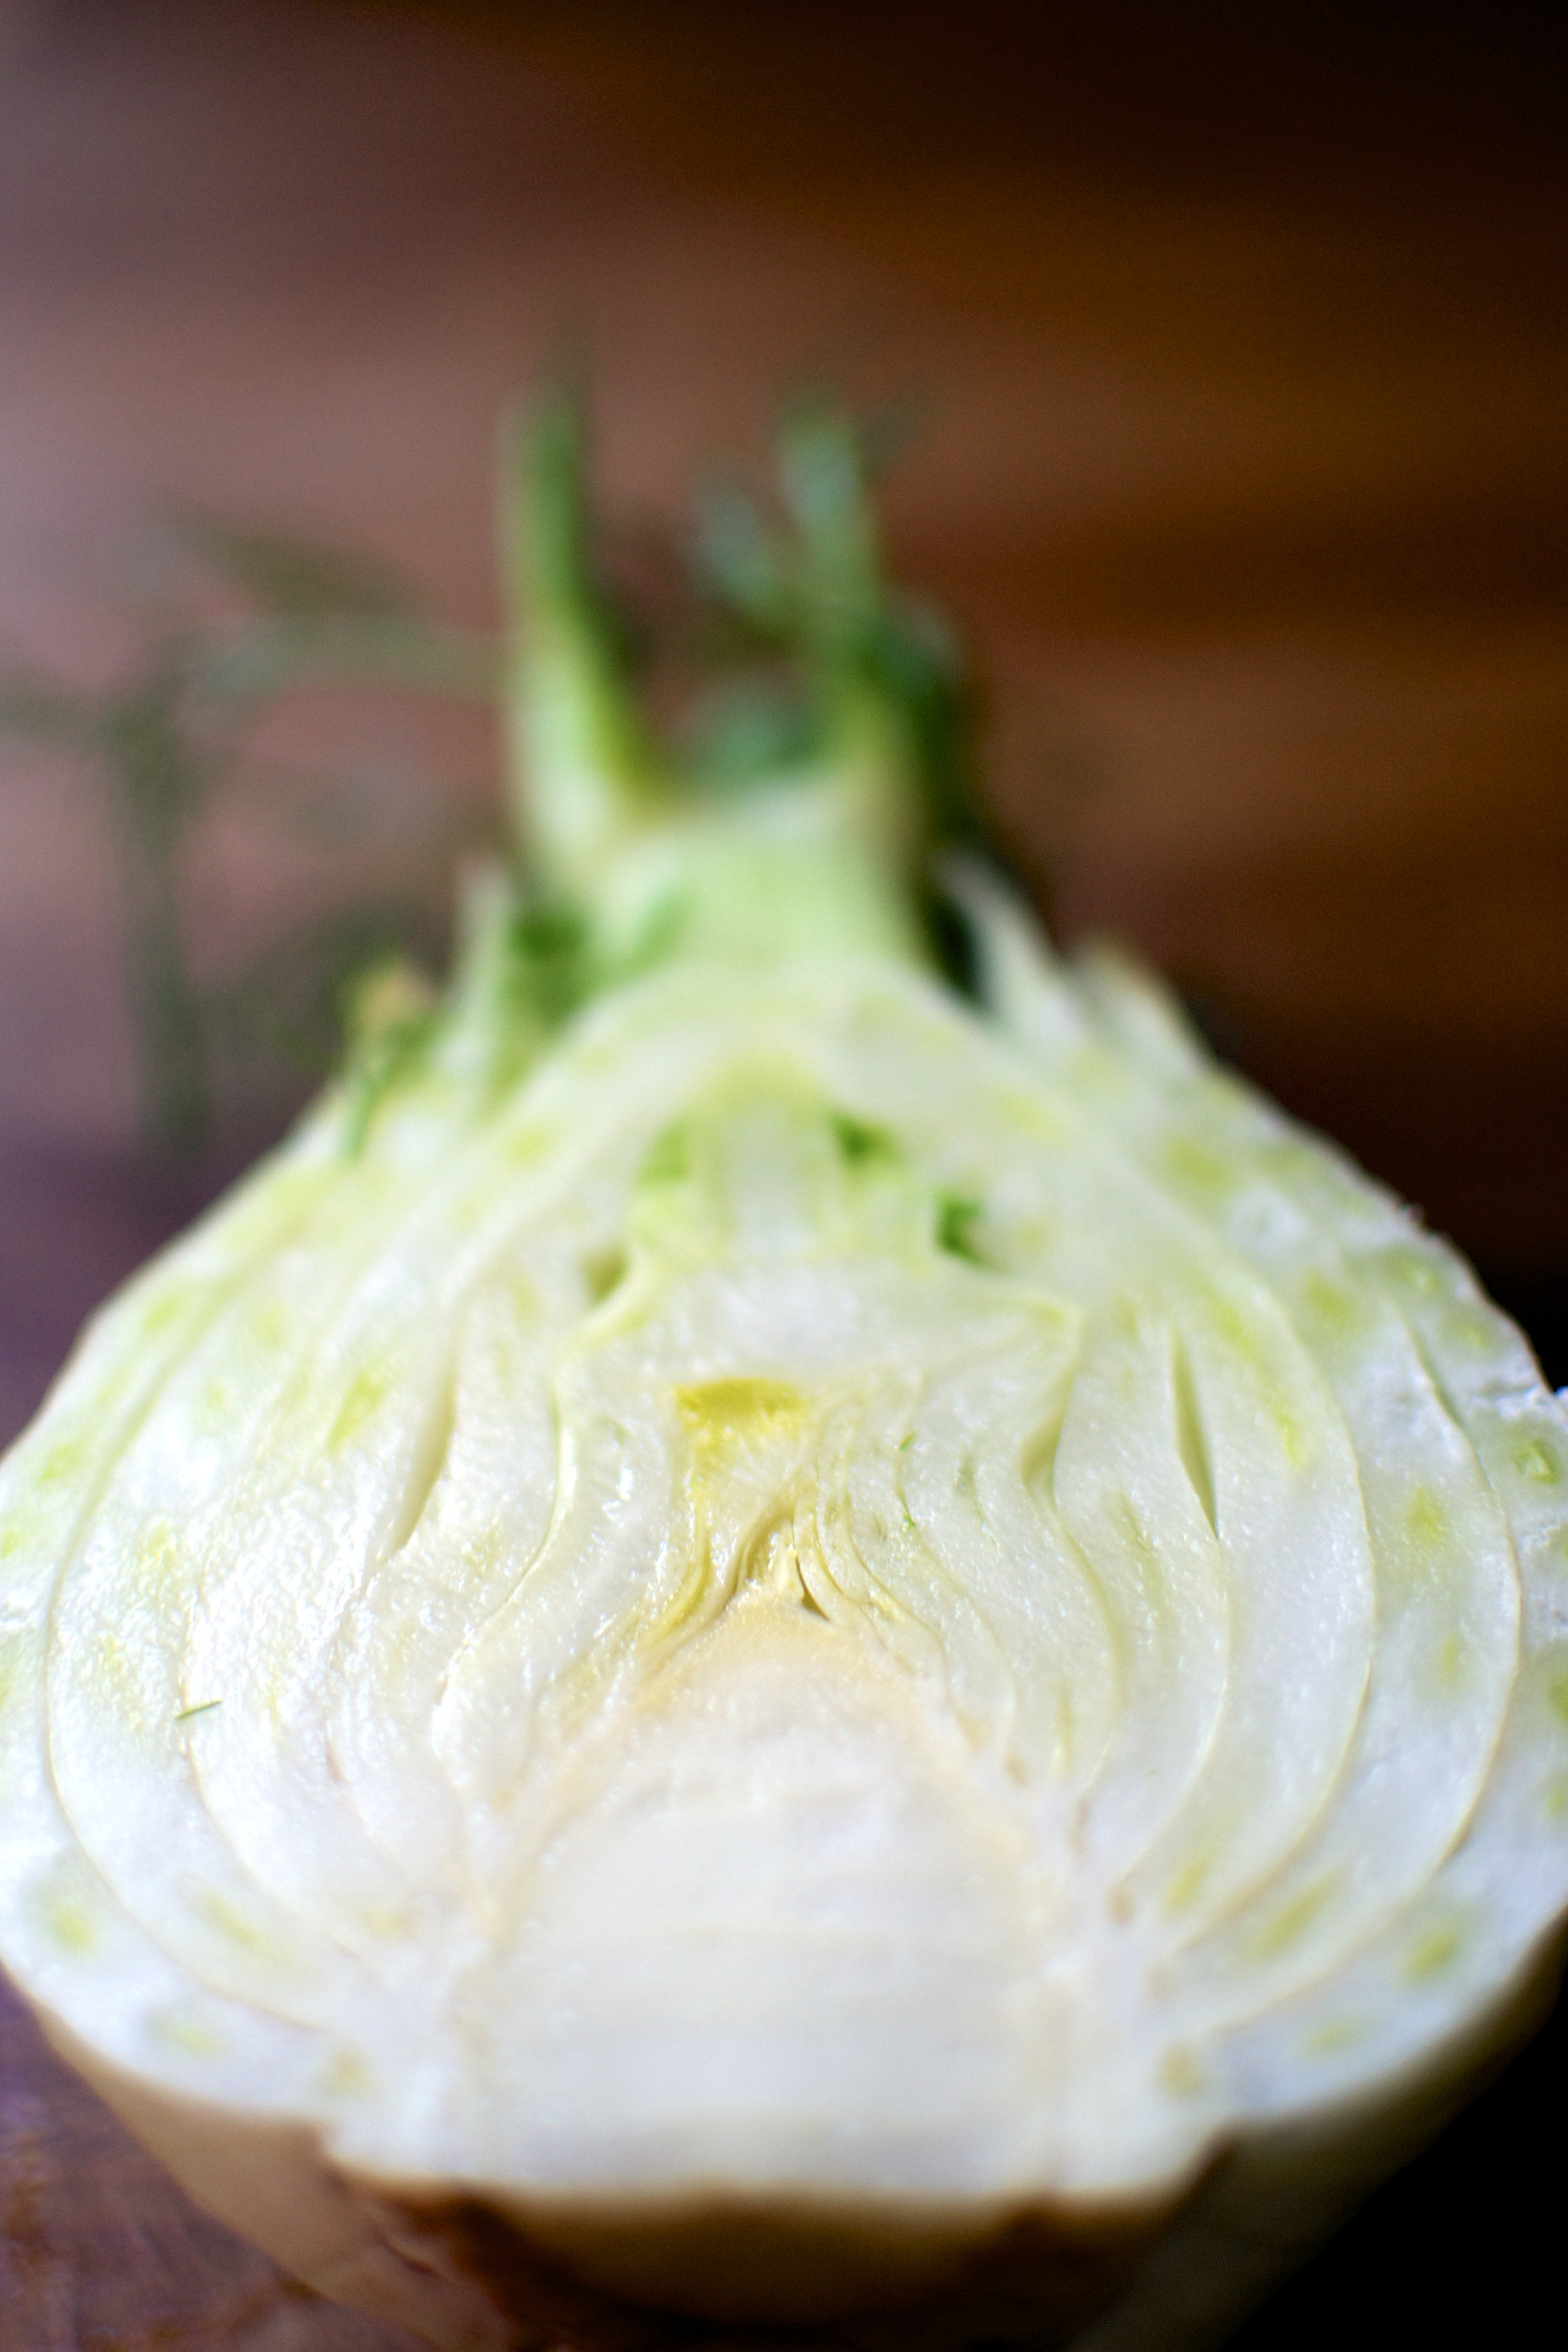
- 1 fennel bulb
- olive oil
- salt and pepper
- 4 cups of raw kale, washed, destemmed and cut into 1-inch pieces (or spring lettuce mix)
- 1 grapefruit, peeled and cut into sections
- 1 cucumber, cut into thin slices
- 1 avocado
- 1/2 cup fresh cilantro, chopped
- 1/4 cup fresh dill, chopped
- 1/2 cup walnuts, toasted and chopped (optional)
- 1/4 cup of crumbled feta
Dressing Ingredients
- 2 tablespoons cider vinegar (or lemon juice or lime juice)
- 2 tablespoons olive oil
- pinch of salt
- 1 tablespoon grapefruit juice (reserved from cutting up grapefruit for salad)
Instructions
- Preheat oven to 400 F. Line two baking sheets with parchment paper or with nonstick spray. Wash the beet thoroughly and scrub the outside very well. Remove the top and bottom of the beet. Cut in half and continue to cut up the beet until you obtain even 1-inch cubes. Place into a large bowl and drizzle with about 1/2-tablespoon of olive oil and salt and pepper. Place beet cubes onto one of the prepared baking sheets. Place in the oven and bake for 35 to 45 minutes.
- Wash the fennel bulb thoroughly. Remove the bottom root portion. Slice longways into even 1/4-inch width slices. Place in a clean bowl and drizzle with 1/2-tablesppon of olive and salt and pepper. Place the fennel slices onto the second prepared baking sheet. Place in the oven and bake for 20 to 30 minutes.
- When the fennel and beets are done roasting, remove from the oven and allow to cool to room temperature. Set aside. Can be made up to 2 days ahead of time and kept refrigerated.
- Wash kale and massage with hands in a large bowl. Gently toss in the grapefruit pieces, cucumber, cilantro, and dill.
- Combine dressing ingredients into a small bowl and whisk until combined. Just before ready to serve, pour dressing ingredients over the kale, grapefruit, and cucumber. Add roasted beets and fennel and toss all ingredients together gently so as not to stain everything red.
- When you are ready to serve the salad, add the avocados and gently combine everything because the avocados will melt and mush quickly into the salad. Top with any additional herbs, walnuts, and feta.